How To Put Together Your First Bowl Of Ramen, Step By Step
We may receive a commission on purchases made from links.
I've touched on every major component of ramen so far: the noodles, the soup, the tare, the quintessential chashu pork belly and egg toppings, even the aromatic oil that bobs on the surface.
But... suppose you make all these things. How does one assemble into a bowl of ramen?
I have been asked this a lot. Maybe it's because I have eaten at an unhealthy number of ramen shops, but I feel like this is self-explanatory. Cook the noodles, add 'em to the bowl with soup and stuff, right?
But my editors at The Takeout have asked me to tackle this topic, and as I started thinking about how I put ramen together, I realized quickly that there are some steps in my process that aren't intuitive.
Much like the preparation of the various components of ramen, there is some nuance involved in the assembly of the final dish. So, let's break it down. For 90% of the bowls of ramen you may assemble at your house (or restaurant, I won't judge), follow this process. It's not about changing up the style, it's just about internalizing each step.
As for a specific recipe to try? I recently came up with a chicken shoyu recipe that is beyond easy and delicious. But the steps below apply to any ramen recipe.
Step 1: Select your serving bowl
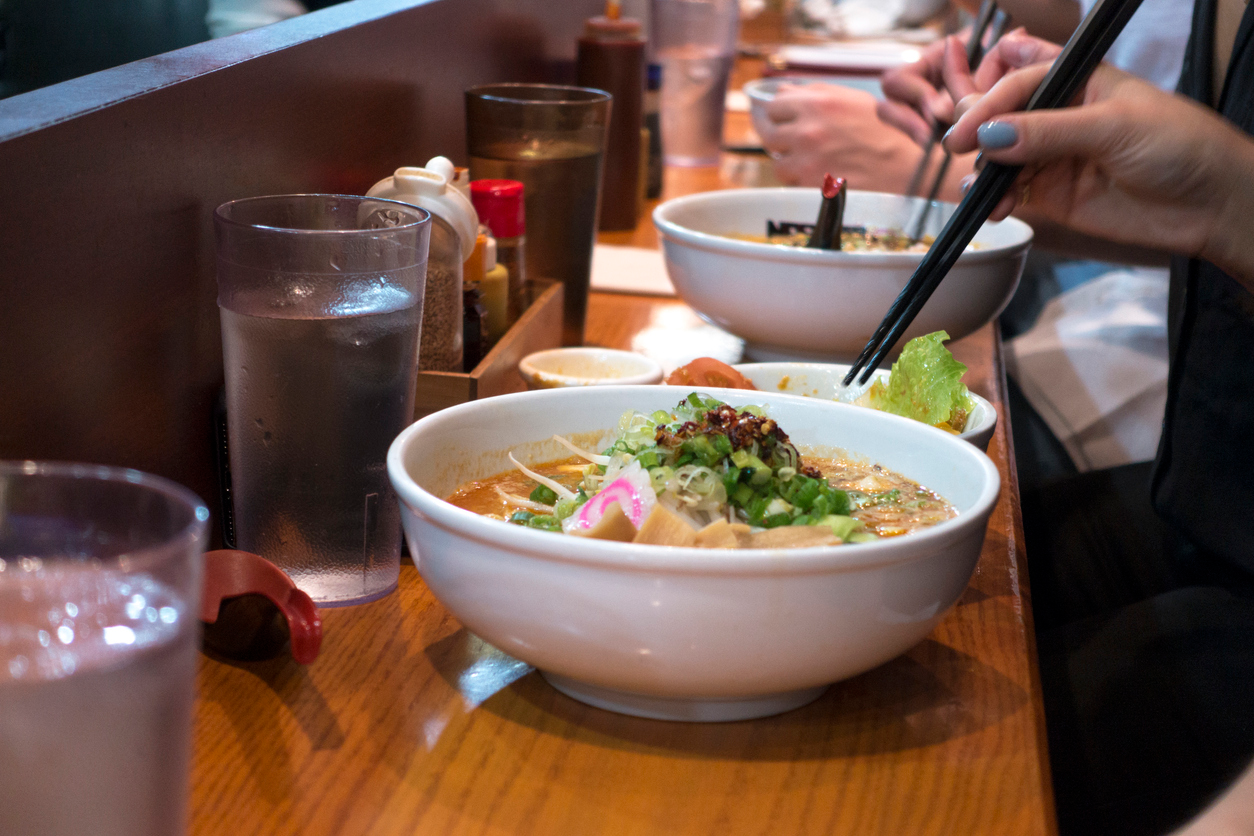
Before you get to the actual ramen feasting, you will want to consider the vessel you'll be serving the ramen in. Ramen is typically served in a donburi-style bowl, though virtually all aspects of the bowl can vary. Consider the following characteristics.
- Shape: Most ramen bowls are cupped at the bottom, and have a slight flared lip at the top. But some are v-shaped, or almost inverted, with a small base that flairs outward into a wider lip. Different shapes make the final dish look different; a narrower base hides the noodles, while a wider bowl shape shows them off.
- Height: Some bowls are deep and tall, while others are shallow and wide. Shallower bowls mean the noodles will sit on the bottom of the bowl, which makes them look more bountiful, but makes the dish look less soupy.
- Material: Ramen bowls are usually made of ceramic, but some bowls can be made of metal or even plastic. Ceramic is easy to clean, heat resistant, and affordable, but can chip or break.
- Color: A darker bowl is going to hide the nuances of a clearer broth; instead of seeing how gorgeous that yellow chicken broth is, it just looks black. And a lightly colored bowl may detract from the color of an opaque broth, the lack of contrast making the visual confusing. Generally, white is the easiest to work with since it neither adds nor detracts from the contents of the bowl. Is it obvious I like white serving ware? Yes. Cool.
- Thickness: A bowl made of thicker material is going to hold heat for longer and be less prone to chipping. But it may look less elegant, and chunky.
My ideal bowl is a classic shape: Round, with a slightly flared lip, which can be used to carry the bowl without burning yourself as the bowl heats up. It's made of ceramic, is white, and is moderately thick. It should not be extravagant looking but should be wide enough that you can add toppings without totally hiding the soup and noodles below. Currently, I am loving the bowls by Koyo (no, they're not paying me to say that). Their medium 52-oz. bowl is essentially perfect, though I've also used their straight-sided V bowls, which are also great. (Another good place to buy ramen bowls is Korin.)
Step 2: Prepare your battle station
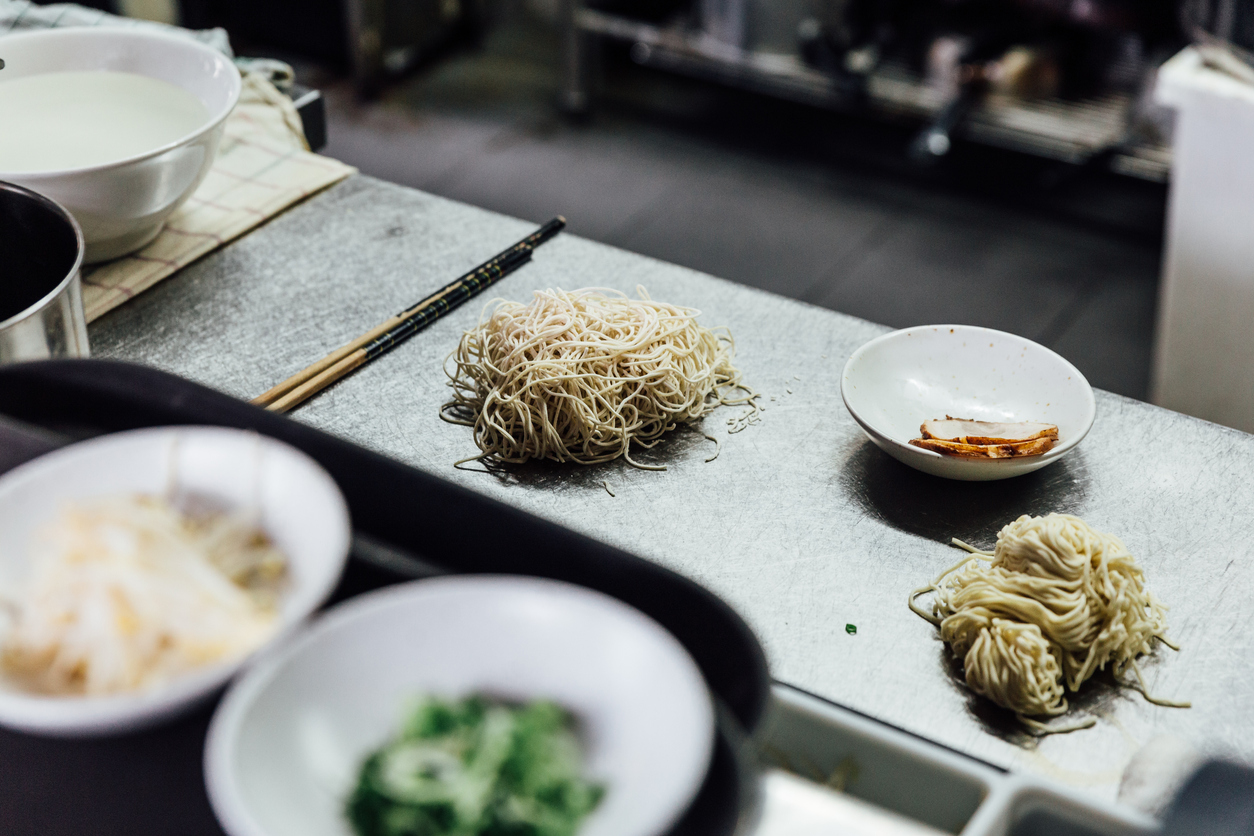
Ramen is all about preparation. It is the truest expression of mise en place, that French term that cooks use to describe having everything in its place. Ramen does not work without a perfectly set up mise en place; it's how a shop can get a bowl done in five minutes. So get yourself ready.
- Have your soup and noodle-cooking water already warm or boiling.
- Have all ingredients like chashu and scallions sliced and ready to be plated. If you're topping your bowl with torched chashu, now is a good time to do it. I try to have no more than five toppings. Less is more here!
- Have your containers of tare and aroma oil out, with appropriate utensils to scoop into your serving bowl.
- Get your timer ready.
- Warm your serving bowl.
Hold up: Warm your serving bowl?
Yes, you should do this. This is the first thing almost all great ramen shops do that improves their final dish.
Short of using a double-walled metal bowl or something hyper-insulated, if you add your hot soup to a lukewarm or room-temperature bowl, the bowl's material is going to absorb a lot of that liquid's heat as the two reach equilibrium, easily 40-50 degrees Fahrenheit sapped immediately from your soup. And lukewarm ramen is not ideal.
You can mitigate this just by preheating the bowls. In ramen shops, they'll often take some of the boiling water from the noodle cooker and pour it into the bowl temporarily to heat things, but at home, I just set my oven to the lowest setting it has, in this case 170 degrees Fahrenheit, and preheat my serving bowls in there. By the time the oven reaches 170, the bowls are hot (almost too hot), and I turn off the oven.
Step 3: Cook the noodles
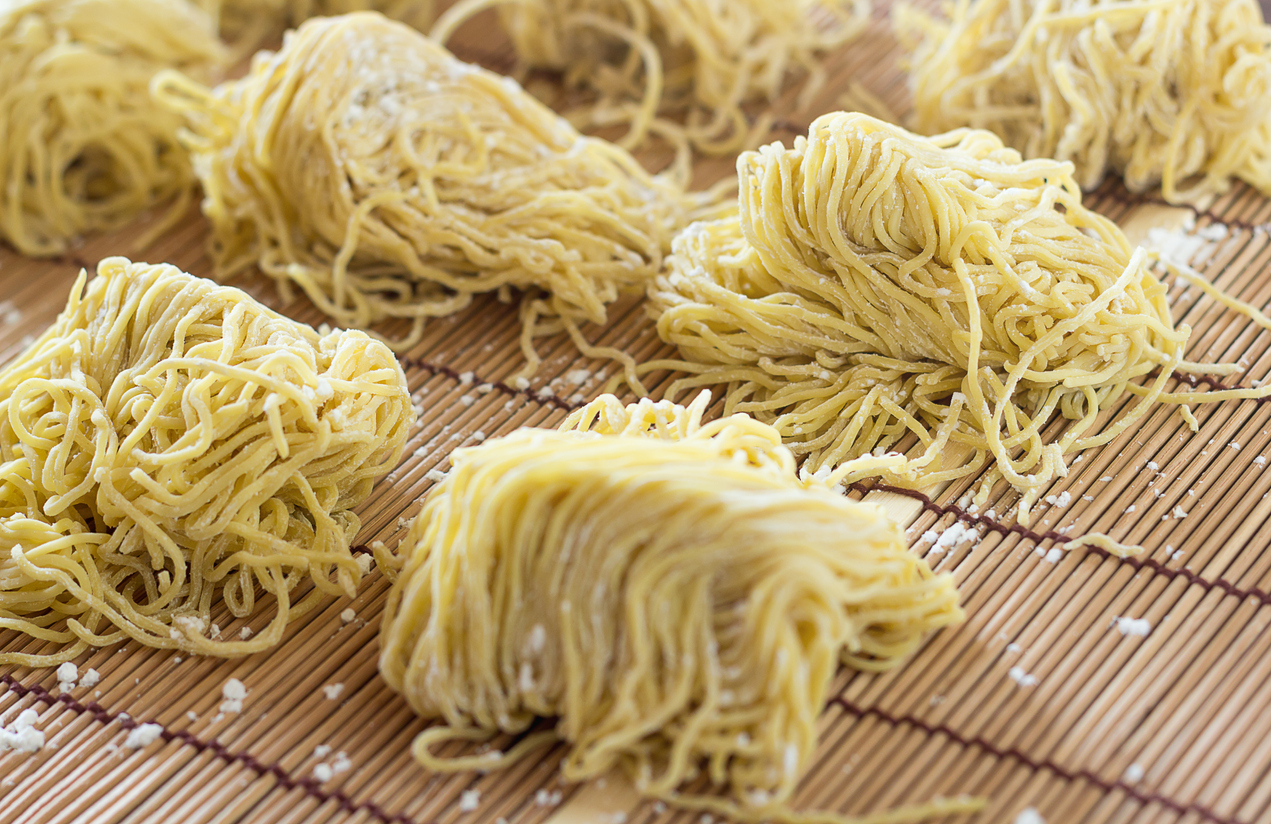
Once your mise en place is ready, it's time to start cooking. I like to start with the noodles, as they can take the longest in the assembly. With the water boiling rapidly, add your noodles, then set your timer and let them cook, keeping the water boiling as much as possible to promote even cooking. Give them a quick stir to make sure they won't stick together as soon as the timer is going. It's worth noting that noodles can vary in terms of time required to finish them. Look for manufacturer recommendations on timing, or taste occasionally for doneness.
It's critical, by the way, that you don't cook your noodles in the soup itself. These aren't instant noodles; fresh ramen noodles release salt, alkaline salts, starch, and even sometimes food dye, as they cook, which will severely mess up the pristine soup you've worked so hard on. For control's sake, cook the noodles in separate water.
Step 4: Prepare the bowl for noodles
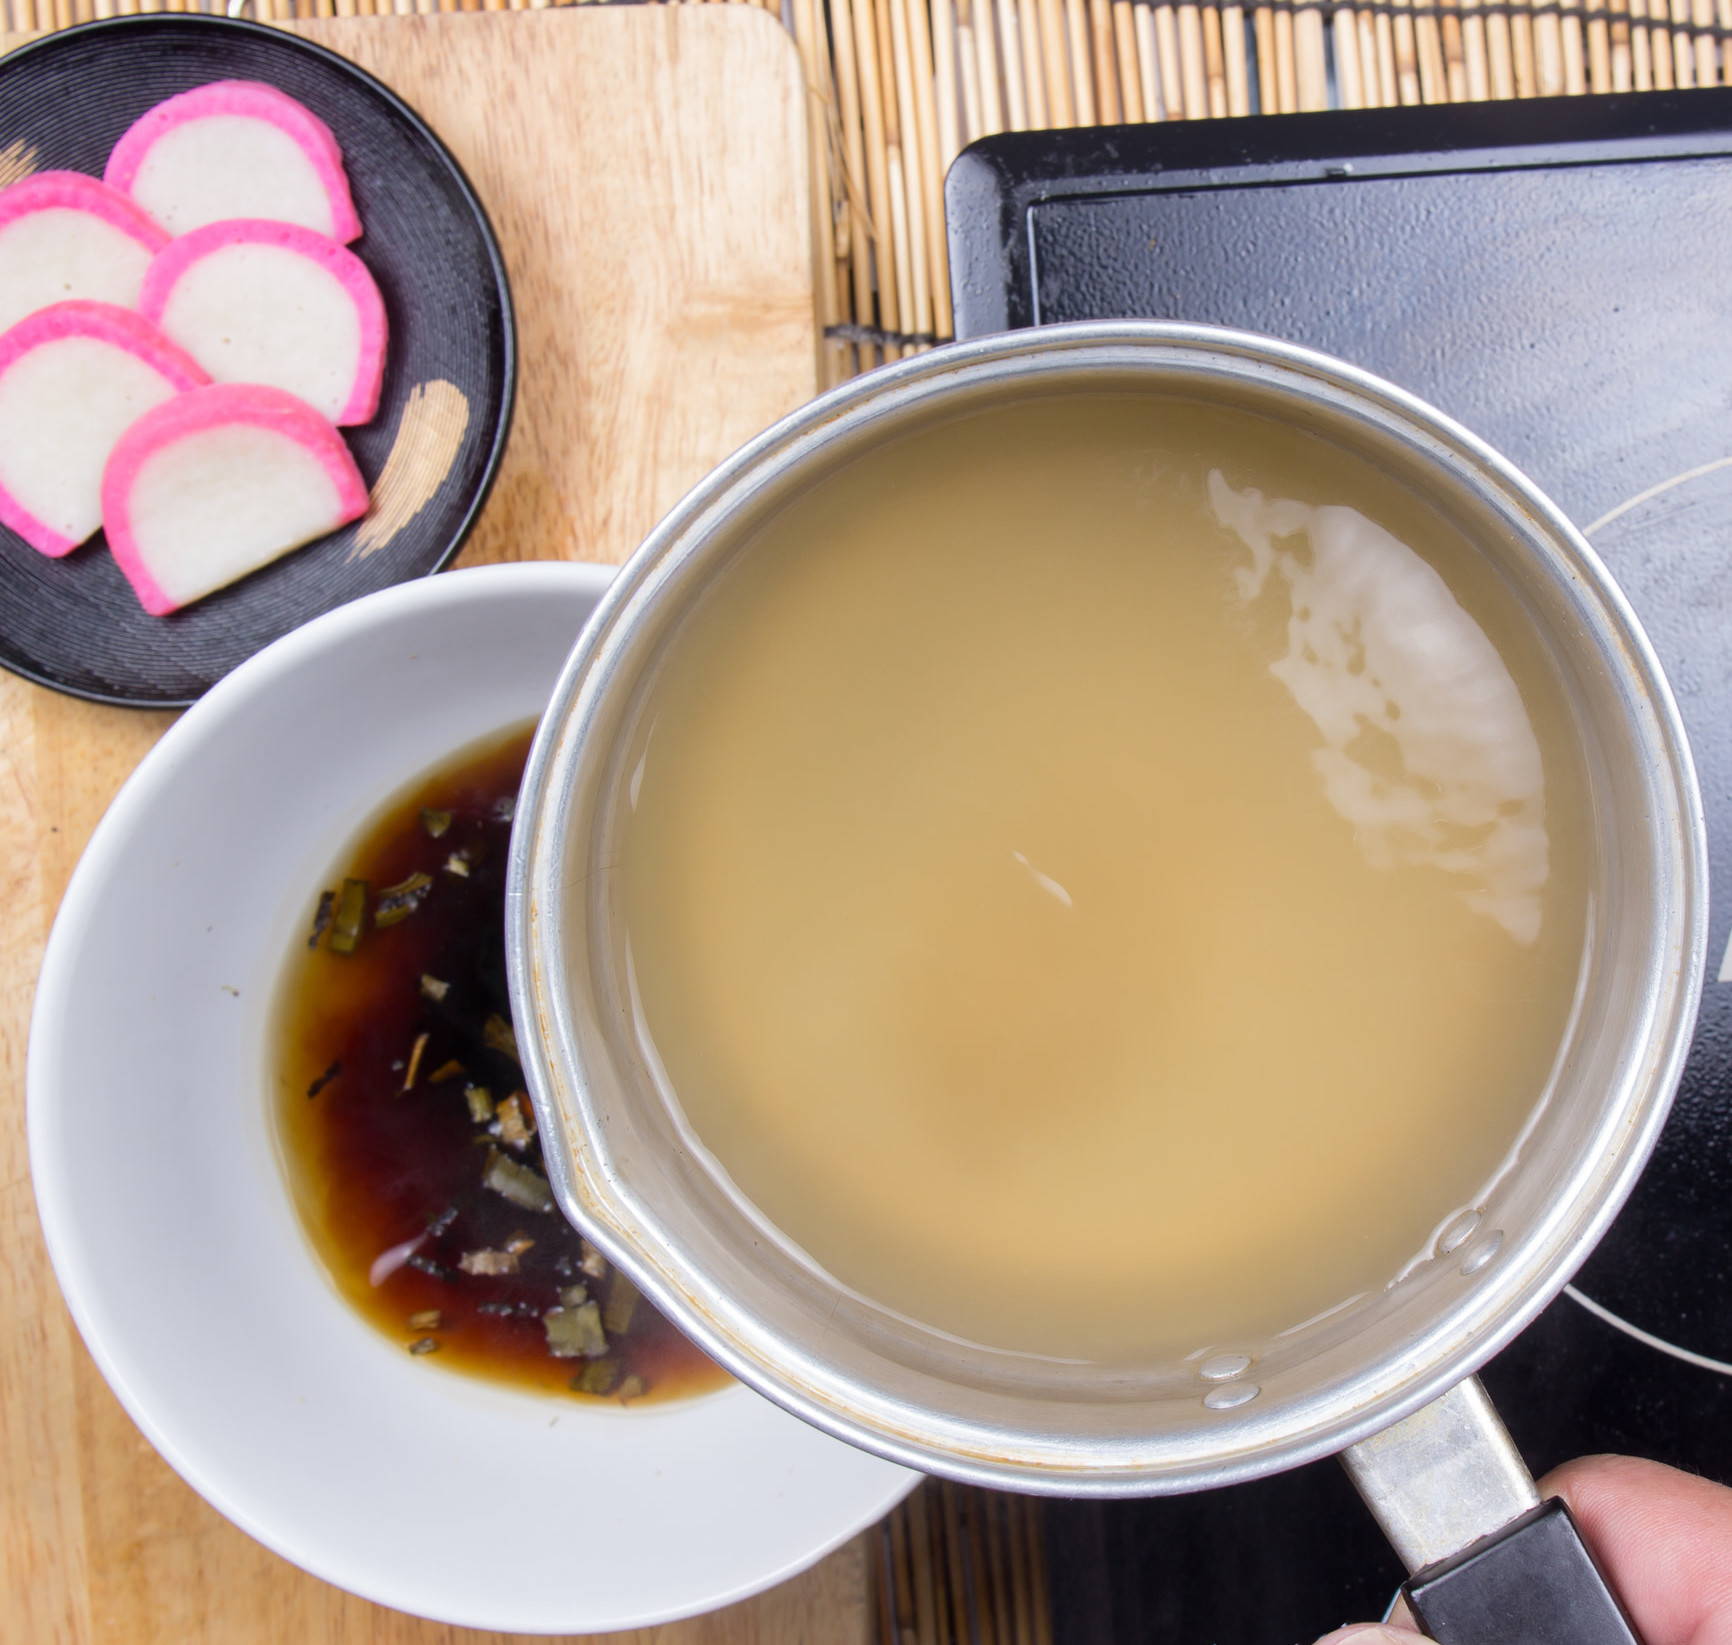
While the noodles cook, add tare, aroma oil, and soup, ideally in that order, to your serving bowl. If you're doing something funky, such as adding spices, pepper, or fish powder, add them with the tare.
Tare amounts vary by recipe. Generally I use between 30-45ml (2-3 tablespoons) of shio or shoyu tare per 350 ml (12 oz.) of soup, or around 10-12% the volume of the soup. For miso, I use more, maybe a big ice cream scoop's worth. For oil, I like to add 15 ml (1 tablespoon) or so, though some methods will use more. Mix it up, see what you like.
Adding the soup last ensures the tare is evenly dispersed and the final soup is evenly seasoned. If you're using a thicker tare, like miso, you'll want to whisk things in the serving bowl.
Step 5: Strain the noodles and add to the bowl
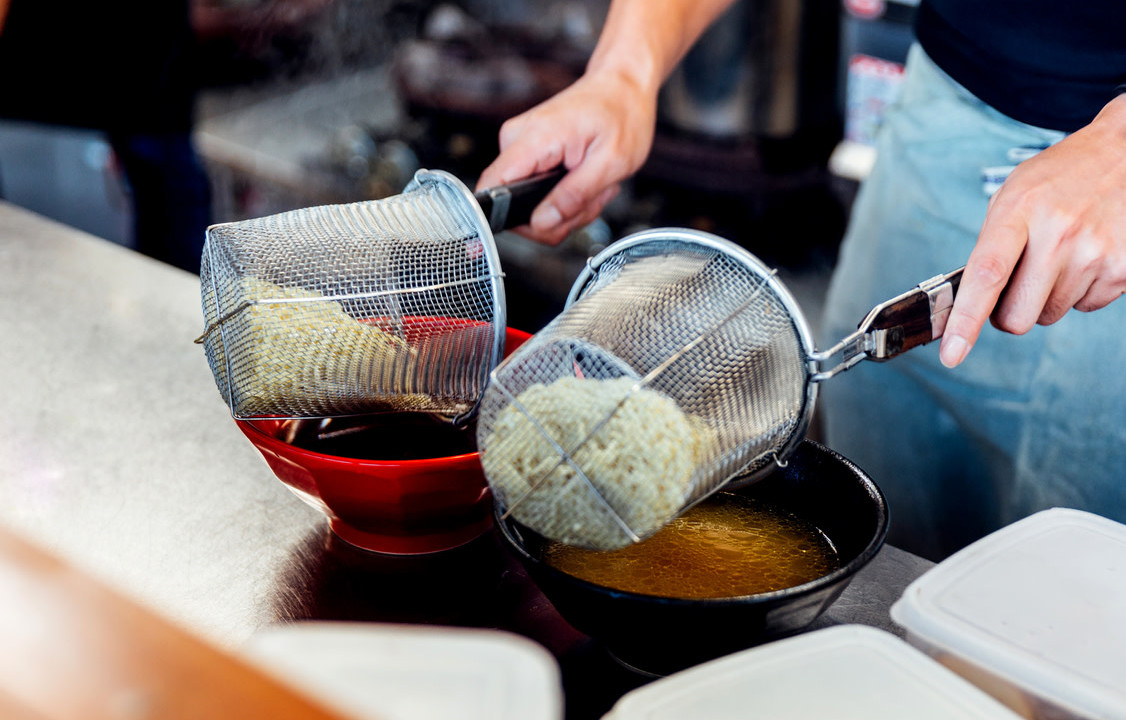
When the noodles are done, it's imperative to move quickly, as these are fresh noodles, and 5-10 seconds is all it takes for these noodles to go from chewy and pliant to soft and limp from overcooking. Remove the noodles from the cooking water immediately, and strain the noodles as thoroughly as you can. The goal is to remove as much excess water as you can in the span of 5-10 seconds. This water will dilute your soup and potentially give it a strange flavor, so thorough straining is important.
Many chefs in Japan have developed their own stylistic straining methods to do this effectively. They'll use noodle baskets, flailing them around and spraying water everywhere. Or throw their arms to the side and crash the noodles against the confines of the noodle basket. Chef Jack Nakamura, a legendary ramen chef in Japan, is particularly known for his noodle straining technique, which has been dubbed the "Heaven's Drop" technique.
I don't know if any of that showmanship is necessary, although man, does that look fun. But I just gather the noodles into a fine mesh strainer with a fork or cooking chopsticks and shake the basket over the pot quickly to make sure there's very little water.
You also want to move quickly because ramen noodles tend to get sticky when exposed to air after cooking. The residual gelatinized starch quickly links up as the surface dries, promoted by the alkaline environment, and your noodles will go from separate and slippery to clumped and caked. If this does happen, just dunk the noodles back into hot water for 5-10 seconds to dissolve some of that starch and separate them again. They won't be as perfectly cooked, but they won't be clumped and impossible to eat. And move quickly next time!
Step 6: Separate and line up the noodles
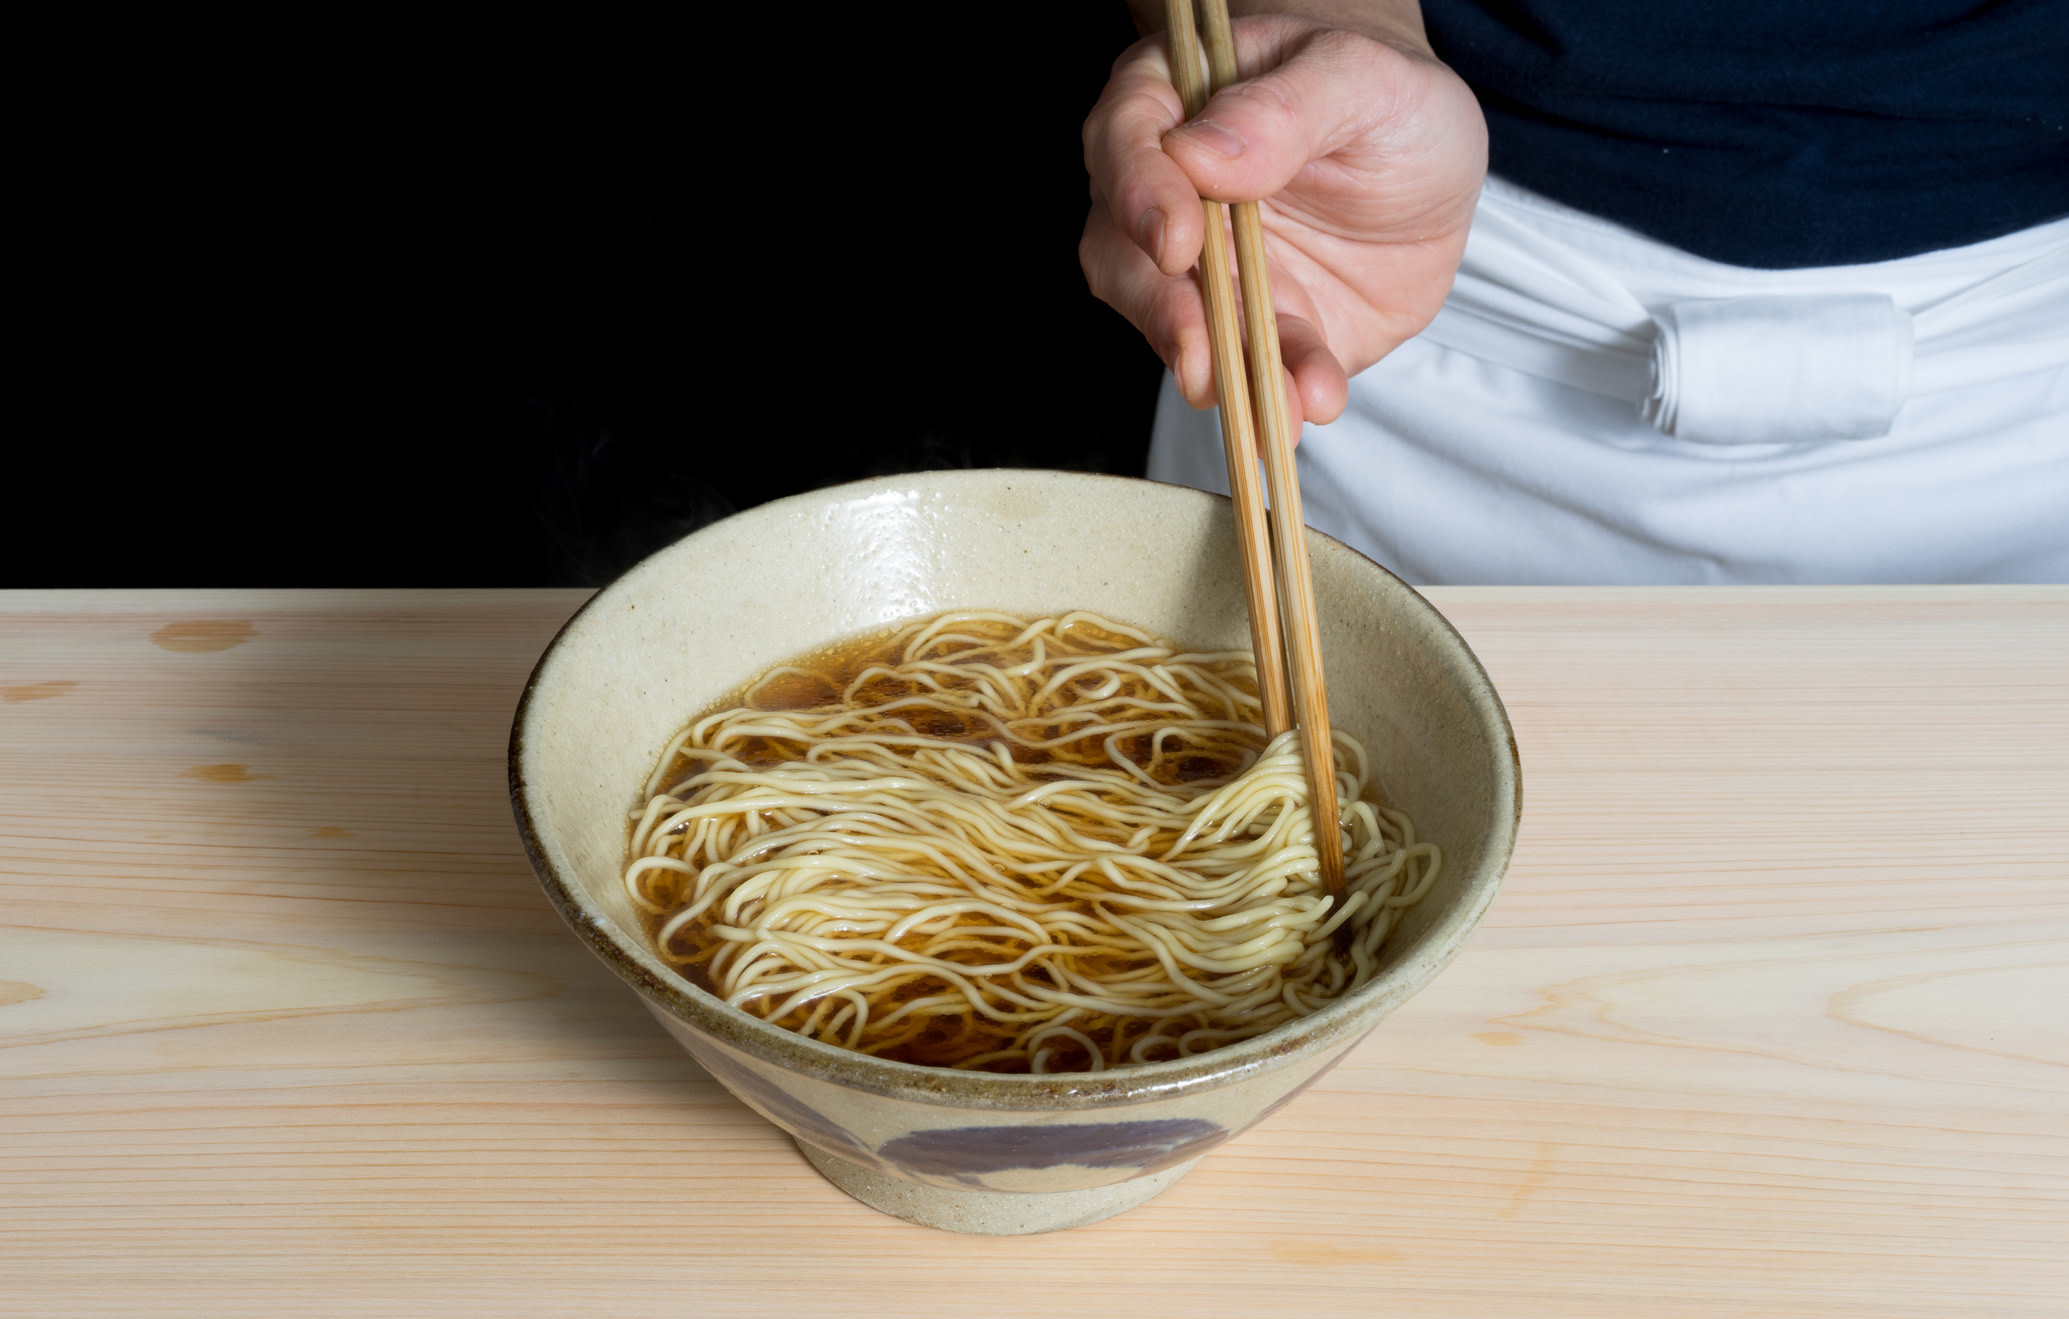
Once the noodles are added to the bowl, they'll probably be bunched up into a ball.
This is where the "noodle fold" occurs. It's a common plating technique to take the noodles an essentially fold them into a bundle. Doing this effectively separates each strand so they're easier to pick out of the bowl while eating. I use a pair of super-long kitchen tweezers to do this, lifting the noodles up and folding them over themselves.
Step 7: Plating
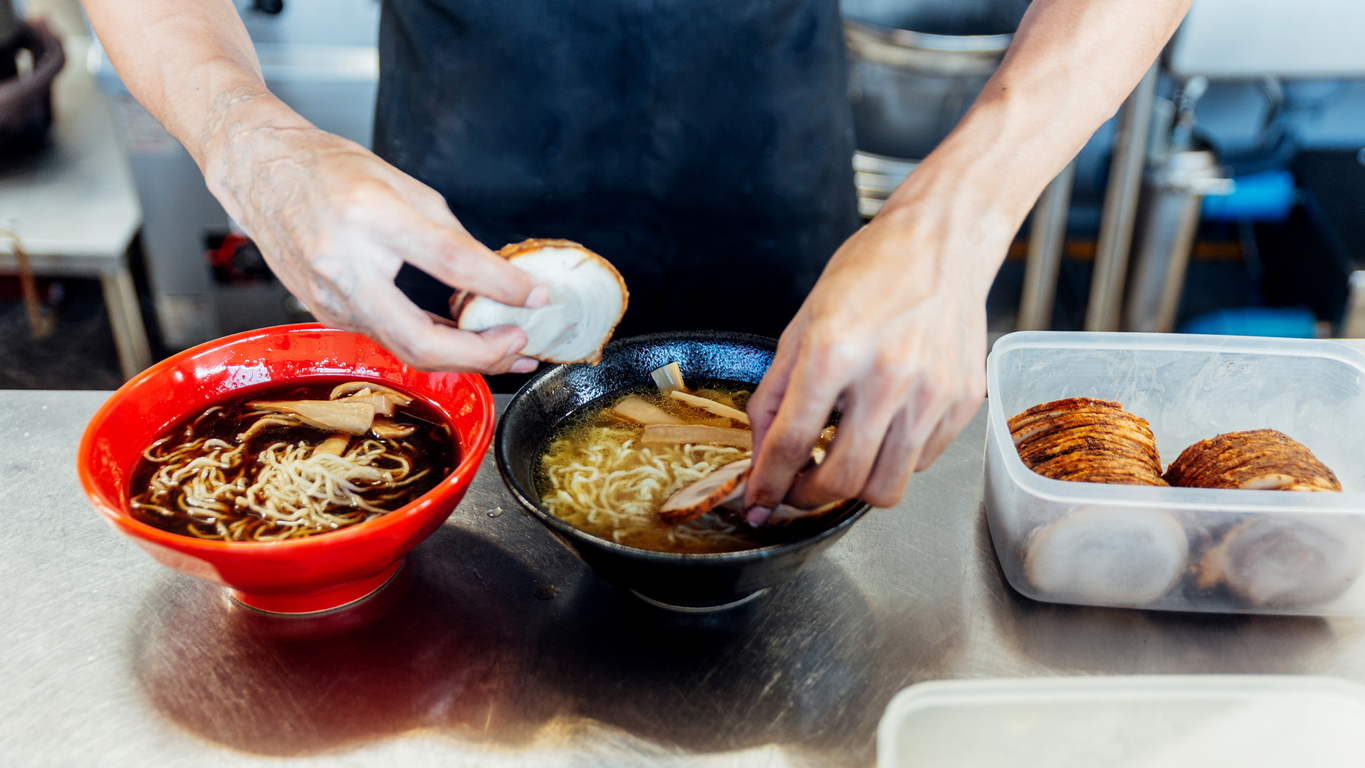
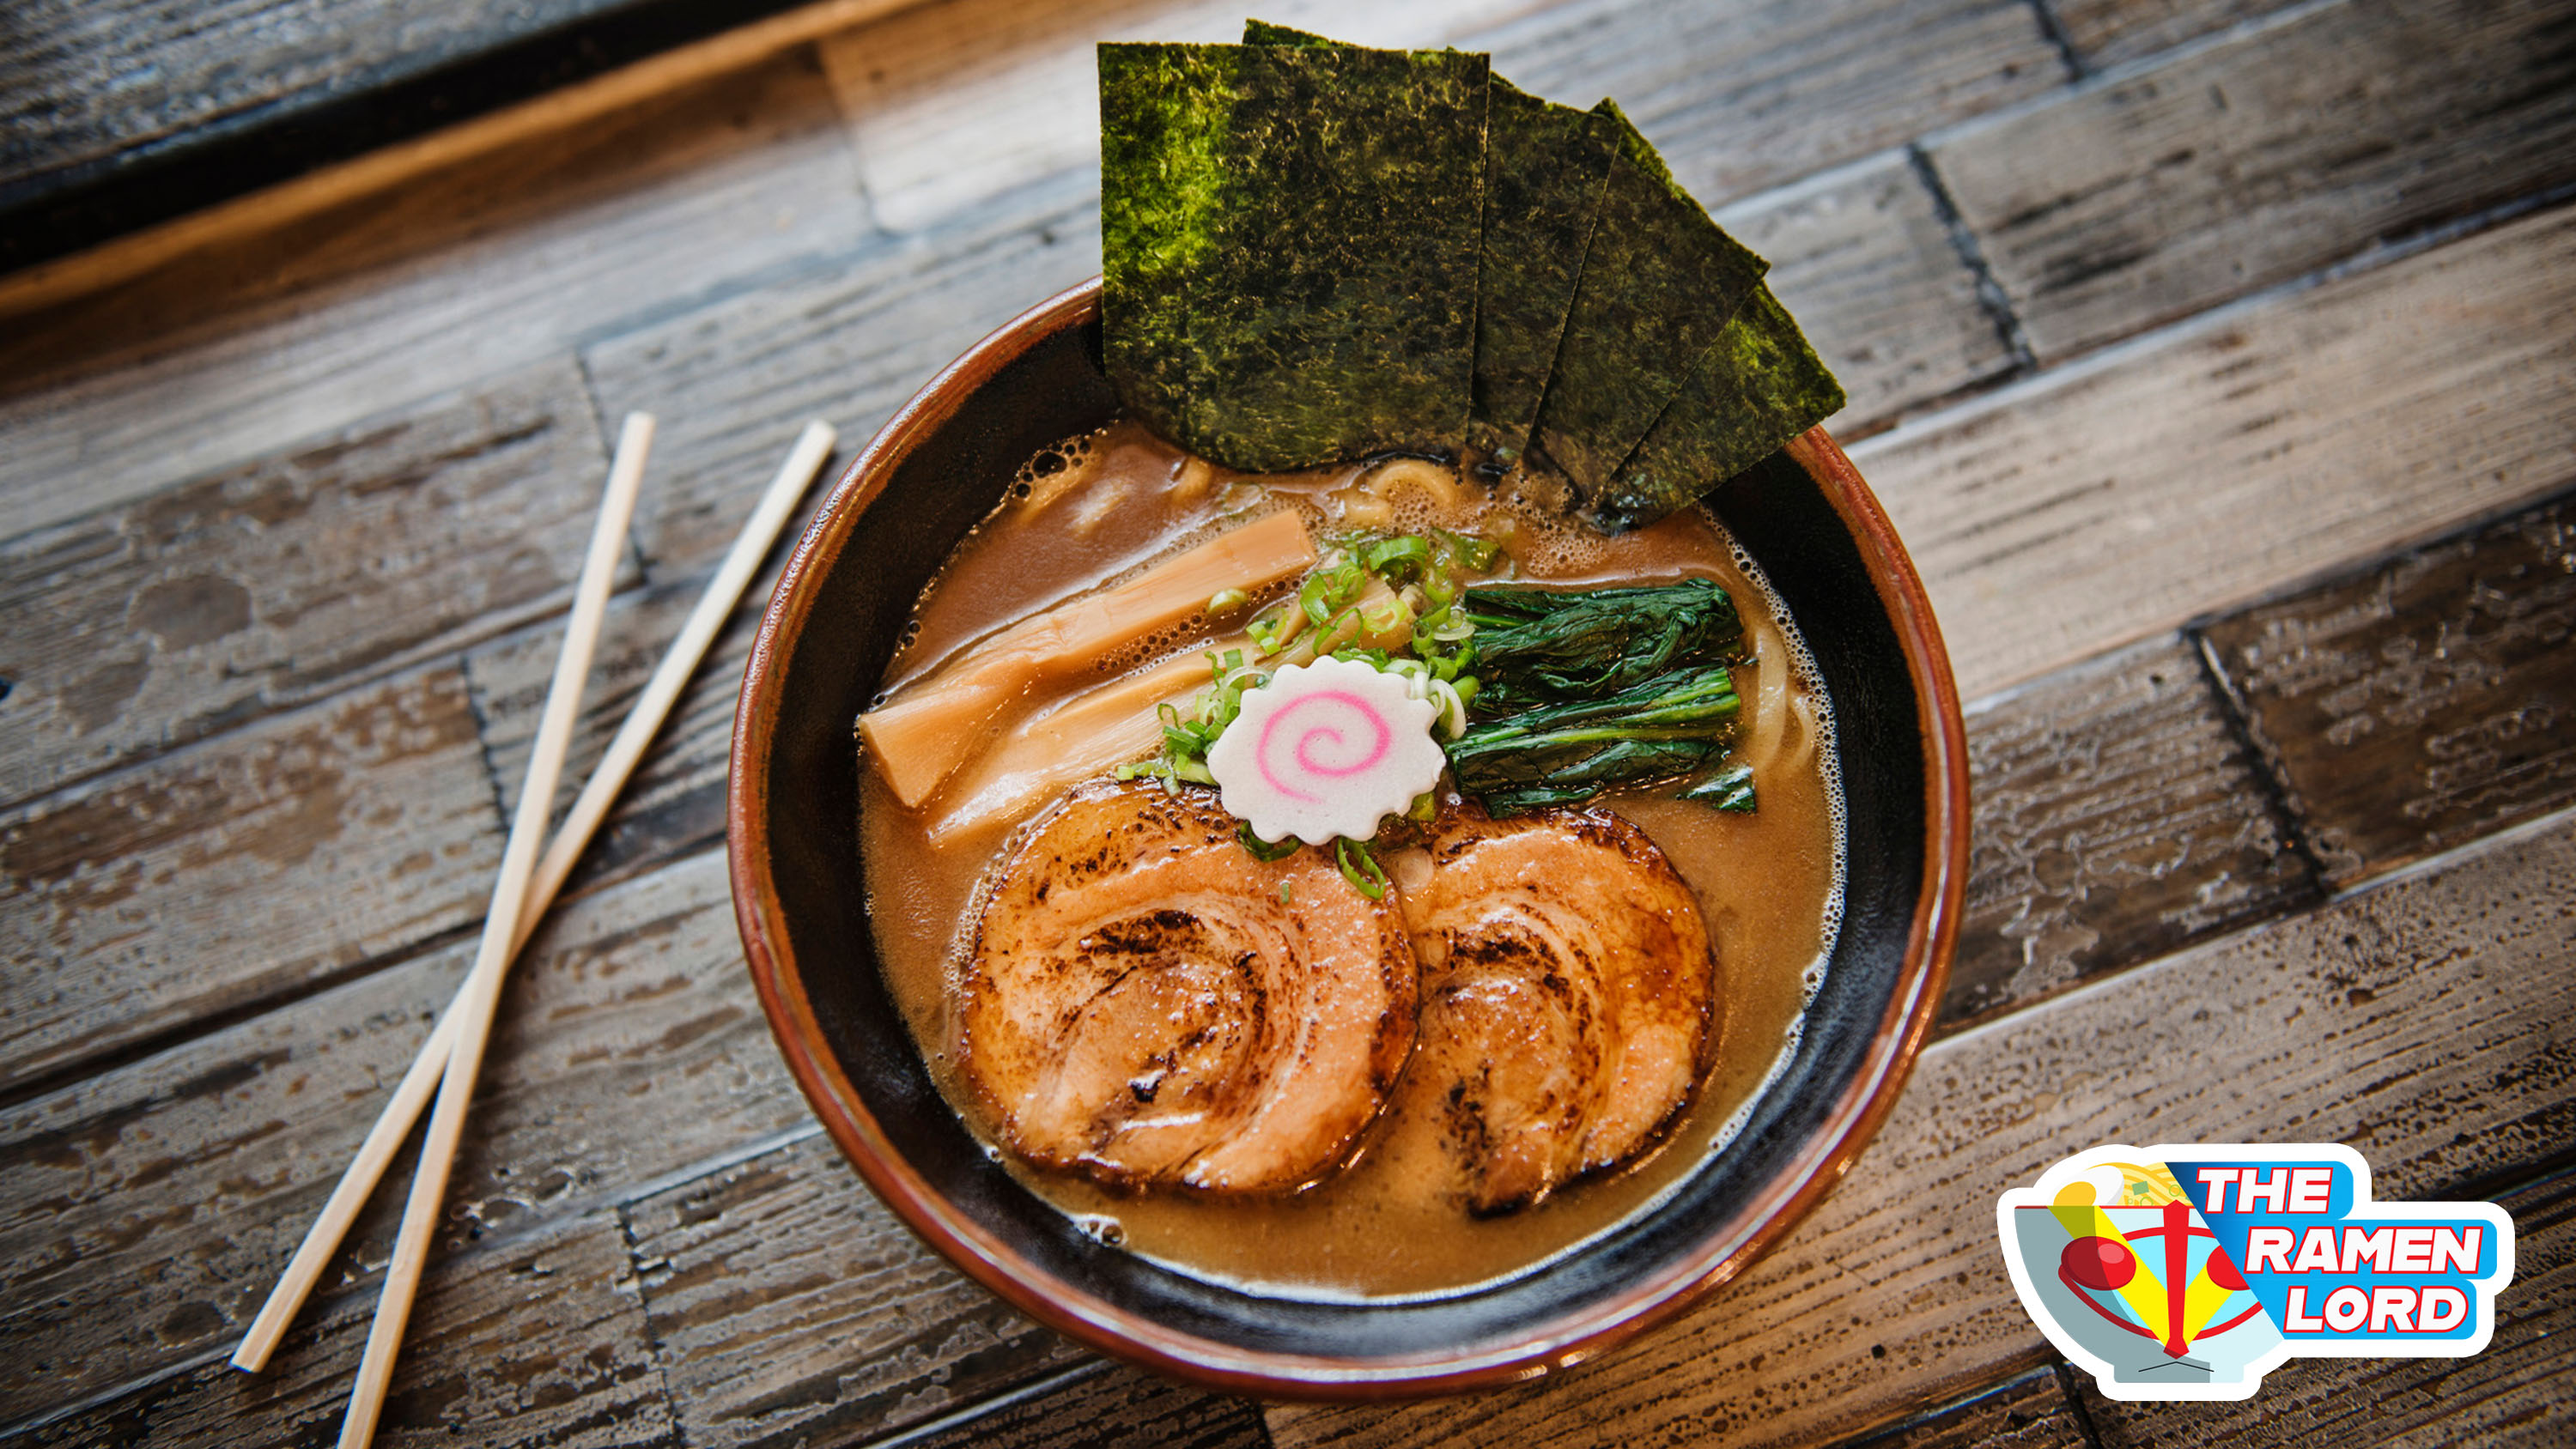
Add toppings. If you're using nori, add it last, as it quickly gets soggy. I add the meat first, so it can maintain warmth. I like green onion in the middle, chashu or meat at 6 o'clock, nori at 1 or 2 o'clock, egg at 11 or 12 o'clock, and other toppings at 3 or 9 o'clock. Sort of like quadrants. Of course, the plating is entirely up to you.
Step 8: Eat your heart out
That's really it. It's a humble bowl of noodle soup but requires care to get it to the level of quality it deserves. That's why ramen is so delicious—it's the focus on the particulars.