8 Useful Tools You Need For Baking Bread (And 3 You Don't)
Turns out, you really don't need that much equipment to bake bread.
I'm a novice at baking bread, but I've been doing so consistently for a few months now. While I thought it was going to involve a lot of new equipment, turns out I barely needed anything to get started. There are a few key tools you can't do without, but if you have bowls and a cast iron cooking vessel laying around, you aspiring bakers already have what you need. Here are which items are absolutely necessary, which ones are optional, and which ones you don't need at all to crank out a great loaf of bread.
Essential: a kitchen scale
Yes, you need a kitchen scale for baking. I'd gone a long time without one, thinking, if I can make cookies without a scale, who needs one for bread? But assembling the key ingredients for bread—which are flour, salt, water, and yeast—involves a fair amount of precision. Ratios of liquid to flour are a key component to your success in baking, and if you're off, you might end up with a crappy loaf, which will be disappointing after waiting hours for your dough to ferment and proof.
Don't skimp out, either. My first scale I got on clearance at a bargain bin store, but it crapped out on me. You can get a great scale for $20; I have an Escali food scale that cost $25, and so far, it works like a dream. You can't skip a kitchen scale, I can't stress this enough.
Not necessary: stand mixer
I do not have a stand mixer. I do not plan on buying a stand mixer. The gold standard from KitchenAid will usually run you over $300, and because I only bake bread once every 7-10 days, I don't really feel the need to invest in a piece of expensive equipment. Plus, we live in a small apartment with limited counter space.
All the recipes I tackle are no-knead, meaning you don't have to stand there and knead dough on the counter until you're exhausted. You just have to check in on your dough now and then, fold it manually, and gluten will form. It just takes a while.
Hey, if you have space and a bunch of money to burn, feel free to get one, though. Maybe someday I'll extoll the virtues of a stand mixer, but unless I become independently wealthy (sigh), I'll bake beautiful loaves of bread without this expensive and optional tool.
Optional: bannetons
A banneton is a basket that's specifically made for proofing and molding dough into a shape, like a round, which results in a loaf called a boule, or an oval loaf, called a batard. You don't really need one because you can proof bread in a bowl just fine.
However, I do have an oval banneton since oval-shaped loaves are easier to slice for manageable sandwiches. Cutting through the middle of a boule will net you slices fit for an enormous sandwich, which is fine now and then, but not something I can handle for every meal. A batard is more ideal if you want normal-sized pieces.
This being said, you can manually shape dough into oval loaves as well, so really, this one's up to you. Bannetons can range from $5-$50. If you're on the fence I'd get one. Plus they're ridged, so they make your bread look really cool when its done baking.
Optional: a bread lame
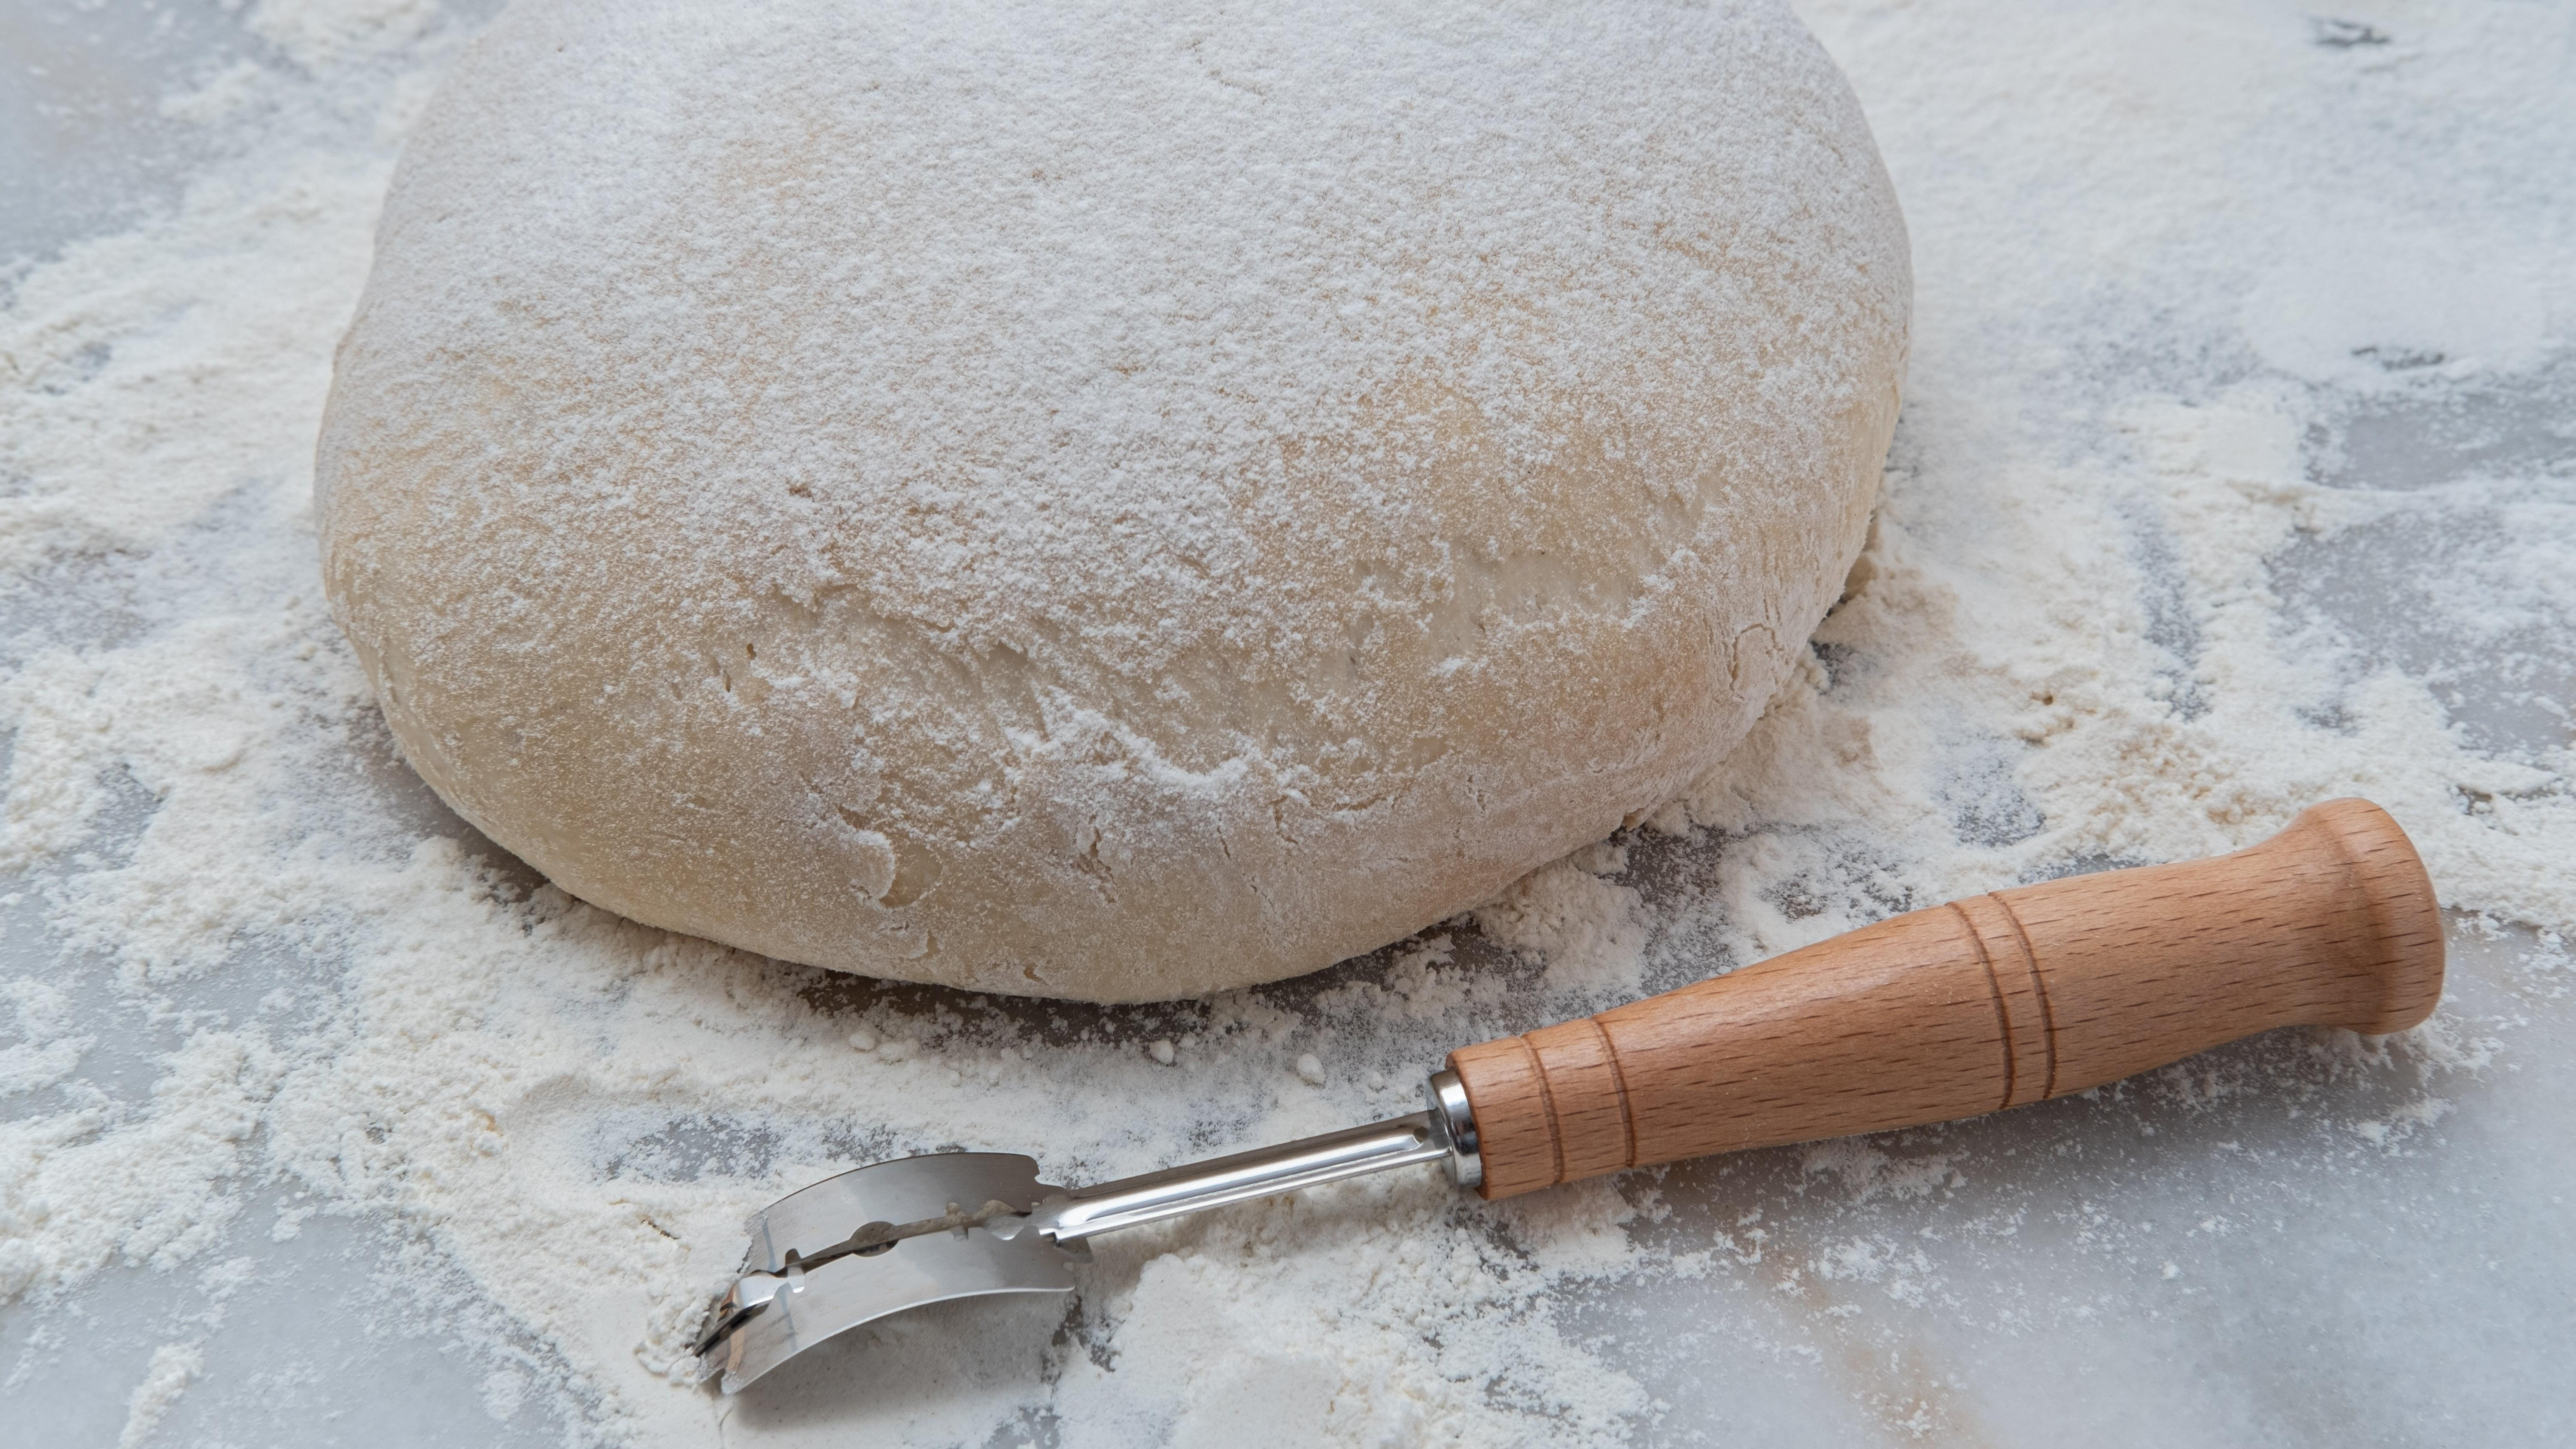
A bread lame (pronounced "lahm," unfortunately) is a device with a curved blade at the end. You use it to slash dough before it goes into the oven, in order to let steam out while it bakes so that your bread doesn't get all bulgy and bust open in weird spots.
You absolutely don't need one, however. Before I got one as a gift, I'd been using a knife to cut slits in the dough. If I was having trouble with that, I'd just opt for kitchen shears to snip it down the middle, which works well also. But I do have to say, bread lames look really cool, so I always get a kick out of using mine.
Not necessary: a proofing box
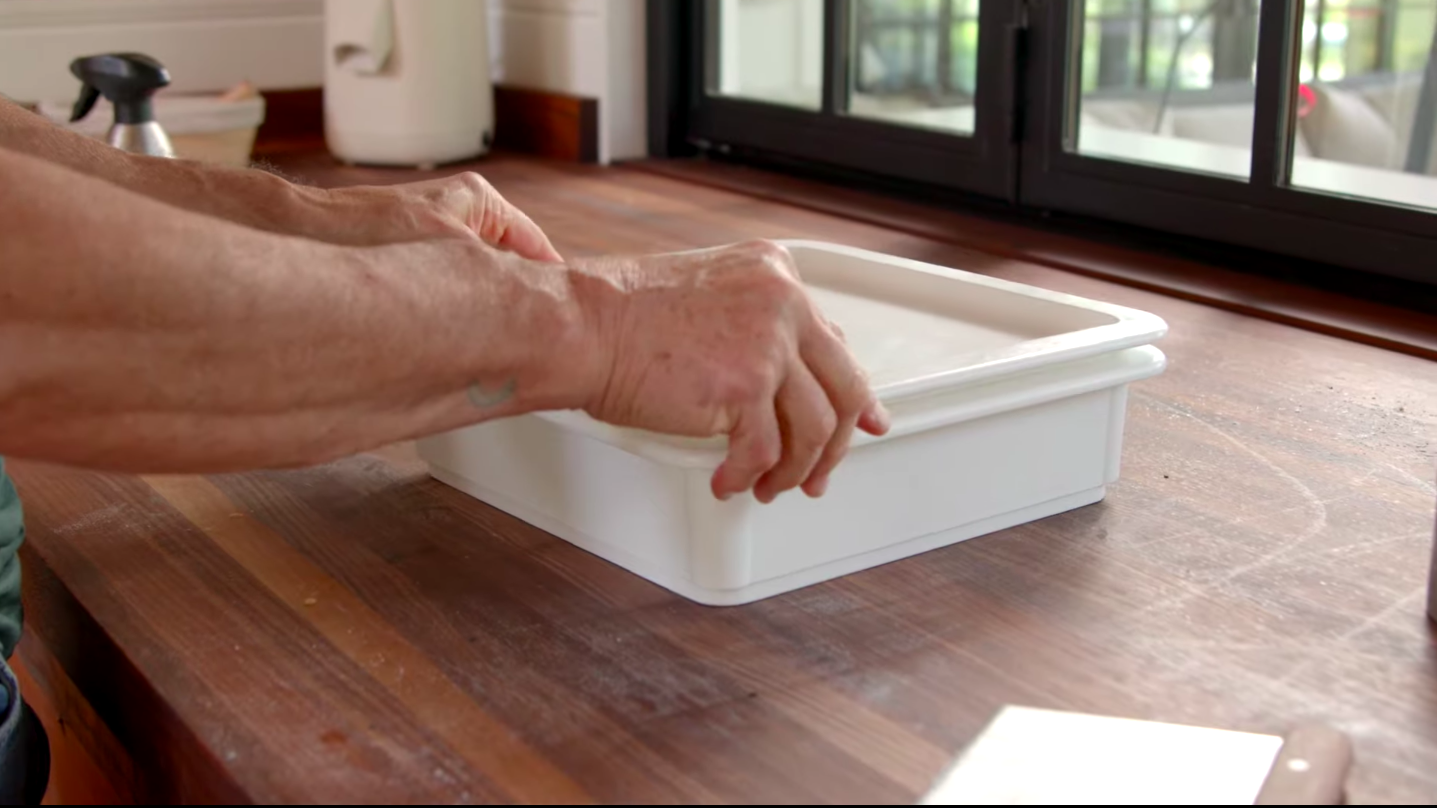
A dough proofing box is a container that you proof your dough in. It exists to create the ideal environment in which to rise your dough, but honestly, I haven't needed one. I proof my dough in a bowl or a banneton in the oven with the light on, which warms up the oven chamber by a few degrees. You can probably skip a proofing box unless you find yourself becoming an avid baker.
Optional: a dough scraper
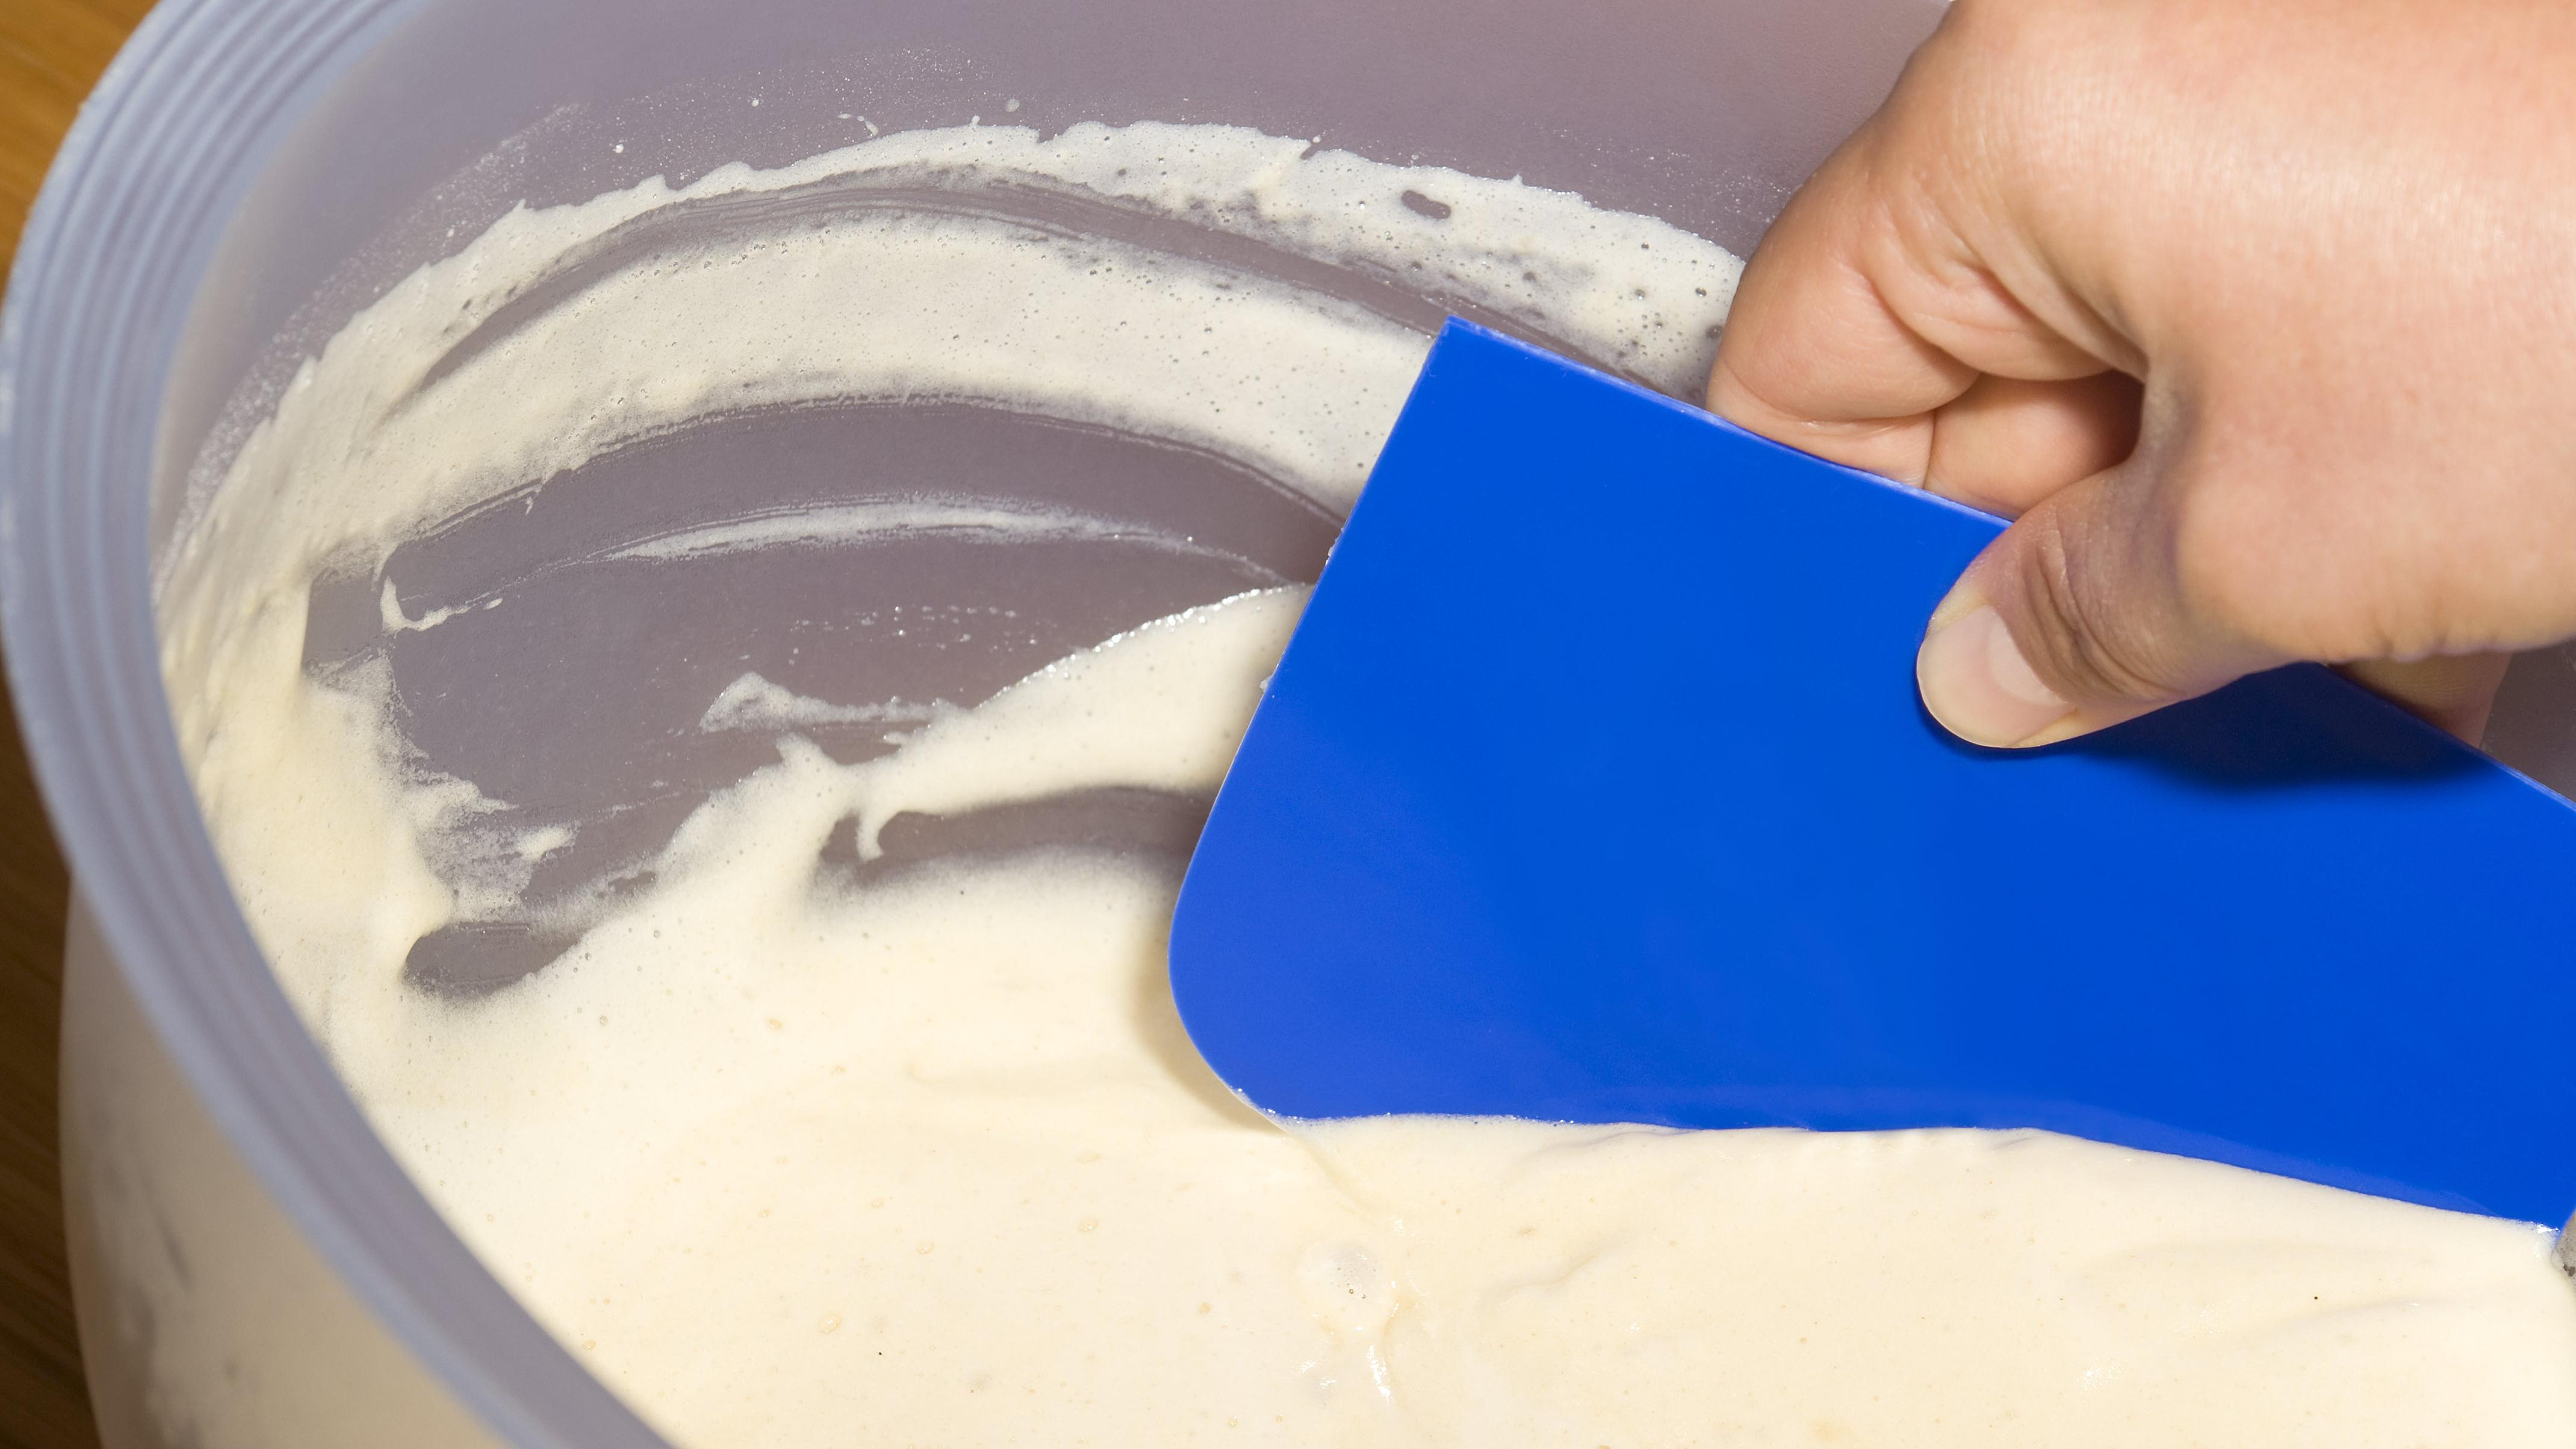
I managed to scrape by (heh) without one of these for a while at the beginning. Mine dough scraper is like the one pictured above, with a rounded edge on one side to scrape dough out of a bowl, and a flat edge to scrape excess dough off a table surface. It's made of flexible plastic, but you can purchase metal scrapers, which are superior for scraping dough off flat surfaces.
I waffled on whether or not to tell you to get one, because I was able to get by sans dough scraper. However, my life got way easier once I was able to scrape the dough off the surface of my kitchen island, in terms of cleaning. Plus I could get every last bit of dough from the bowl that way. I highly recommend one, and mine only cost a few dollars off an online marketplace, so I say, go for it, though you can technically live without one.
Essential: an array of mixing bowls
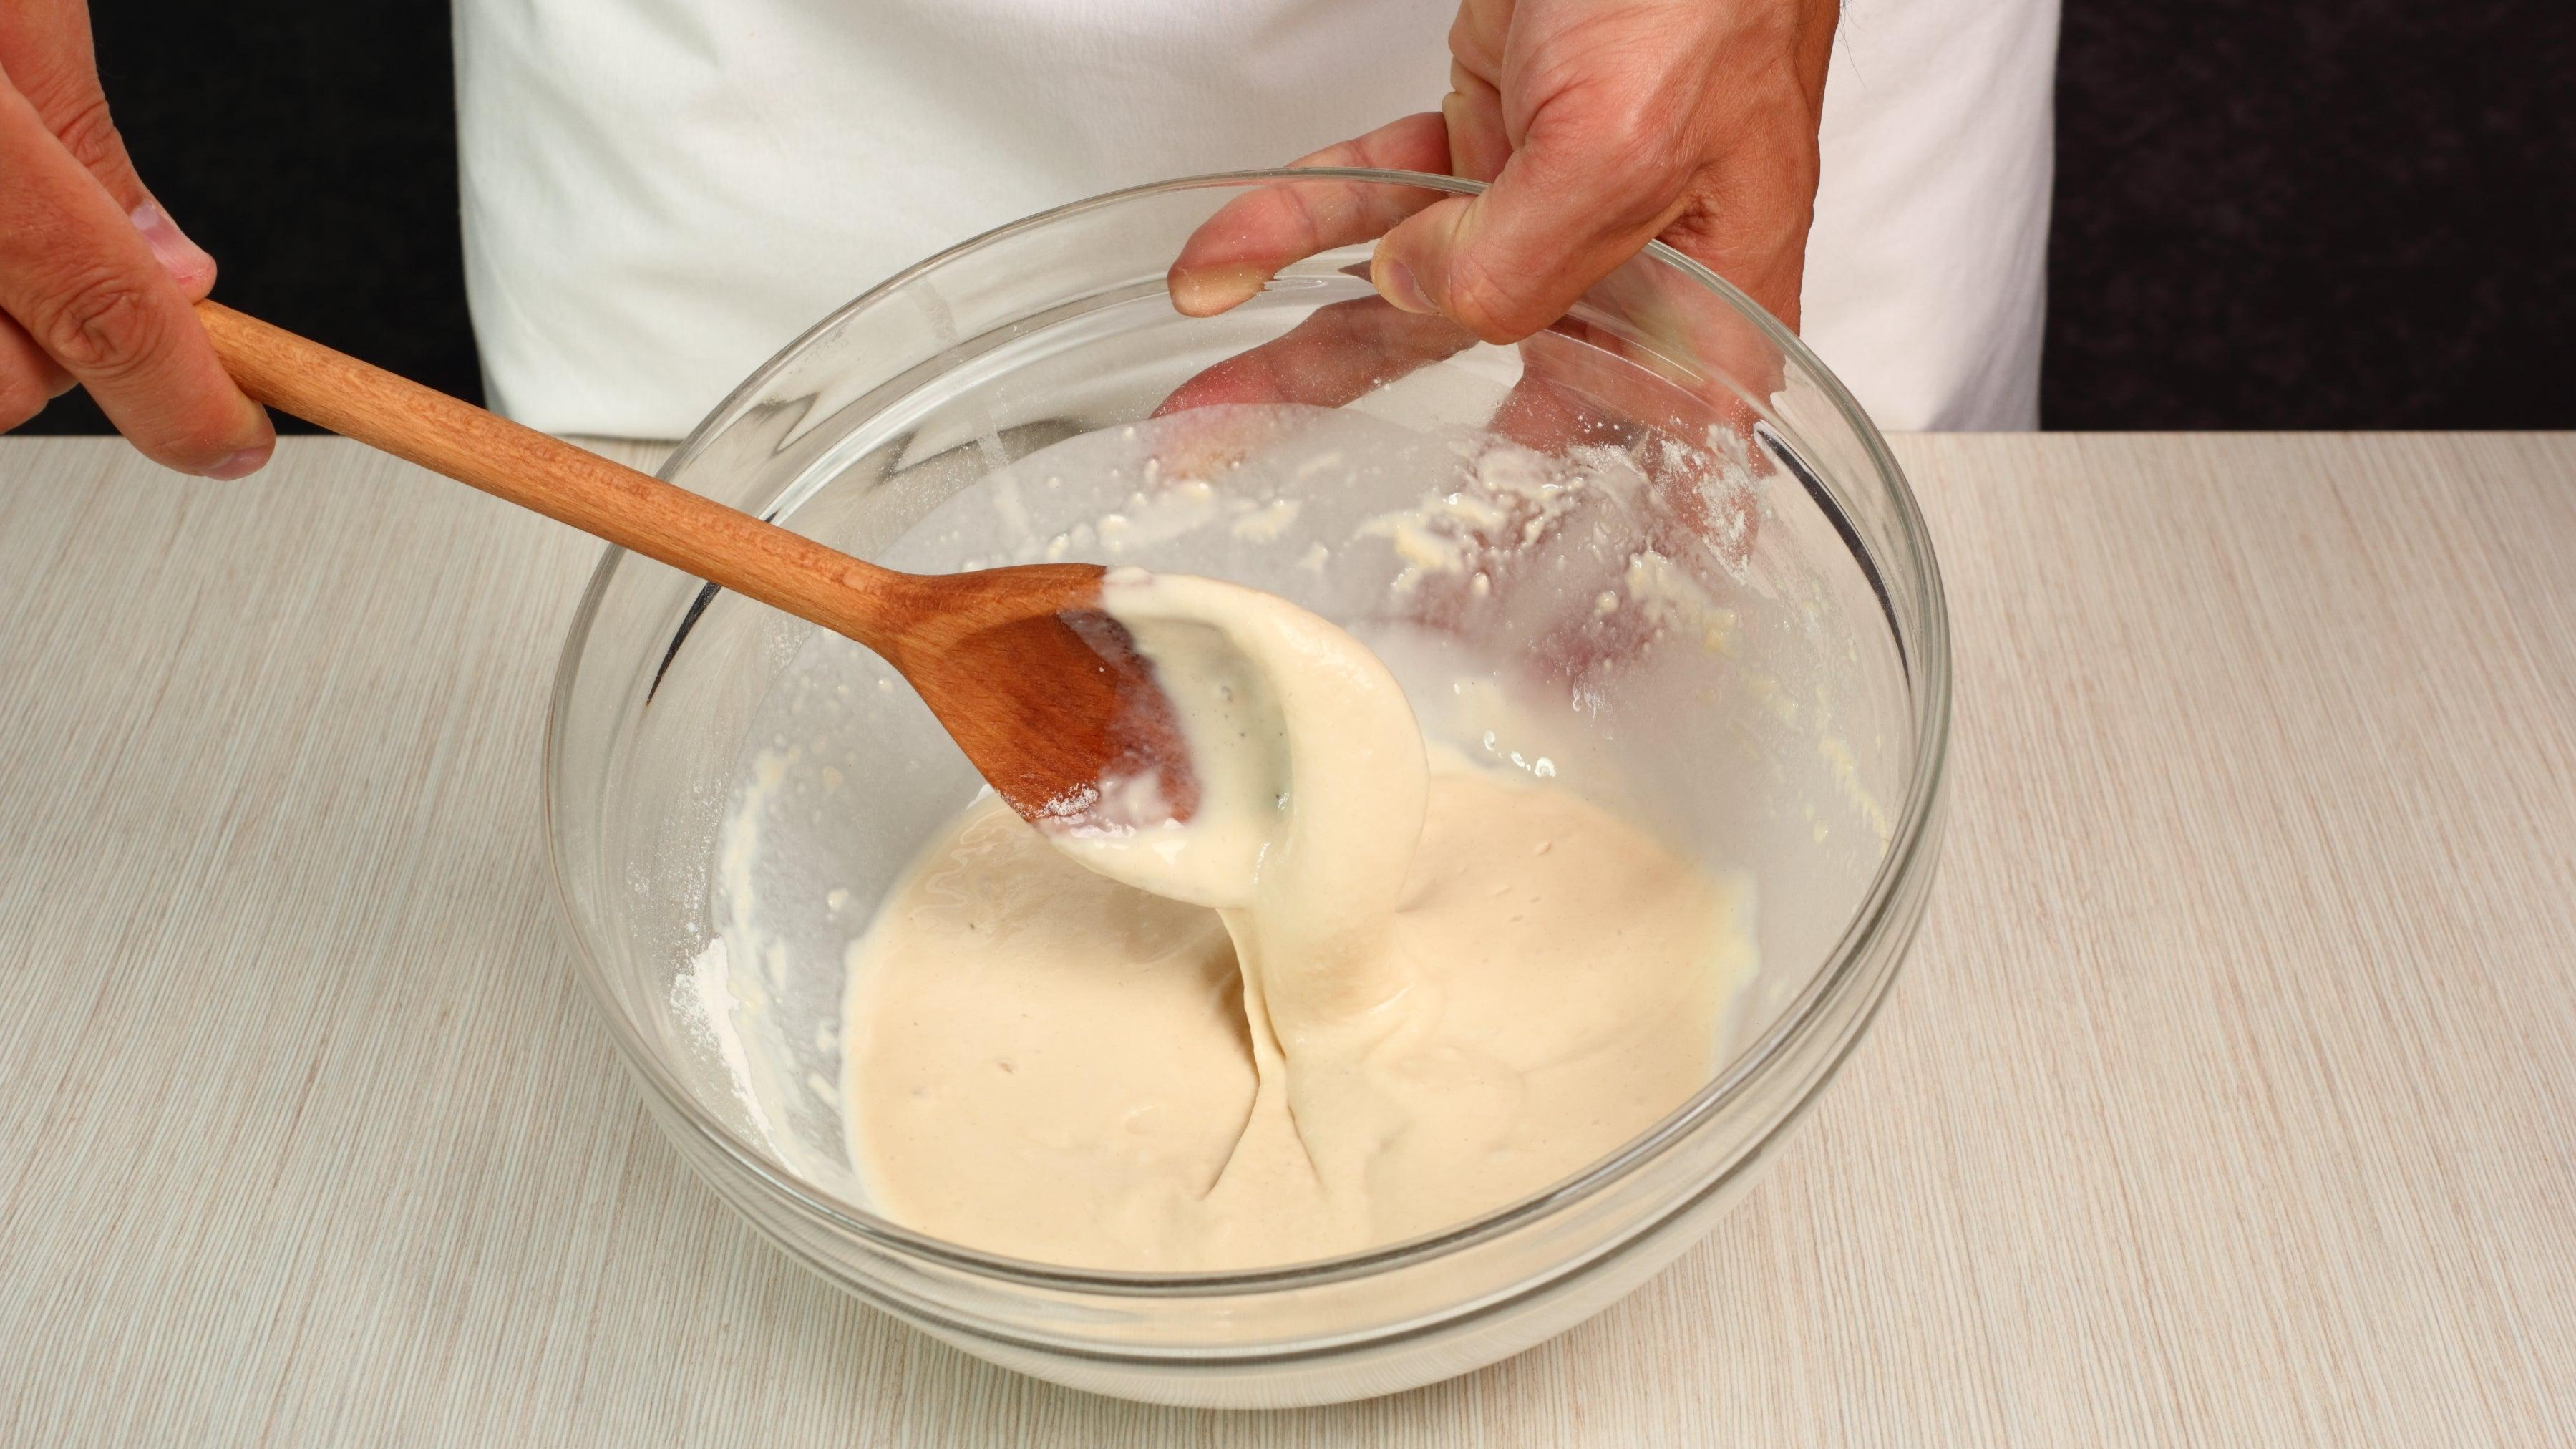
This goes without saying, but you need mixing bowls to mix dough in. Though they're heavy, I prefer glass bowls, since I can see the progress of my dough as it ferments and rises. I keep track by looking at the bottom to see if consistent bubbles are forming, and I look through the side to roughly gauge its progress in rising. I initially mix dough in a large bowl and transfer it to a smaller one when it's rising, since it's easier to visually see the rise in a smaller bowl.
Lightweight metal bowls are perfectly good too. They're easier to lift (dough gets heavy!) and once you know what you're doing, eyeballing the rise in a metal bowl isn't that hard. The type of bowl is really up to you, just make sure you have a variety of sizes.
Essential: a baking vessel
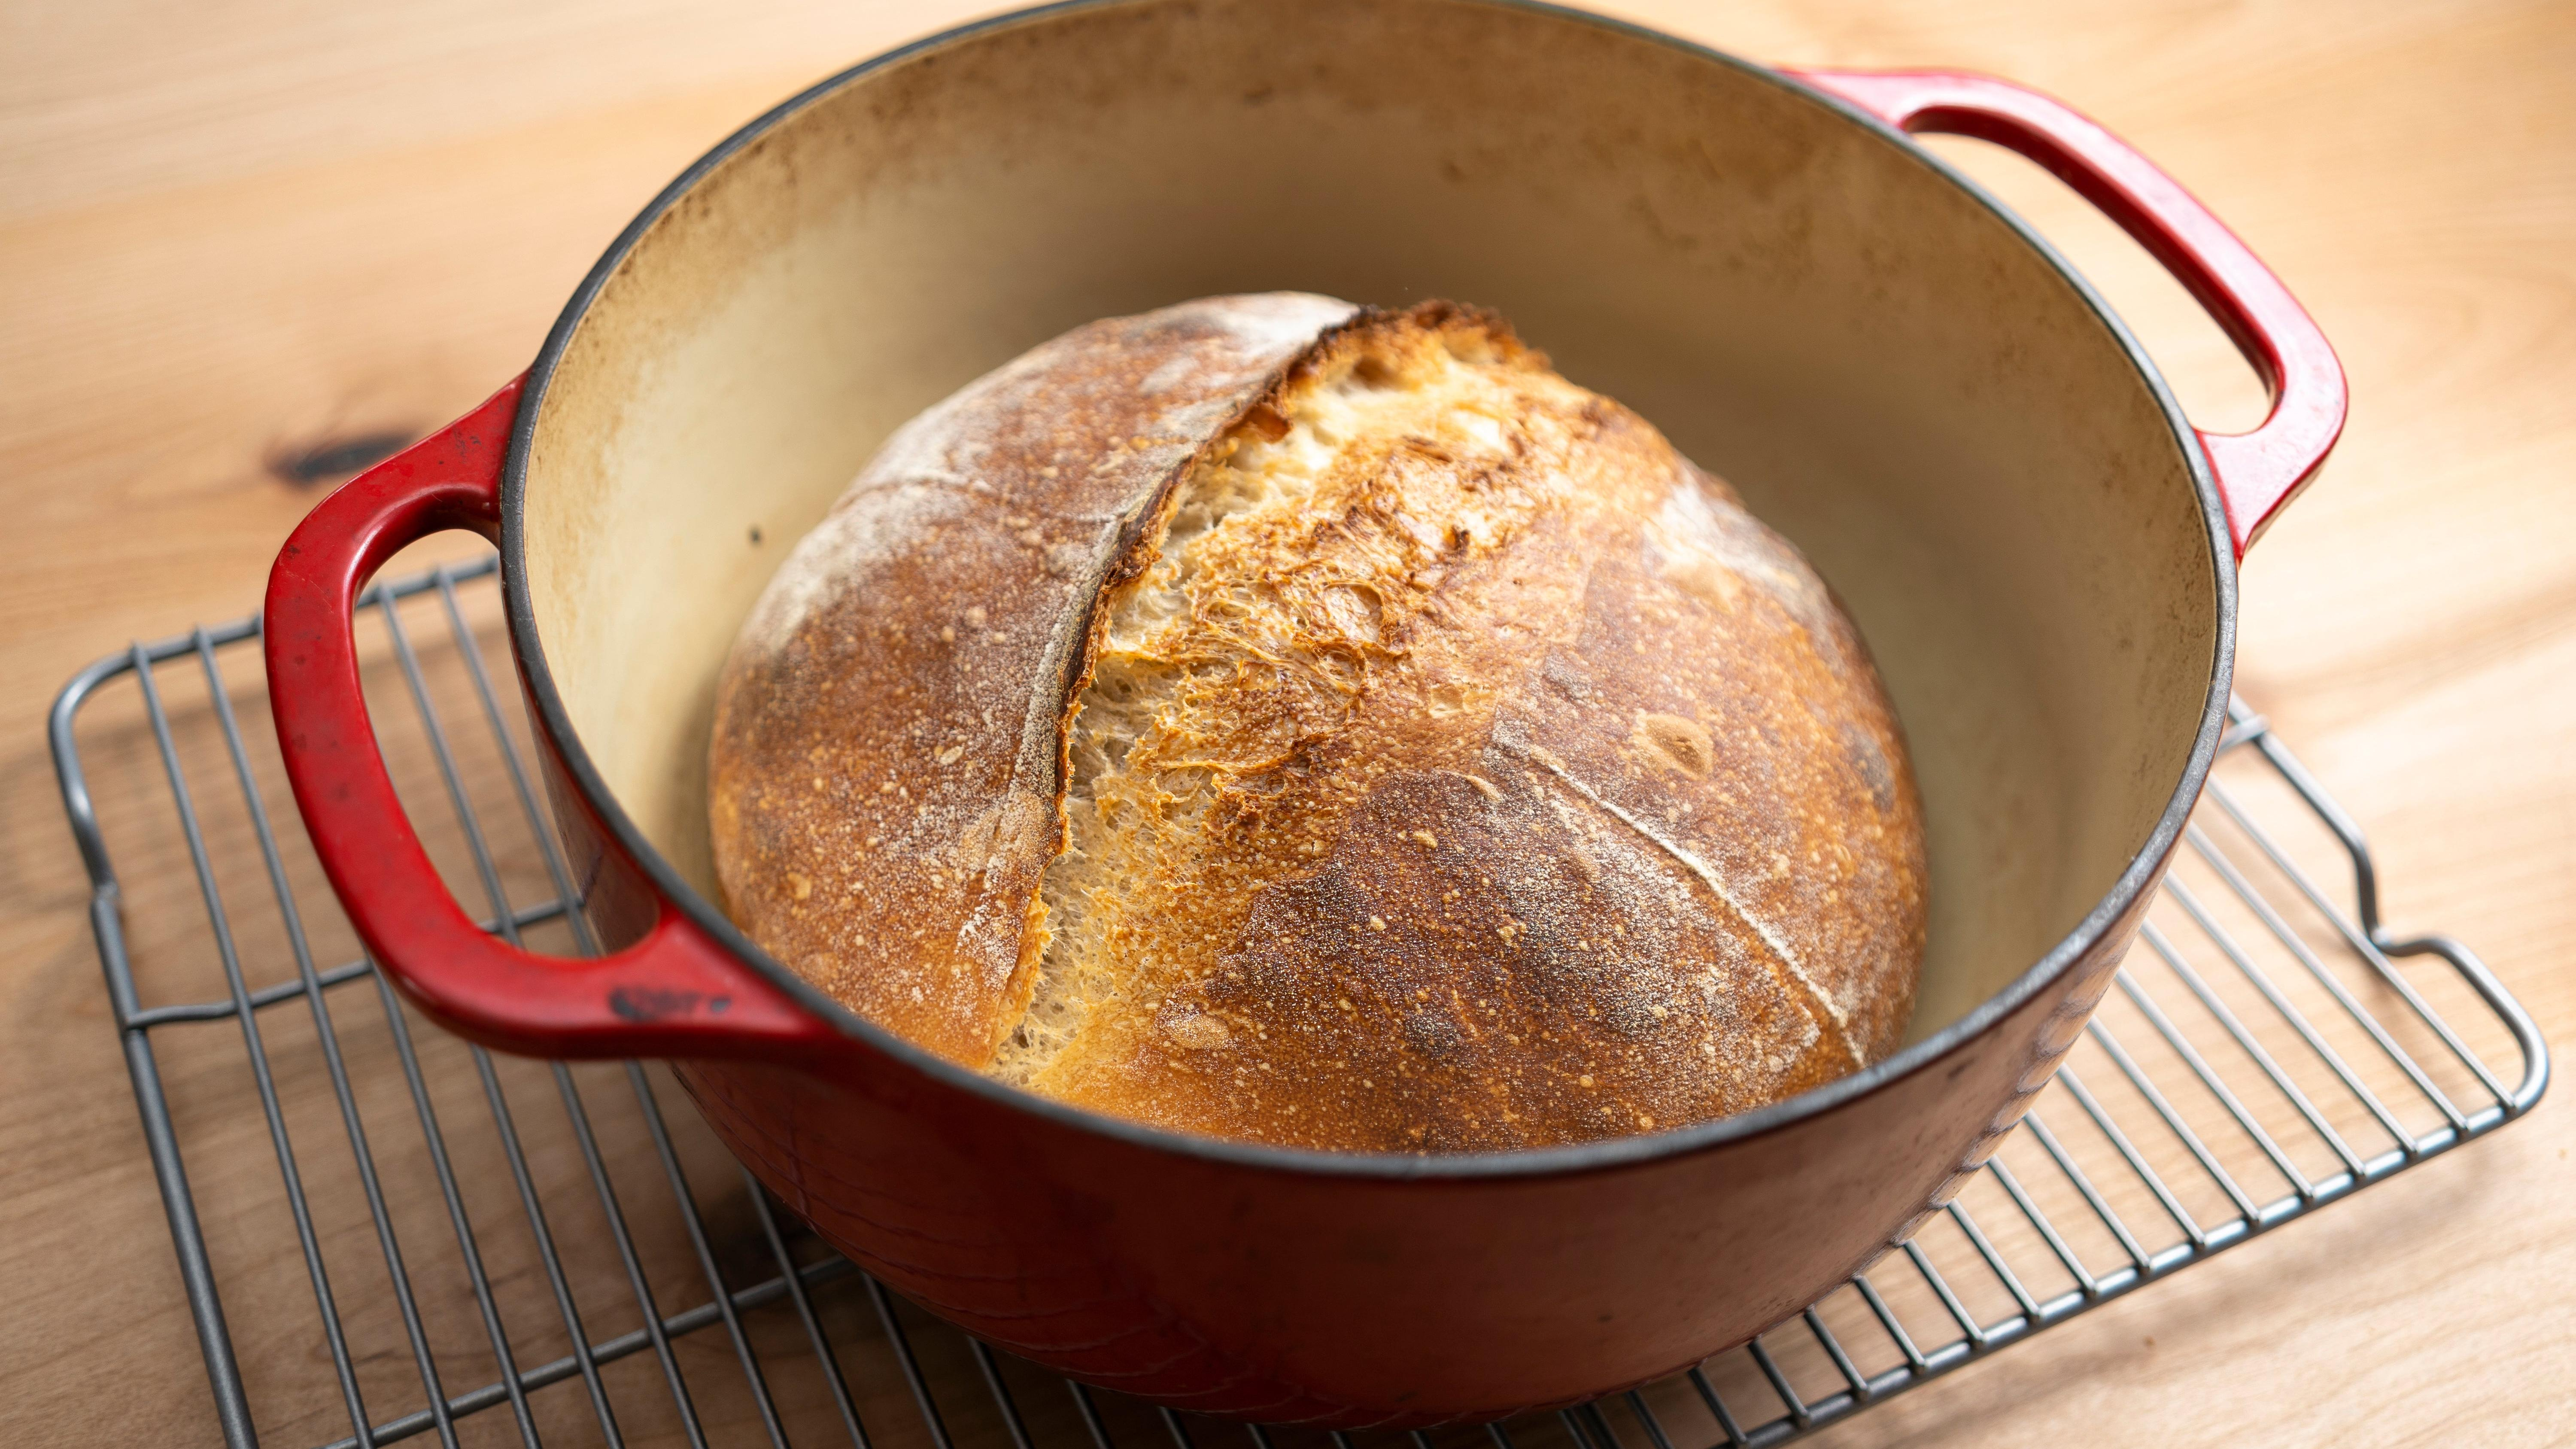
Steam is an essential part in the home bread baking process because it prevents a hard crust from forming right away, which means the dough can expand in the oven as it cooks off. Plus, the steam gelatinizes the starch on the exterior of the loaf, which results in that crackly and shiny crust that is so coveted. The issue is that most of us don't have access to specialized equipment like a steam oven, which injects steam into the chamber for even cooking.
So, what do you use instead? An enameled cast iron Dutch oven. Not only does a Dutch oven distribute heat well, its lid traps steam that comes out of the dough itself, essentially steaming the bread during the first part of baking using its own moisture content. After the bread has steamed in the Dutch oven for the first leg, you remove the lid and expose the dough to the heat of the dry oven until it gets a burnished color on top.
There are varying shapes of Dutch ovens (I use a round one and an oval one depending on the loaf shape I want), and there are also specialized cast iron baking vessels on the market, like the Challenger Bread Pan. The Challenger Bread Pan is expensive and not as multi-purpose as a Dutch oven, so my recommendation is the latter. But check with the manufacturer; some Dutch ovens aren't graded for high temperatures, as the enamel can crack beyond a certain threshold.
Optional: parchment paper
Parchment paper isn't a necessary piece of equipment when baking bread, but it can come in handy. I started off using it when transferring raw dough into a screaming hot Dutch oven, as you can plop it in along with the dough itself. This lessens the risk of burning the ever-loving crap out of yourself, which is good. It also helps you lift the bread out of the baking vessel when it's done, which again, prevents you from burning yourself.
It doesn't change the end result either. Heat transfers right through it as if it weren't even there. I'm a little more confident now with my dough handling skills, however, so now I don't use it, but it was a perfect helper for when I was getting started.
Not necessary: a thermometer

This might be mildly controversial. I've seen some bakers advocate for food thermometers. I haven't needed one so far for bread (though I highly recommend having a food thermometer for other cooking meat). I've just never had an occasion to measure water temps or dough, and very few of the bread recipes I've seen ever require a temp check. So far, so good.
If you're going for laser-like precision, then by all means, feel free to whip out that thermometer, but mine stays in the drawer while I bake.
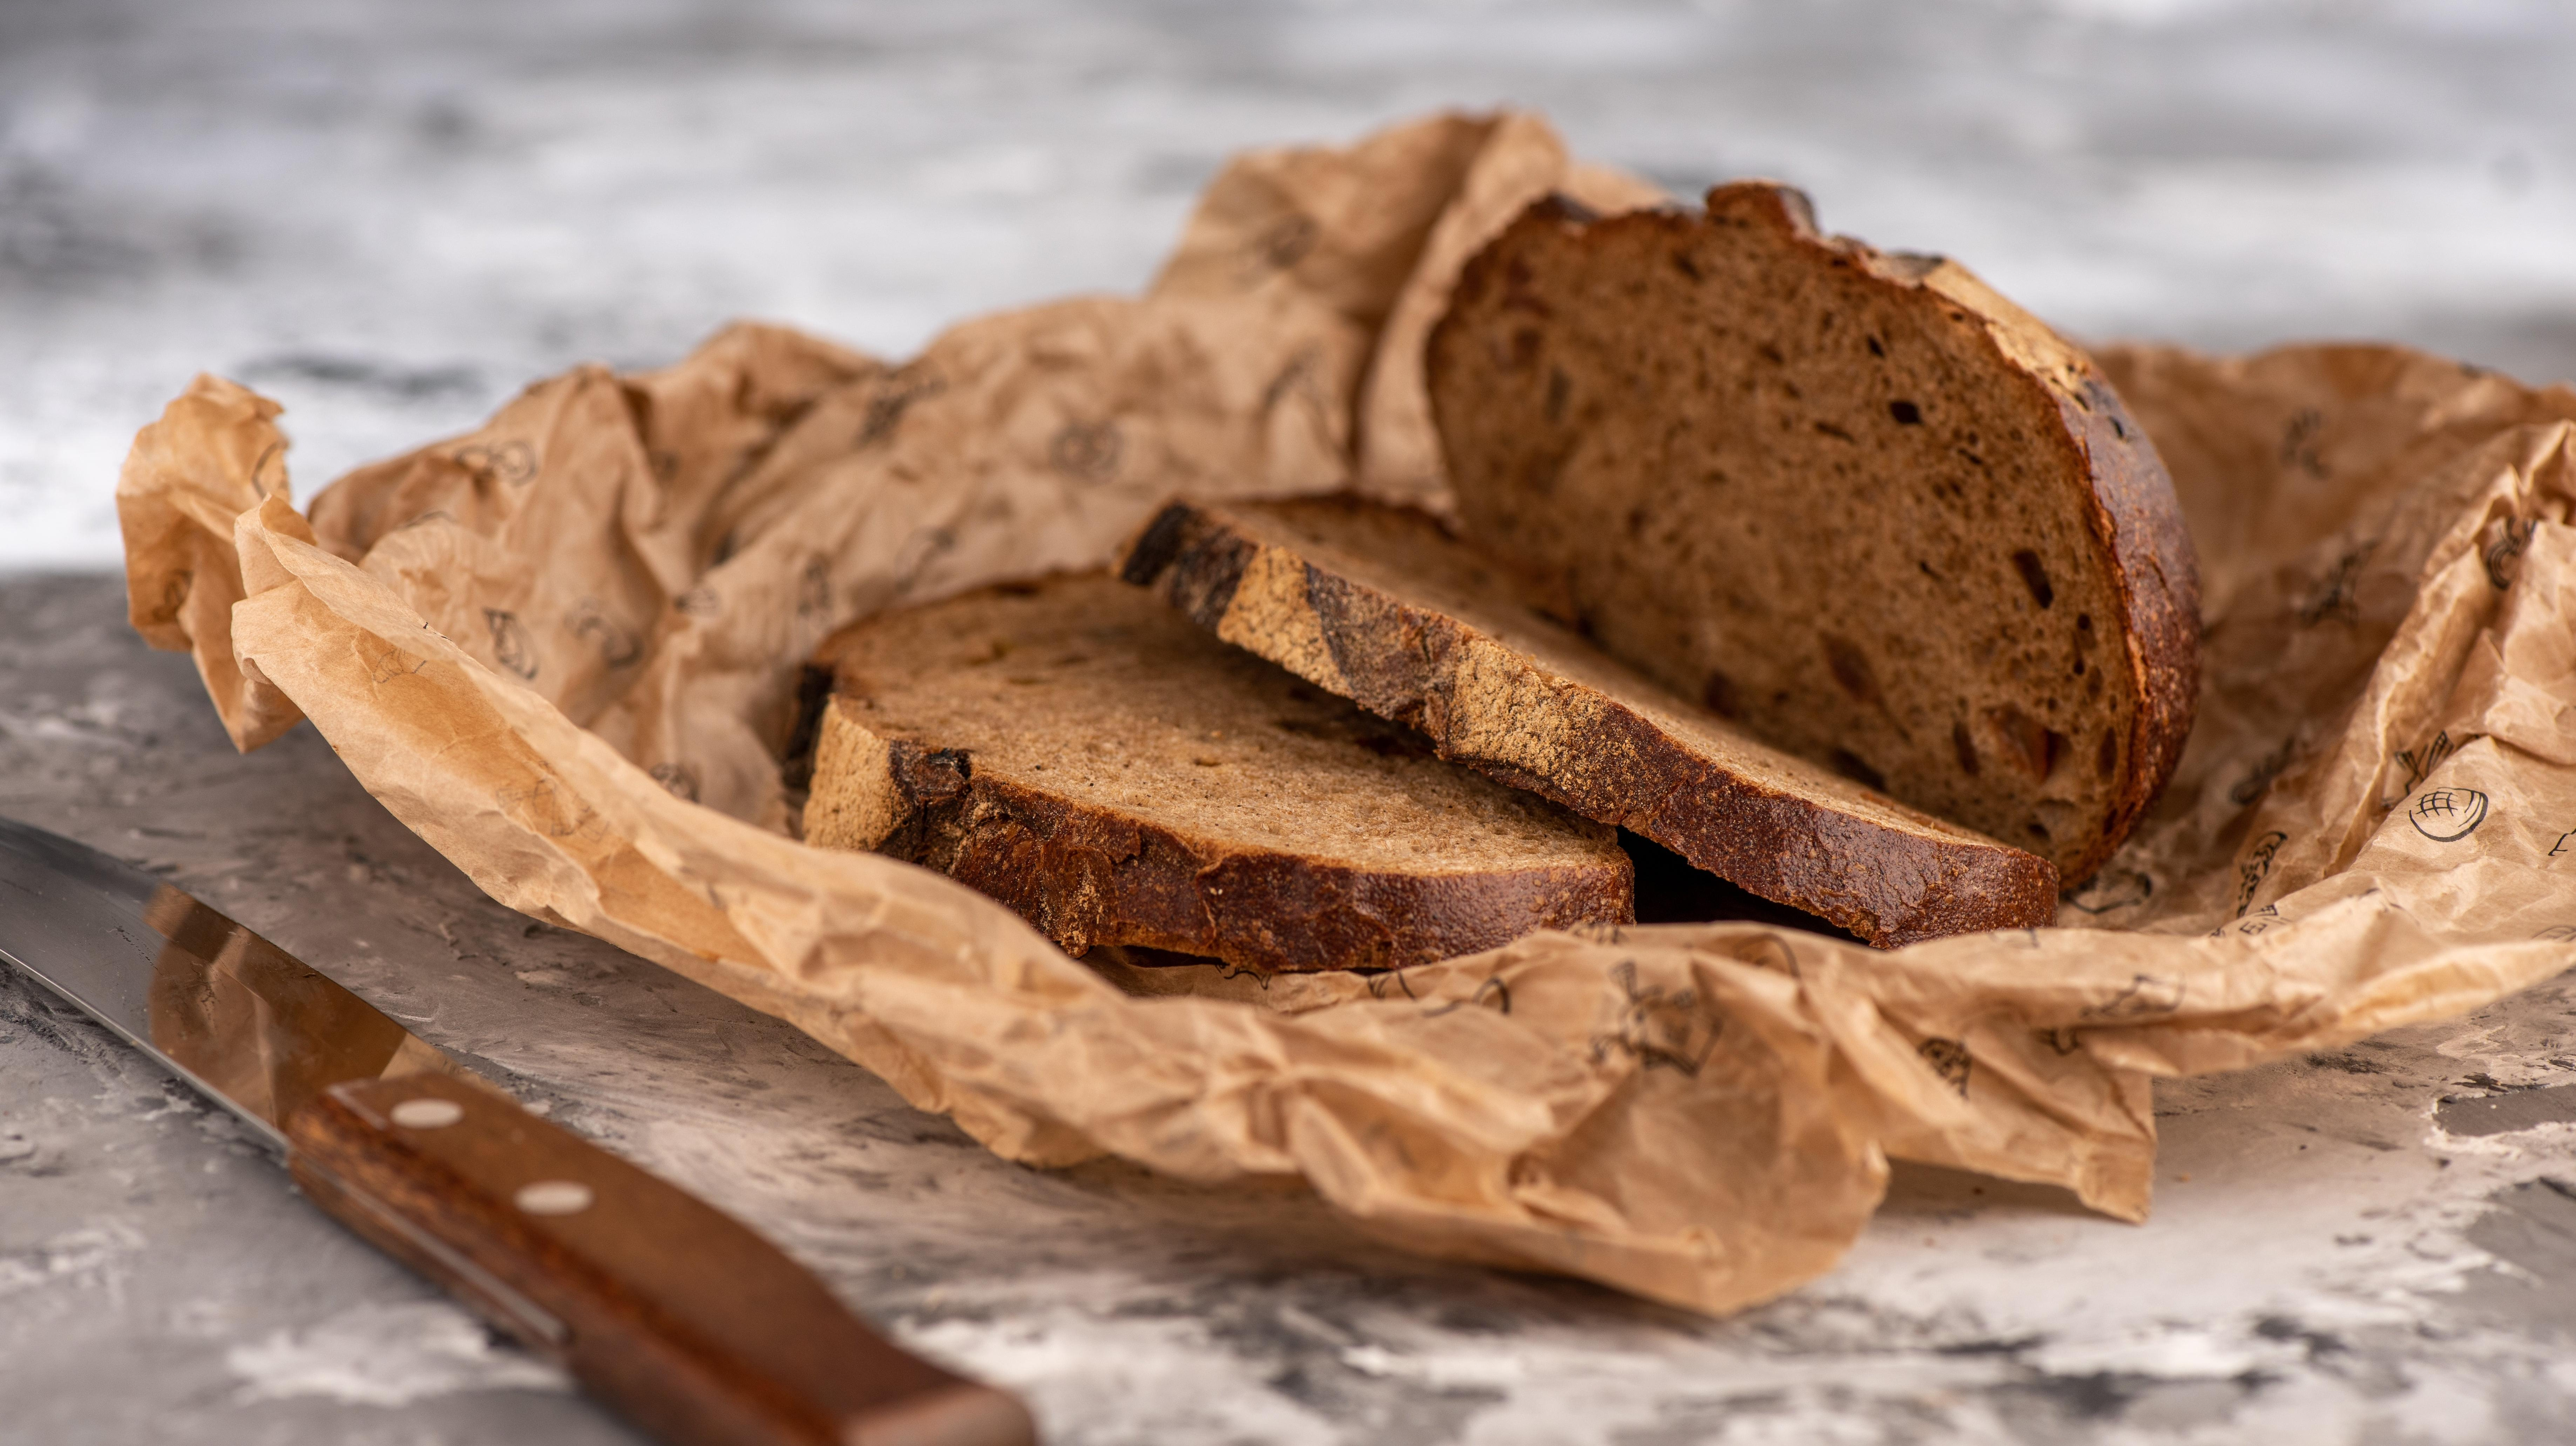
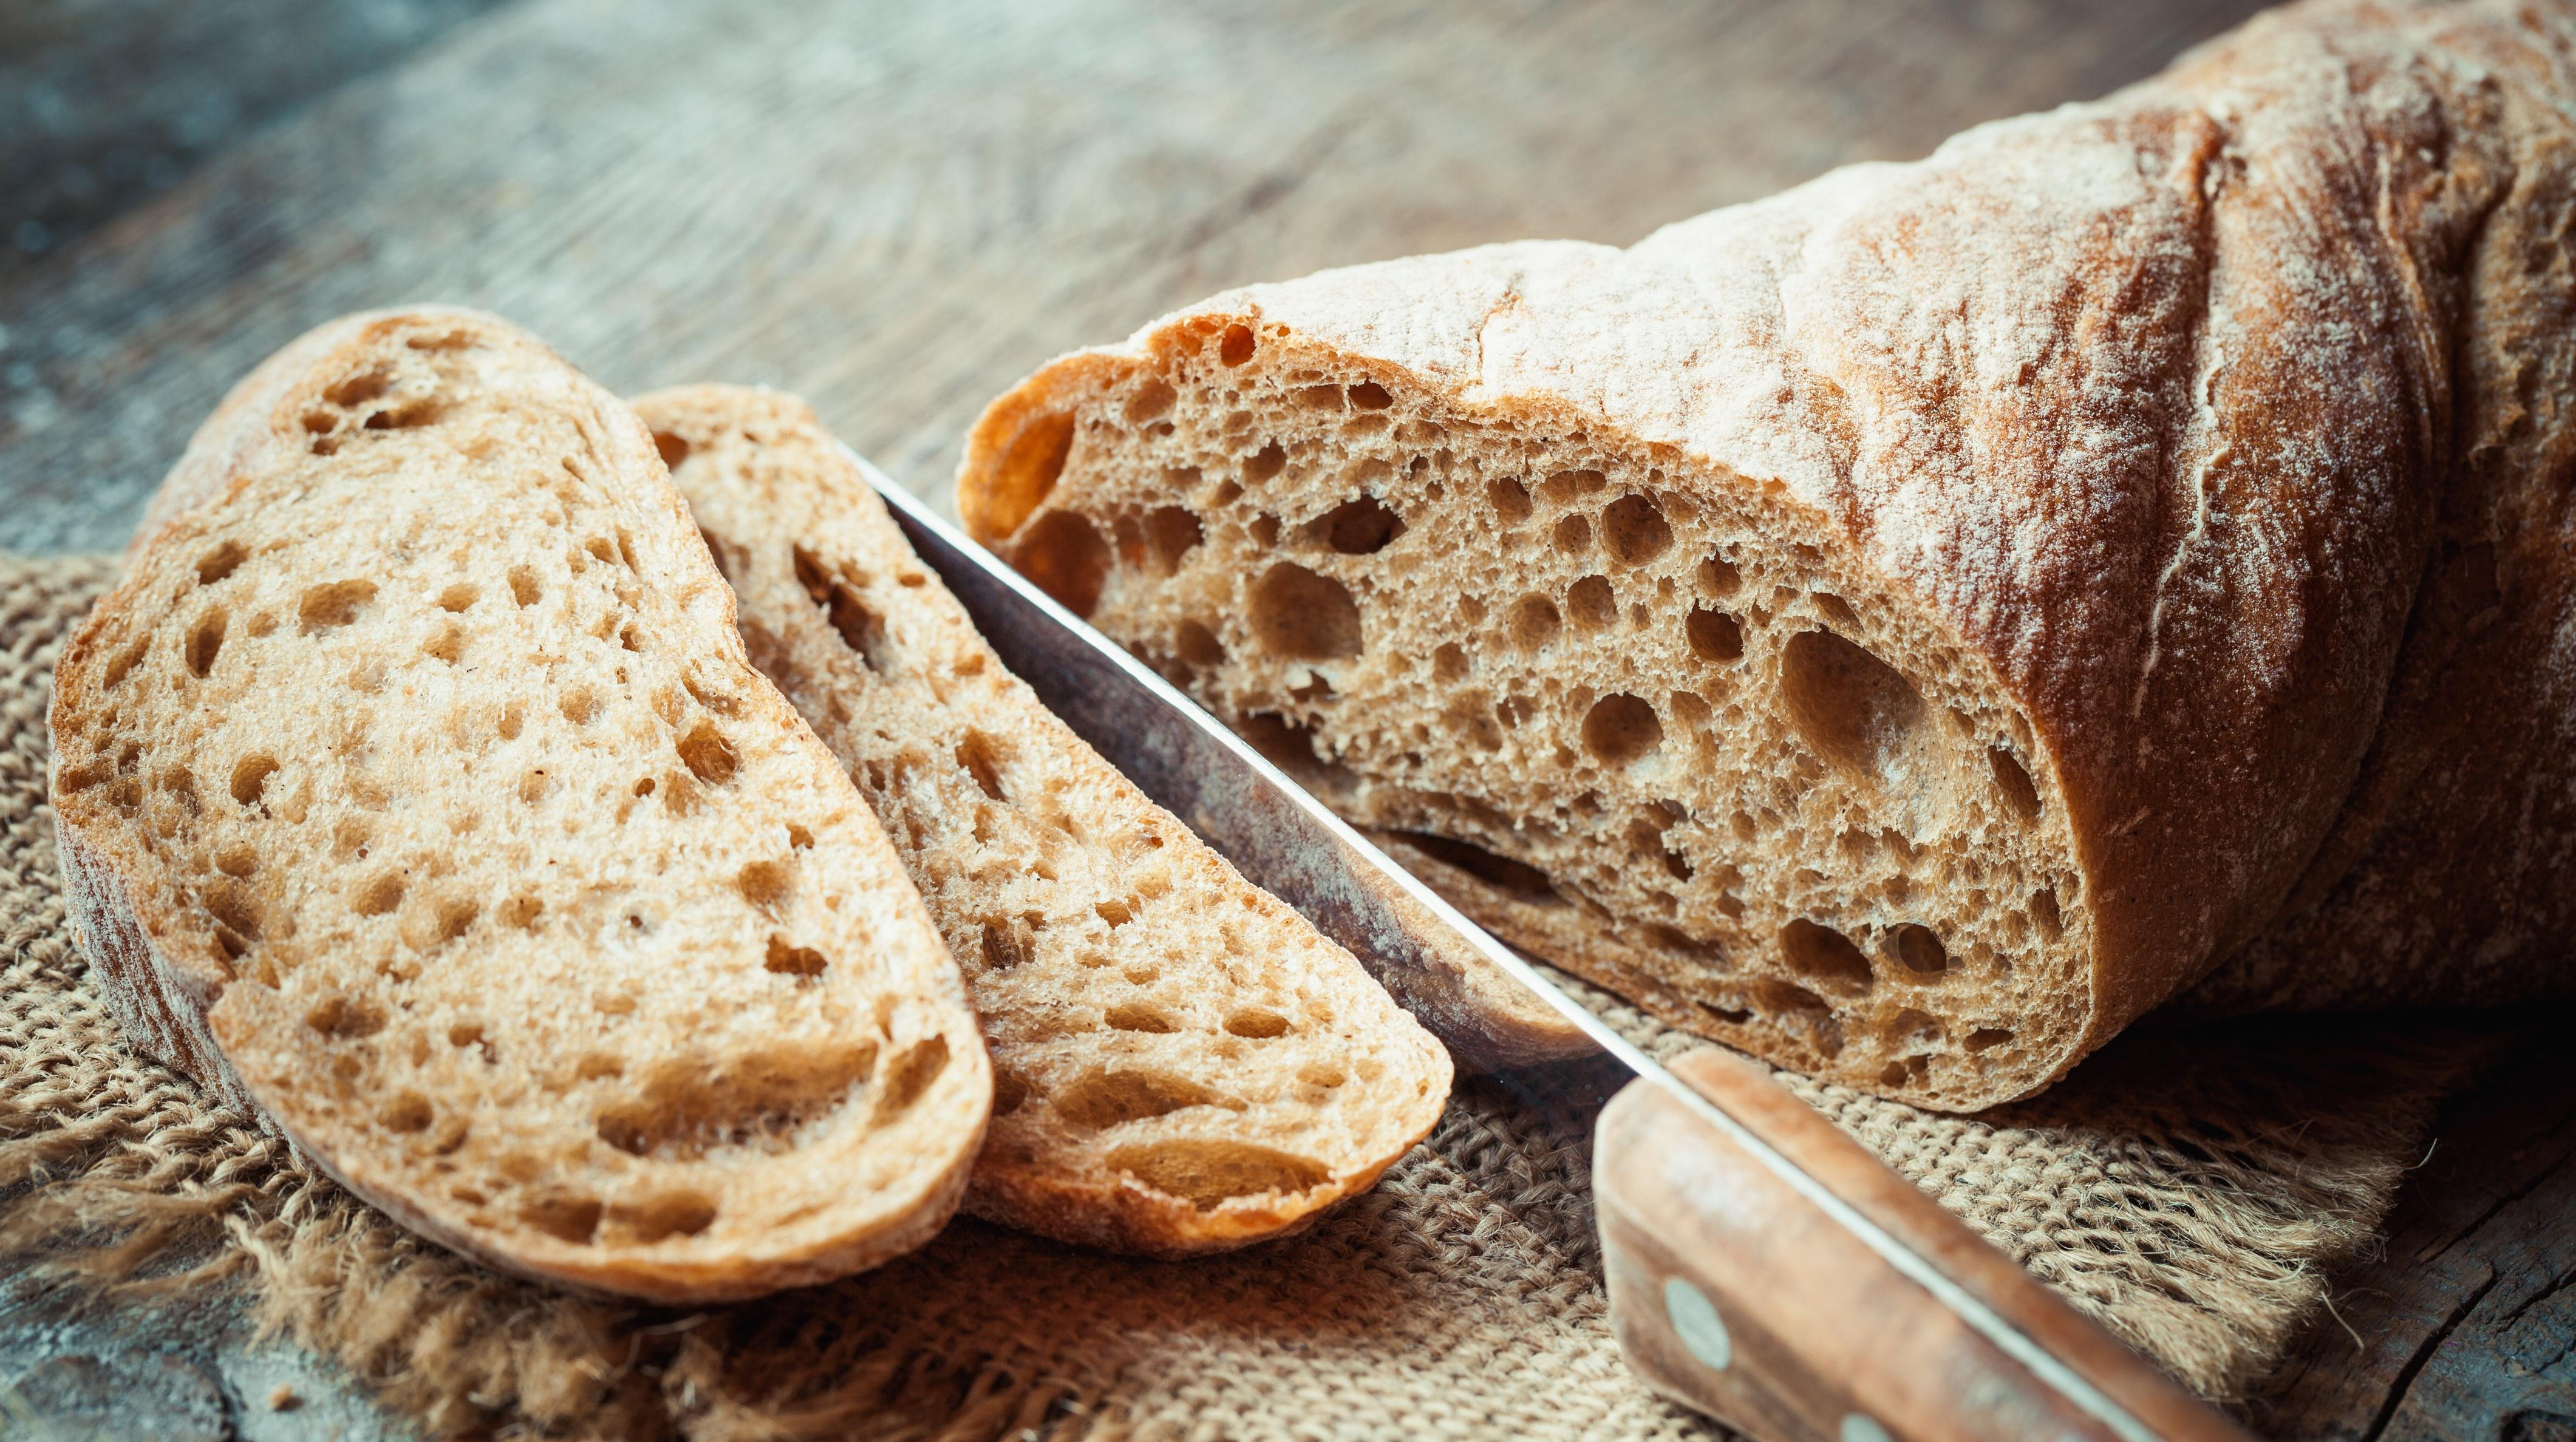
Essential: a serrated bread knife
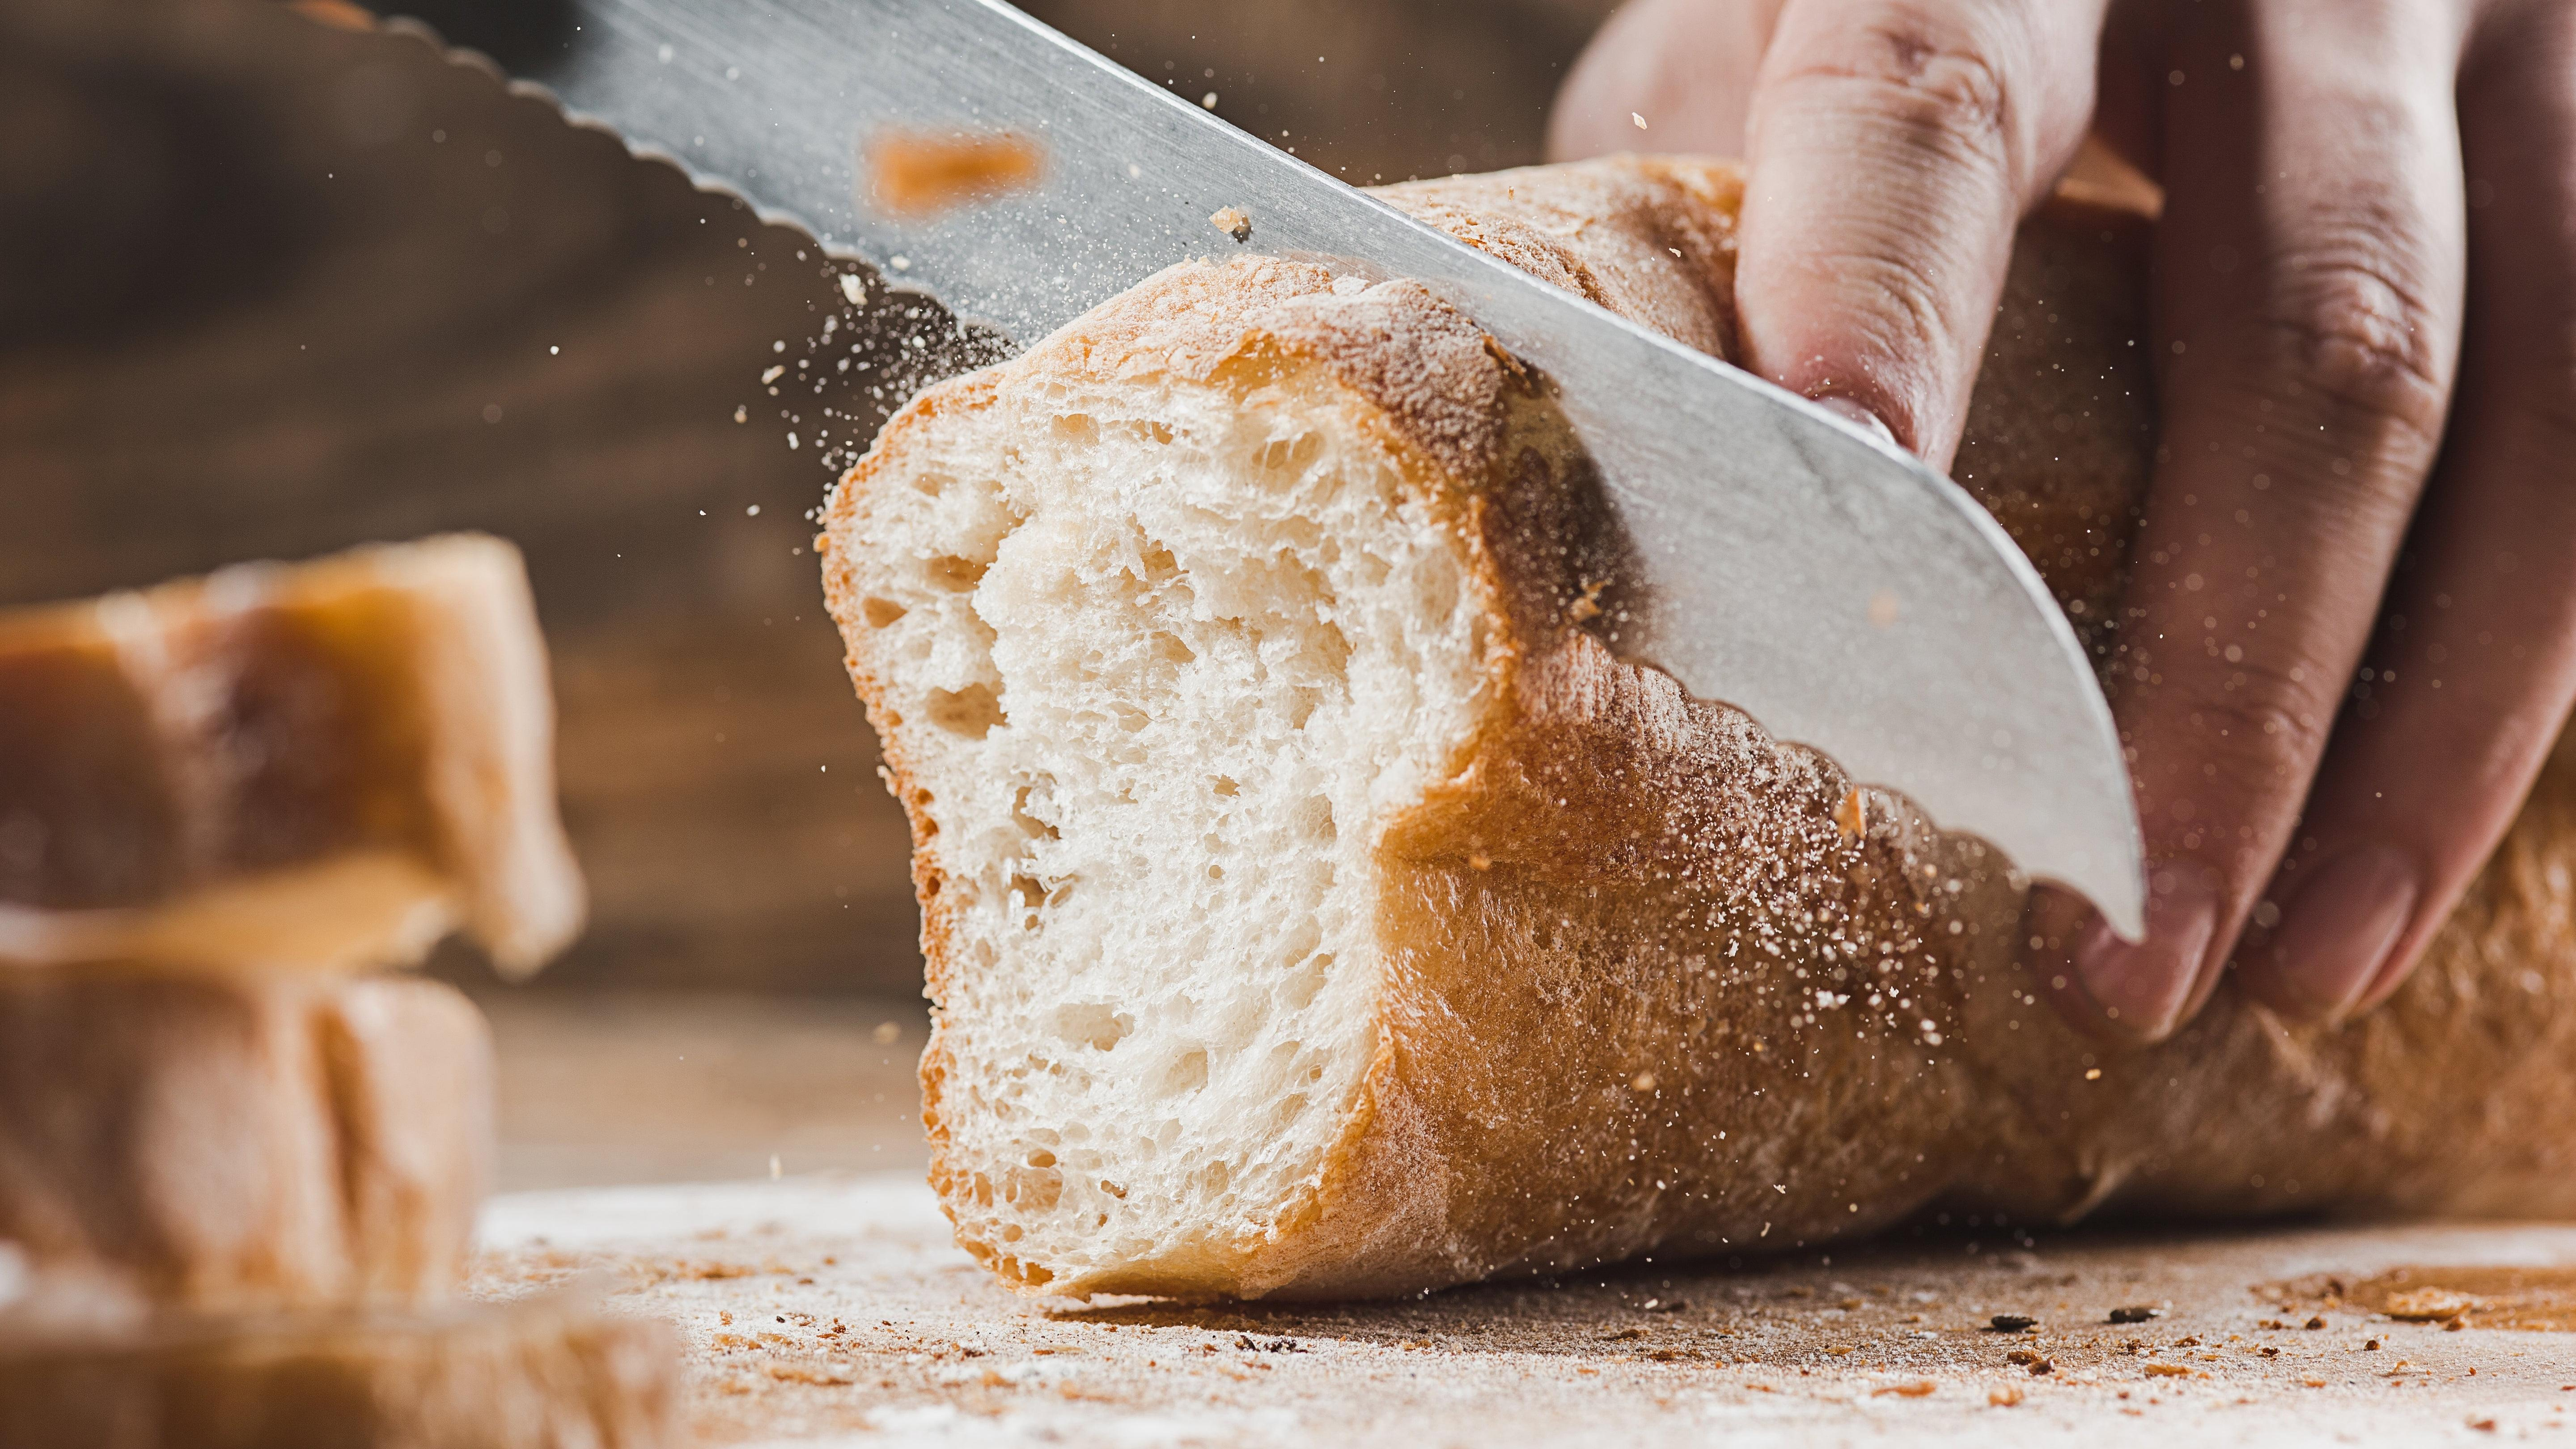
This is more for the eating part of the baking process, but you definitely need a serrated bread knife for slicing your crusty loaves once they're ready to eat. A chef's knife doesn't really make a good tool to cut through a handmade loaf's surface, so a knife with teeth is key to get even, not-mangled slices of your precious hard-earned loaf.
Let’s recap
So, here's a brief recap of my recommended baking equipment.
Essential:
- Kitchen scale
- A baking vessel like a Dutch oven
- An array of bowls
- A bread knife
- Dough scraper
- Banneton
- Bread lame (razor)
- Parchment paper
- Thermometer
- Stand mixer
- Proofing box
Optional:
Not necessary:
Turns out you don't really need all that much to make a great loaf of bread aside from bowls, a scale, and your two bare hands, which is why I encourage you all to just dive in sometime.