My Quest To Make The Perfect Bowl Of Cornflakes
I was raised on packaged, processed foods. A weekday breakfast for me was usually a two-pack of Tastykake Butterscotch Krimpets or Pop-Tarts wrapped in a paper towel and eaten warm at the bus stop. On weekends, I'd wake up early to watch Saved by the Bell reruns and eat bowl after bowl of cereal, letting the milk absorb as much sugar as possible before drinking it by the spoonful when there was nothing left in the box. I was a cereal connoisseur, if you will, always begging my mom to buy me the newest fads like Reese's Puffs or Waffle Crisp, but I was also just as happy with three bowls of Raisin Bran. There wasn't a single cereal I didn't like.
Despite growing up during the Food Network boom when a new episode of Unwrapped seemed to drop every other day, I never gave much thought to how cereal was made. To me, it was like Chicken McNuggets and blue Kool-Aid: always already there. It wasn't until I developed a serious Pinterest habit in my late twenties that I realized cereal could be made from scratch.
As a kid, plain Corn Flakes was at the bottom of my list of preferred cereals, but Frosted Flakes were another thing altogether. I loved their crisp sweetness, and the cereal milk from Frosted Flakes was superior to all others. During quarantine, I fell into one of my favorite hobbies: getting lost in internet wormholes about food history. One night, after reading the entire Kellogg's Wikipedia page and watching several vintage cereal commercials, I decided to finally satisfy my curiosity about homemade breakfast cereal and attempt to make my own perfect bowl of cornflakes.
I started my recipe development process in true nerd fashion: with research. Breakfast cereal in general and cornflakes in particular originated in 1894 at the Battle Creek Sanitarium in Michigan, run by the Kellogg brothers. Seeking a breakfast food that would curtail masturbation (believed to be a serious illness back then), Dr. John Harvey Kellogg served his patients cereal flakes that were devoid of sugar, which Kellogg believed was tied to both sexual deviation and a host of other ailments. It was also so tooth-breakingly hard that it needed to be soaked in milk before it could be eaten.
The younger Kellogg brother, Will, the sanitarium's bookkeeper, was desperate to take the product to market, but his older brother refused to take cereal to the masses, believing that it was most effective as part of his carefully controlled regimen. The story of how the Kellogg brothers effectively destroyed their family in the name of cornflakes is a fascinating one, which you can read about in Howard Markel's biography The Kelloggs: The Battling Brothers of Battle Creek.
The first batches of breakfast cereals were essentially twice-baked crackers, similar to zwieback or biscotti, made from a wheat-based dough. I knew I'd need to use this double-baking method in my own version. I also knew I wanted a golden color, a crispy texture, and just enough sweetness to remind me of Frosted Flakes without sending my blood sugar levels haywire. Over the course of two weeks, I made batch after batch of cornflakes. I became completely obsessed.
I made my initial dough with yellow cornmeal, rice flour, salt, sugar, and water. I had seen some recipes on the internet that called for a thin batter spread out on parchment and broken into flakes, but I didn't like the look of the finished product. I started with a drier, Play-Doh-like consistency, shaping each individual cornflake by hand. It took about twenty minutes to make a half-cup of flakes. After an initial 15-minute bake they were lightly golden and too hard to bake again.
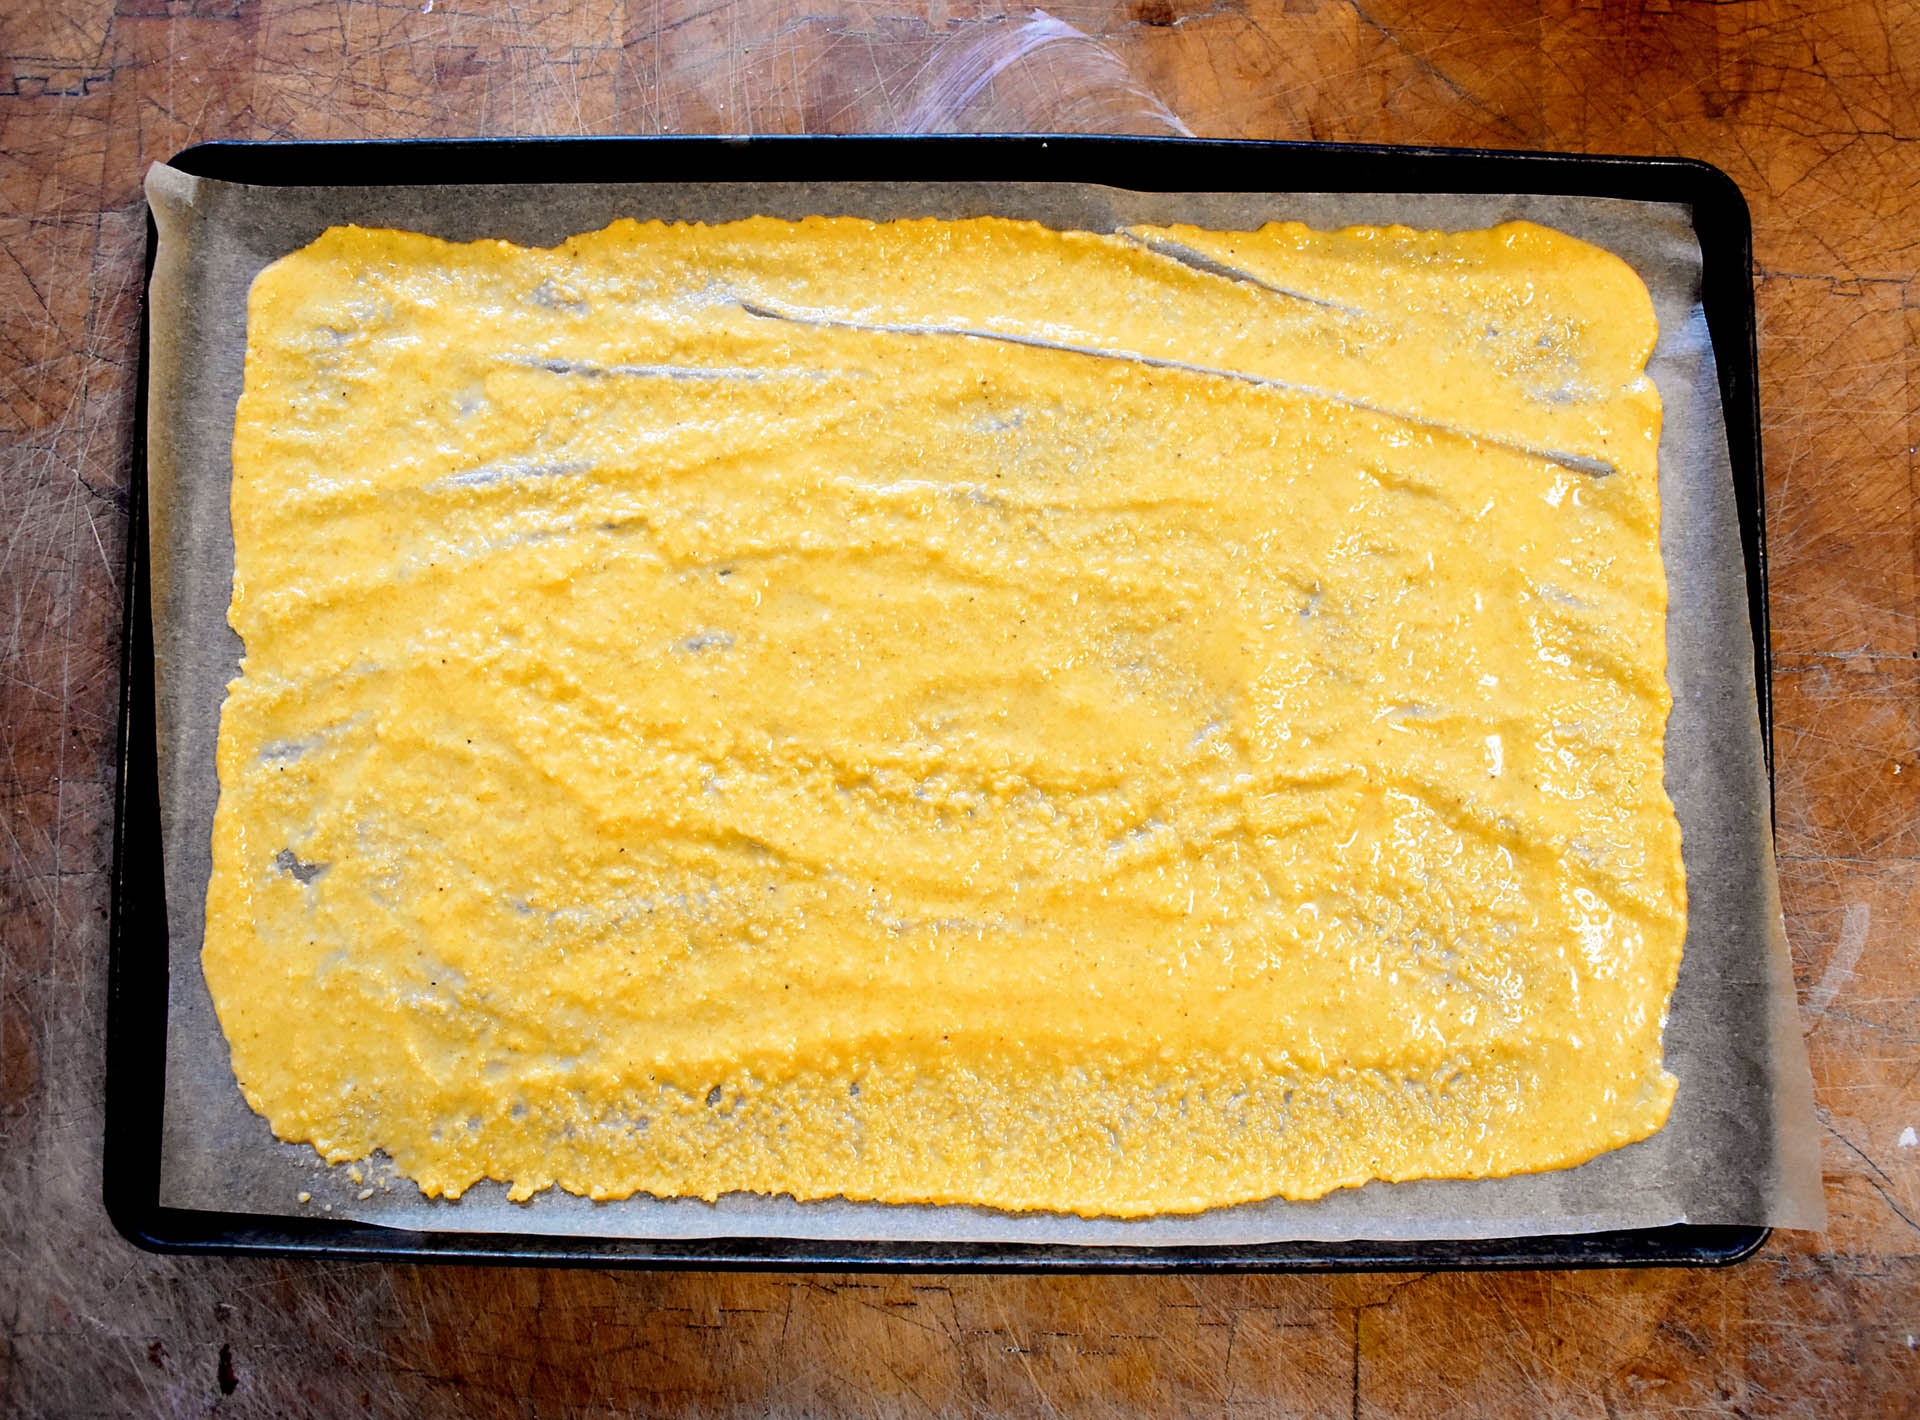
While the first batch cooled, I added more water to the remaining dough. I figured it was worth trying the method of spreading the thinner batter onto a parchment-lined sheet tray—for Science! The next batch had a pleasantly cracked eggshell-colored top after the first bake. I broke the cracker-like sheet into flakes, flipped them over so their golden bellies were exposed, and put them back in the oven to crisp up.
While the second test batch was baking, I poured the hand-shaped flakes into a bowl with milk. My husband and I sat on the back patio in the dark, analyzing that first bowl. The flavor of the heirloom cornmeal I had used was at the forefront, and there was just the right amount of sweetness, but the little discs were too thick, crunchy rather than crisp. It was good, but it wasn't perfect.
When the second batch came out of the oven, the edges of each flake had curled upward at the edges, and the way the rice flour had risen on the first bake created an ersatz-frosting effect that I loved. These were closer to crisp than crunchy, and tasted strongly of sweet toasted corn.
"I wish there were more," my husband sighed after he'd slurped the last of the milk from his second bowl.
"I can make more," I offered, already itching to adjust the recipe for the thinner batter, which had turned out decidedly better than the dough.
"No no," he said, "I wouldn't make you do that."
"Seriously, I don't mind. I can make more."
We went back and forth like this for around 10 minutes before I started on another batch. This time, I added a little more rice flour and a little more salt to bring out the savory flavors of the cornmeal. It was some of the most delicious cereal I had ever eaten.
From the History Channel's three-episode miniseries The Food That Built America, which details the invention and rise of packaged foods in the U.S., I learned that the very first cornflakes were made from dough that had been accidentally fermented. Inspired, I mixed the batter for my next batch early in the morning and baked it that evening. The resulting cereal had a more complex flavor that paired especially well with blueberries and sliced banana—my personal favorite way to eat cornflakes.
I had convinced myself that it was not even worth messing with oat flour, which is used in Kellogg's Corn Flakes. It was pure hubris—rice flour had been my initial thought, and since it turned out pretty well, I had no reason to doubt myself. Then I started to get the nagging thought that I maybe should try a batch made with oat flour, for the sake of Science.
I made a late-night batch where I kept everything the same except I swapped out the rice flour for oat flour. My initial reaction was annoyance. It shattered like glass when I broke it into flakes and had a delightful texture, but it brought sweetness to the forefront, and got soggy in milk. So I made another batch, this time using equal parts rice and oat flour. This batch had the light, crispy flavor from the oat flour, but more staying power in milk. When I took a bite, the first thing I tasted was corn, with a mellow, sweet finish. I had finally achieved cereal perfection.

Homemade Cornflakes Cereal
Makes 2-4 bowls, depending on how much cereal you think constitutes "a bowl."
Making cornflakes from scratch is an involved process, but it's also very simple. If you've ever made pancake batter, this is easier—you just need to keep your eye on things. During the initial bake, you're walking a fine line between "done" and "hopelessly burned." Once the flakes come out of the oven after the second bake, you must let them cool completely so they develop the right level of crispiness before you add milk to the equation. Use the best quality cornmeal you can find to achieve maximum flavor.
- 1 cup fine yellow cornmeal
- 2 Tbsp. rice flour (not sweet or glutinous rice flour!)
- 2 heaping Tbsp. oat flour
- ½ cup white sugar
- 1 tsp. fine salt
- ½ cup warm water
In a medium-sized mixing bowl, combine all ingredients. For best results, cover the bowl and let sit at room temperature for anywhere between 6-12 hours.
When you're ready to start baking, preheat your oven to 350 degrees Fahrenheit and line a baking sheet with parchment paper or a silicone mat.
Drop one third of the batter into the center of your baking sheet and spread it into a very thin layer. An offset spatula will work best if you have one, but the back of a large spoon will do fine in a pinch. Repeat with remaining batter on additional baking sheets.
Bake for 8-10 minutes, until the batter is firm to the touch and slightly cracked on the surface. The cook time here will depend on your oven, so don't leave it unattended during this step.
Remove from the oven and reduce your oven temperature to 250 degrees Fahrenheit.
Let the cooked sheets of batter cool slightly, then flip them onto a clean surface. Carefully peel the silicone or parchment paper from your cracker the way you remove the back from a sticker.
Break the cracker into flakes and scatter on a lined baking sheet. Return to the oven for 15-20 minutes. To test for doneness, remove one flake and let it cool for about a minute before tasting. If it's crisp and crunchy, your cornflakes are ready! If not, leave them in the oven for another 5 minutes, then test again.