You Don't Need An Extra Appliance To Make Great Ice Cream At Home
If you don't have an ice cream maker in your kitchen, let this no-churn recipe work for you.
We may receive a commission on purchases made from links.
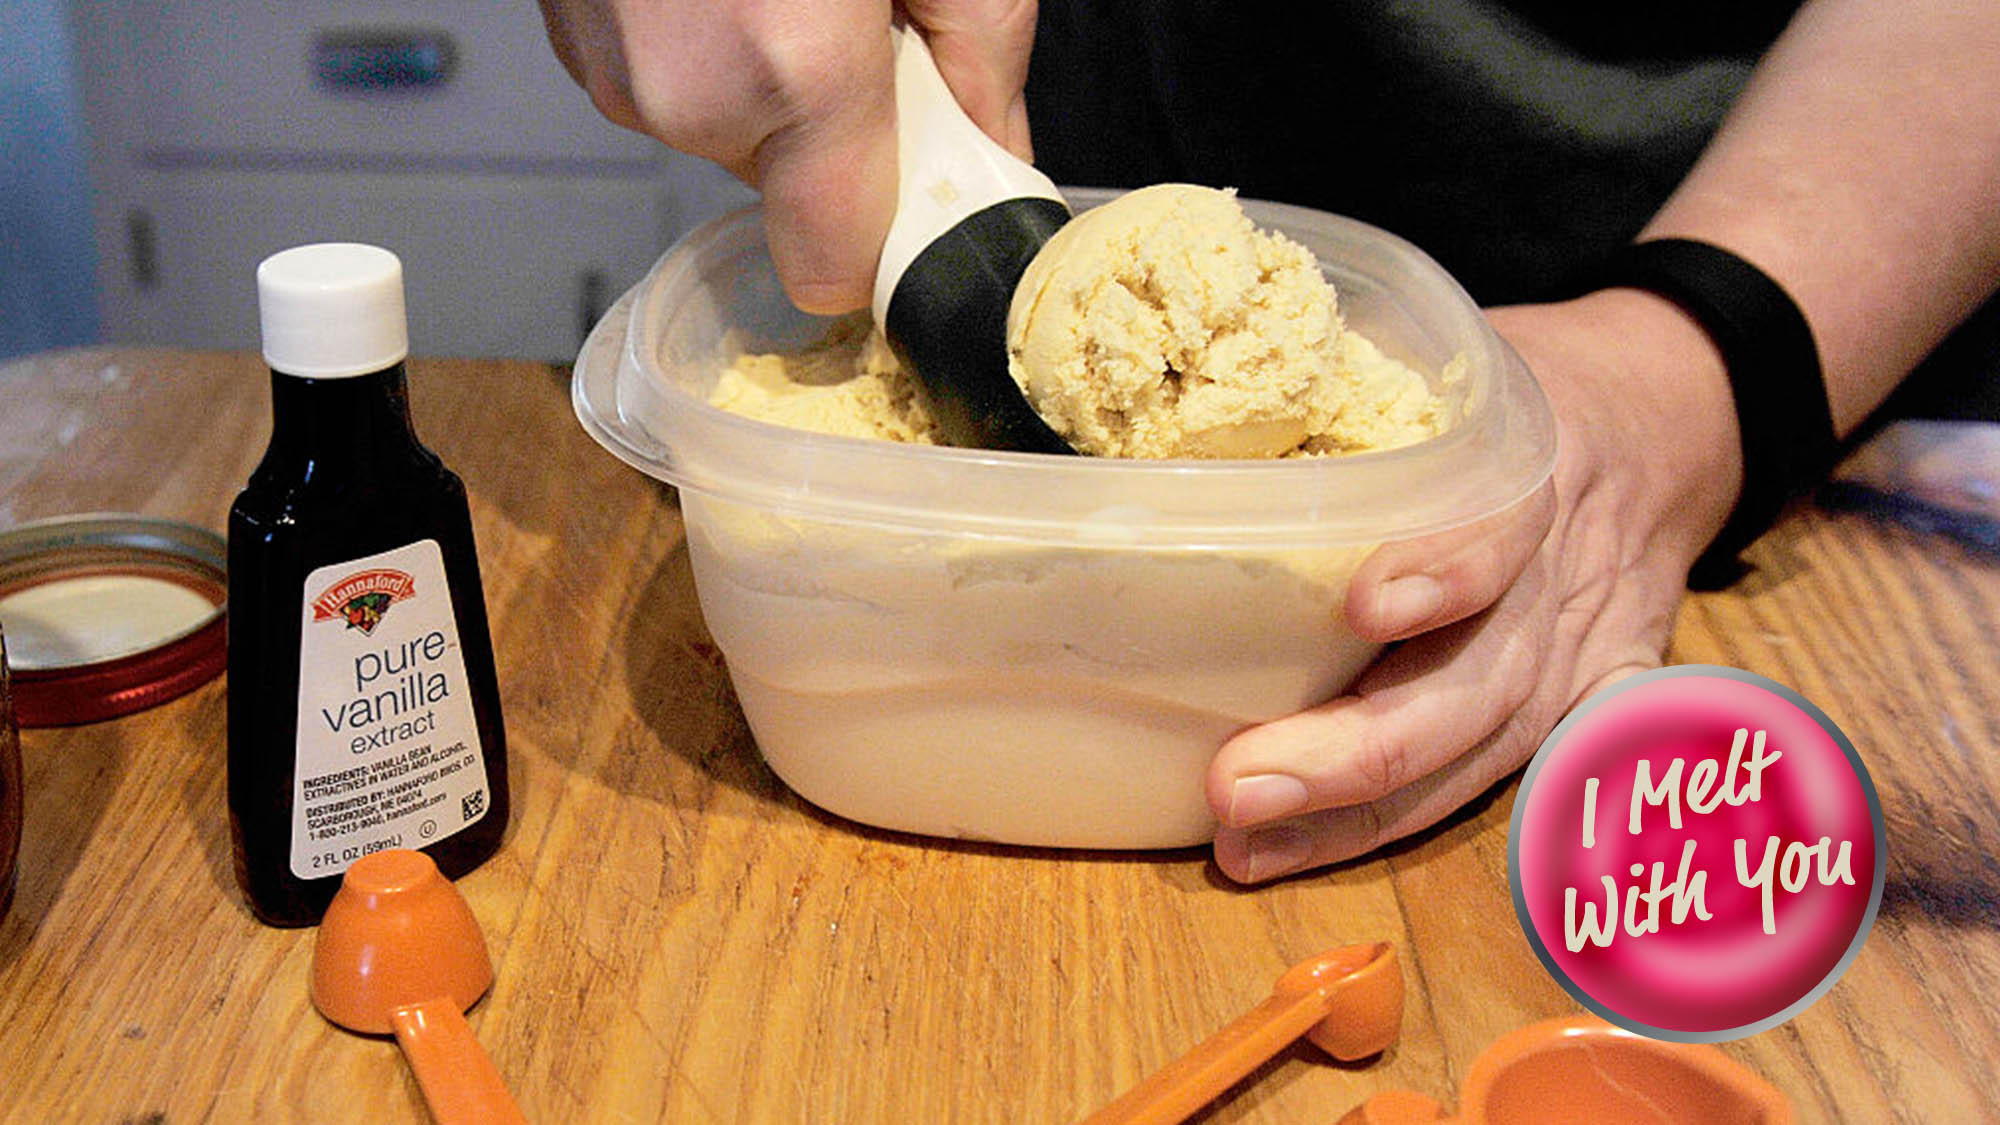
Welcome to I Melt With You, a new ice cream column from The Takeout. I'll be here twice a month with new ice cream recipes, unique ingredients, equipment recommendations, and ways to make your home ice cream experience as easy and fun as possible. I am always up for a challenge, so feel free to send flavor requests to hello@thetakeout.com. If you want to see some of the flavors I have been developing for you, feel free to pop over to my IG @stacey.ballis and scroll back for some serious ice cream content.
I never thought ice cream would be the thing I got great at during The Unpleasantness. I was already all-in on sourdough when it hit, and my pizza game was strong. But ice cream was never a particular passion for me; it was one of those treats I certainly enjoy, but can also have in the freezer and totally forget about. Sadly, the same cannot be said of Cheetos or chocolate cake.
But there I was, home 24/7, stress baking and teaching myself "rough puff" pastry, looking for new challenges to keep my jangling nerves at bay. Suddenly the old ice cream maker that had been gathering dust in my pantry caught my eye, and a couple of ice cream cookbooks and online recipes later, a passion was born.
Ice cream was the ideal pandemic pastime. I already owned the equipment, ingredients were easy to come by, and the flavor combinations are endless. But even more importantly, as the weeks turned to months, and cooking three meals a day went from a pleasure to a chore to the bane of my existence, ice cream was a fast and easy way to shake me out of my kitchen fatigue.
I learned some important things along the way. The most important of all: you can get super premium ice cream with amazing scoopable texture without relying on specialty stabilizers or carefully tempered egg-based cooked custard bases. I can, and occasionally do, still make ice cream with this old-school method, but to be honest, it's a rarity. I love ice cream bases that come together after just a few moments of work. These allow you to be spontaneous and relaxed instead of spending your time separating eggs and trying to temper them with hot cream without ending up with a soggy scramble.
After I got bit hard by the ice cream bug, I invented some flavors that genuinely seemed to me as good or better than any high-priced premium pint I could buy. And then I realized this was not information I could keep to myself. And luckily for you, The Takeout agreed! I'll share some of the simple science that allows these recipes to have such great texture, and will try, when possible, to offer ingredient swap-outs that address dietary restrictions.
Most of the recipes I will be sharing with you will require minimal cooking (like melting chocolate or steeping flavors in hot cream) or no cooking at all. They'll mostly be for traditional ice cream, but there will be forays into other frozen treats like gelato, sorbet, and sherbet. In the next column we'll be talking about equipment to make your process easier, but for this first piece, I wanted you to see how easy it is to make homemade ice cream in any flavor you like. So here's a basic no-churn recipe that is endlessly adaptable. No special equipment needed!
By creating what is essentially a simple mousse and using sweetened condensed milk to both sweeten the mix and help with texture, you are essentially making a cheater semifreddo-style ice cream. The base recipe is essentially a basic vanilla, so you can stop there, but you can also add flavorings or mix-ins or both to make the ice cream you want most. This is the ice cream to make if you want ice cream today; since it only needs between four and six hours to freeze, you can make it in the morning or early afternoon and have it ready in time for the evening.
Choose Your Own Adventure No-Churn Ice Cream
Makes about a quart
- 2 cups heavy whipping cream
- 1 (14-oz.) can full-fat sweetened condensed milk
- Pinch fine sea salt
- 1½ tsp. vanilla paste or vanilla extract, or the seeds from one vanilla pod
- 1 Tbsp. vodka (Note: this helps to keep the ice cream from freezing too hard. If you prefer to not include any alcohol, you will want to let the frozen cream sit out an extra 5-10 minutes before scooping for optimal texture.)
- ½ cup optional flavoring of your choice: melted chocolate, fruit puree or preserves, caramel sauce, nut butter or tahini paste. If using nut butters that are stiff, you may want to melt them in the microwave and then let cool slightly, but still have them loose enough to easily fold into your mousse. You can also lighten them by mixing in a small amount of the whipped mousse to make them easier to incorporate.
- Optional flavoring extract such as almond or coffee or mint
- Optional mix-ins: 1-1 ½ cups of chocolate chips, nuts, or other fun add-ins
(To see a handy shopping list for the primary ingredients above, click here. Mix-ins are up to you.)
In the chilled bowl of a stand mixer fitted with a whisk attachment, or with a hand mixer in a large bowl (or with a hand-whisk if you are something of a masochist), whip the heavy cream to almost-soft peaks. Add the sweetened condensed milk and continue to whip to soft peaks; the mixture should be fluffy and mousse-like.
Fold in salt, vanilla, and vodka, and any extra flavoring. If needed, re-whip to mousse texture, but be careful not to overwhip or you can accidentally make butter! Taste and make any adjustments needed: more salt, more extract. Just remember that sensation of sweetness gets dulled when frozen, so the mix should land just shy of too sweet.
Fold in any mix-ins and spoon into an airtight container. Freeze for a minimum of 4 hours or up to overnight. Let sit at room temperature for 15-20 minutes before scooping and serving.