Is Making Cheesecake In An Instant Pot As Good As Baking It?
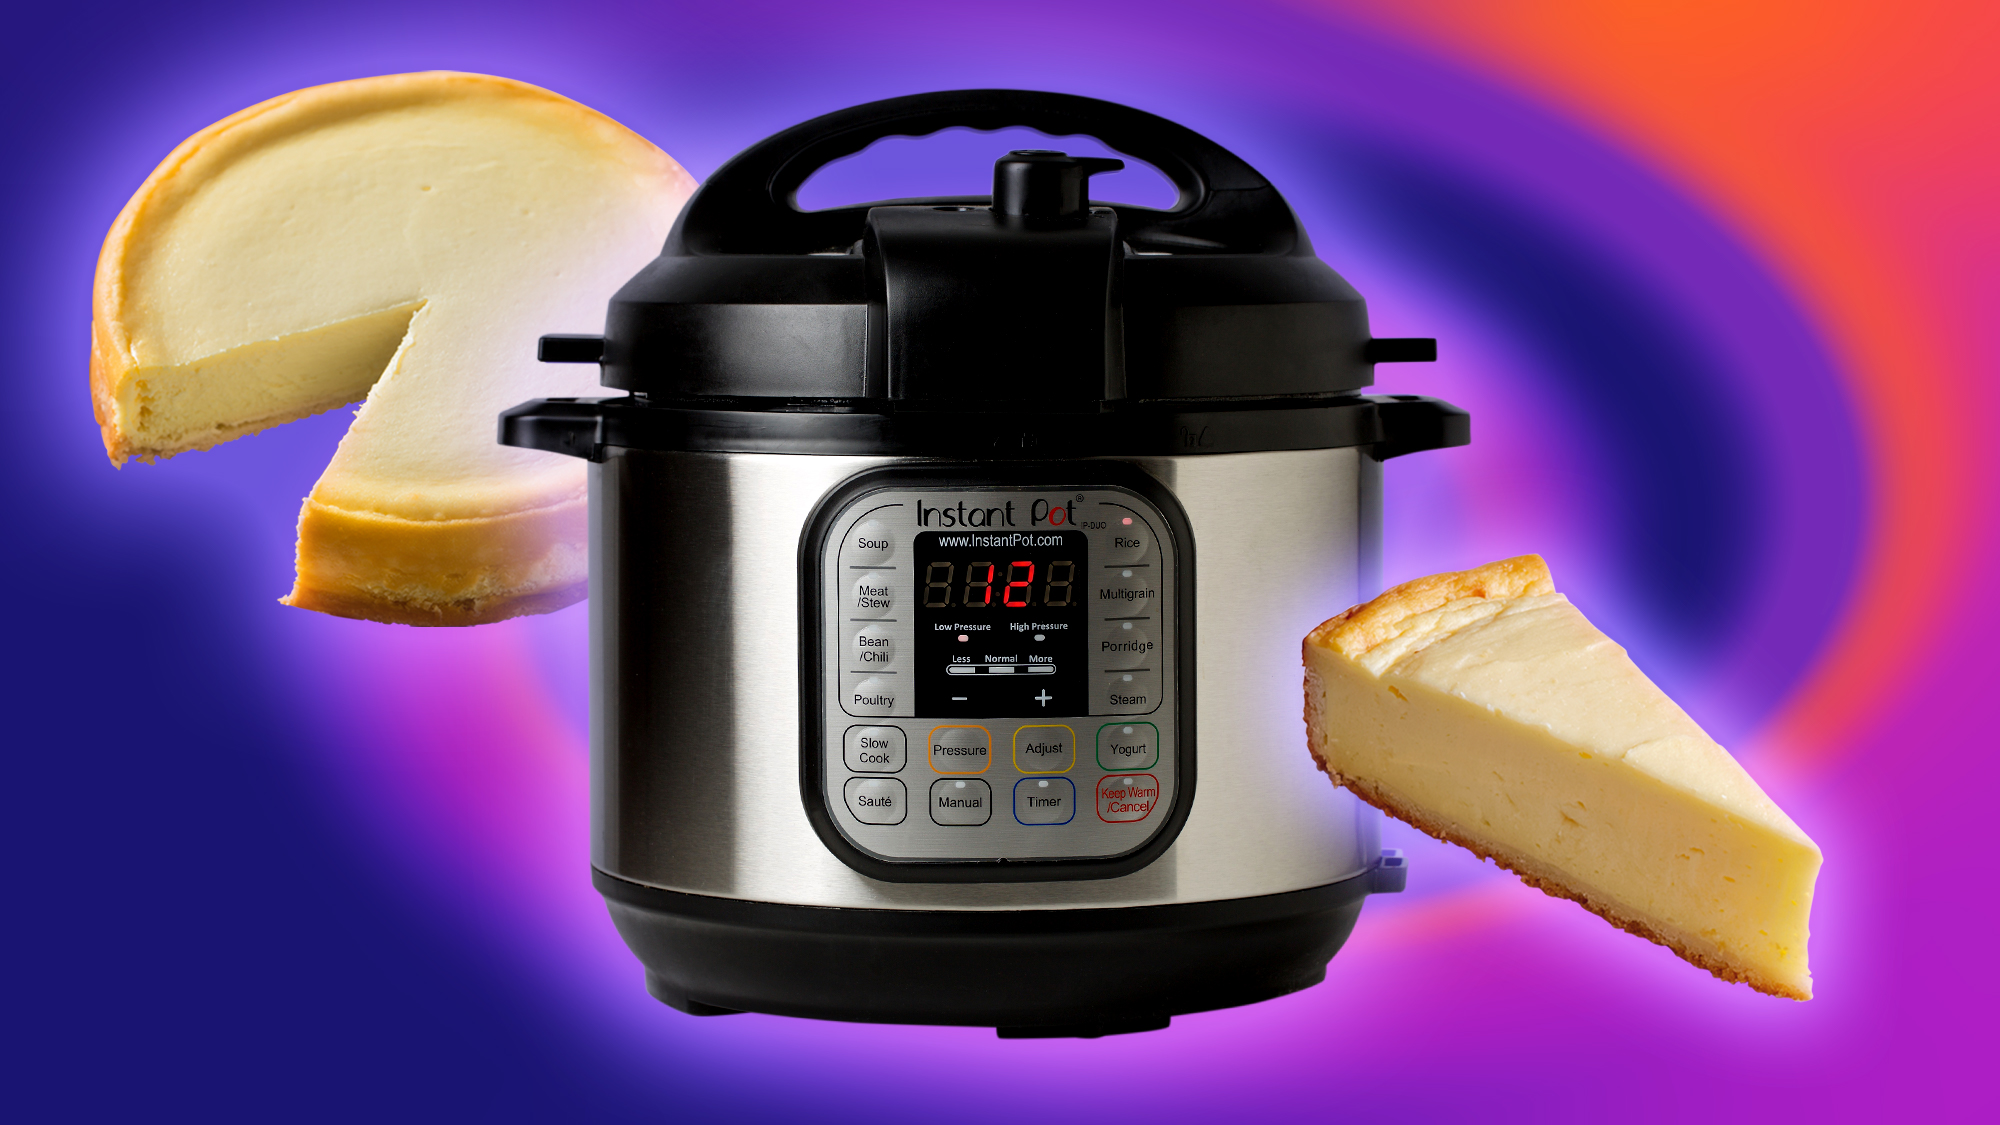
As I write this, I sit devouring the last slice from what has been The Fortnight of Cheesecakes in my household. It started with a birthday cheesecake, which sent me down the rabbit hole of exploring methods, all purporting to deliver the best cheesecake. I've done standard oven baking, water bath-baking, mini cheesecakes in tart pans. And then I read about the Instant Pot cheesecake method. I was intrigued, and immediately gathered the ingredients to try making a cheesecake in the same appliance I cooked rice in the night before. The question I sought to answer was this: Was it worth it to use the Instant Pot, that steely god of cooking, to make a better version of the cheesecake? (And also, why don't my skinny jeans fit anymore?)
I read through several recipes to see what edge the Instant Pot method had on other techniques. To my surprise, it looked like more steps and a longer ingredient list than my go-to favorite: the classic Philadelphia Cream Cheesecake. It called for corn starch for stability, and sour cream for textural lightening. It needed a smaller-than-standard pan, and fancy parchment collar. How was this better/easier?
Here's the good news: Any method you choose, cheesecake is made for novice dessert makers. You don't need to cream butter and sugar as needed in a cake. You don't have to make pastry crust, with its potential for shrinkage and cracking and overcooking. You mix up an easy batter, and pat a butter-crumb mixture into the bottom of your pan.
The standard oven versions do require a long bake time, anywhere from 50 to 90 minutes in the oven, depending on whether you use a water-bath (the benefits being a silky texture and less cracking). Why the hubbub over the Instant Pot cheesecake? Because the internet's repetitive attitude toward the device seems to be Faster, Instant Pot, Cook! Cook! And faster equals better—unless it doesn't.
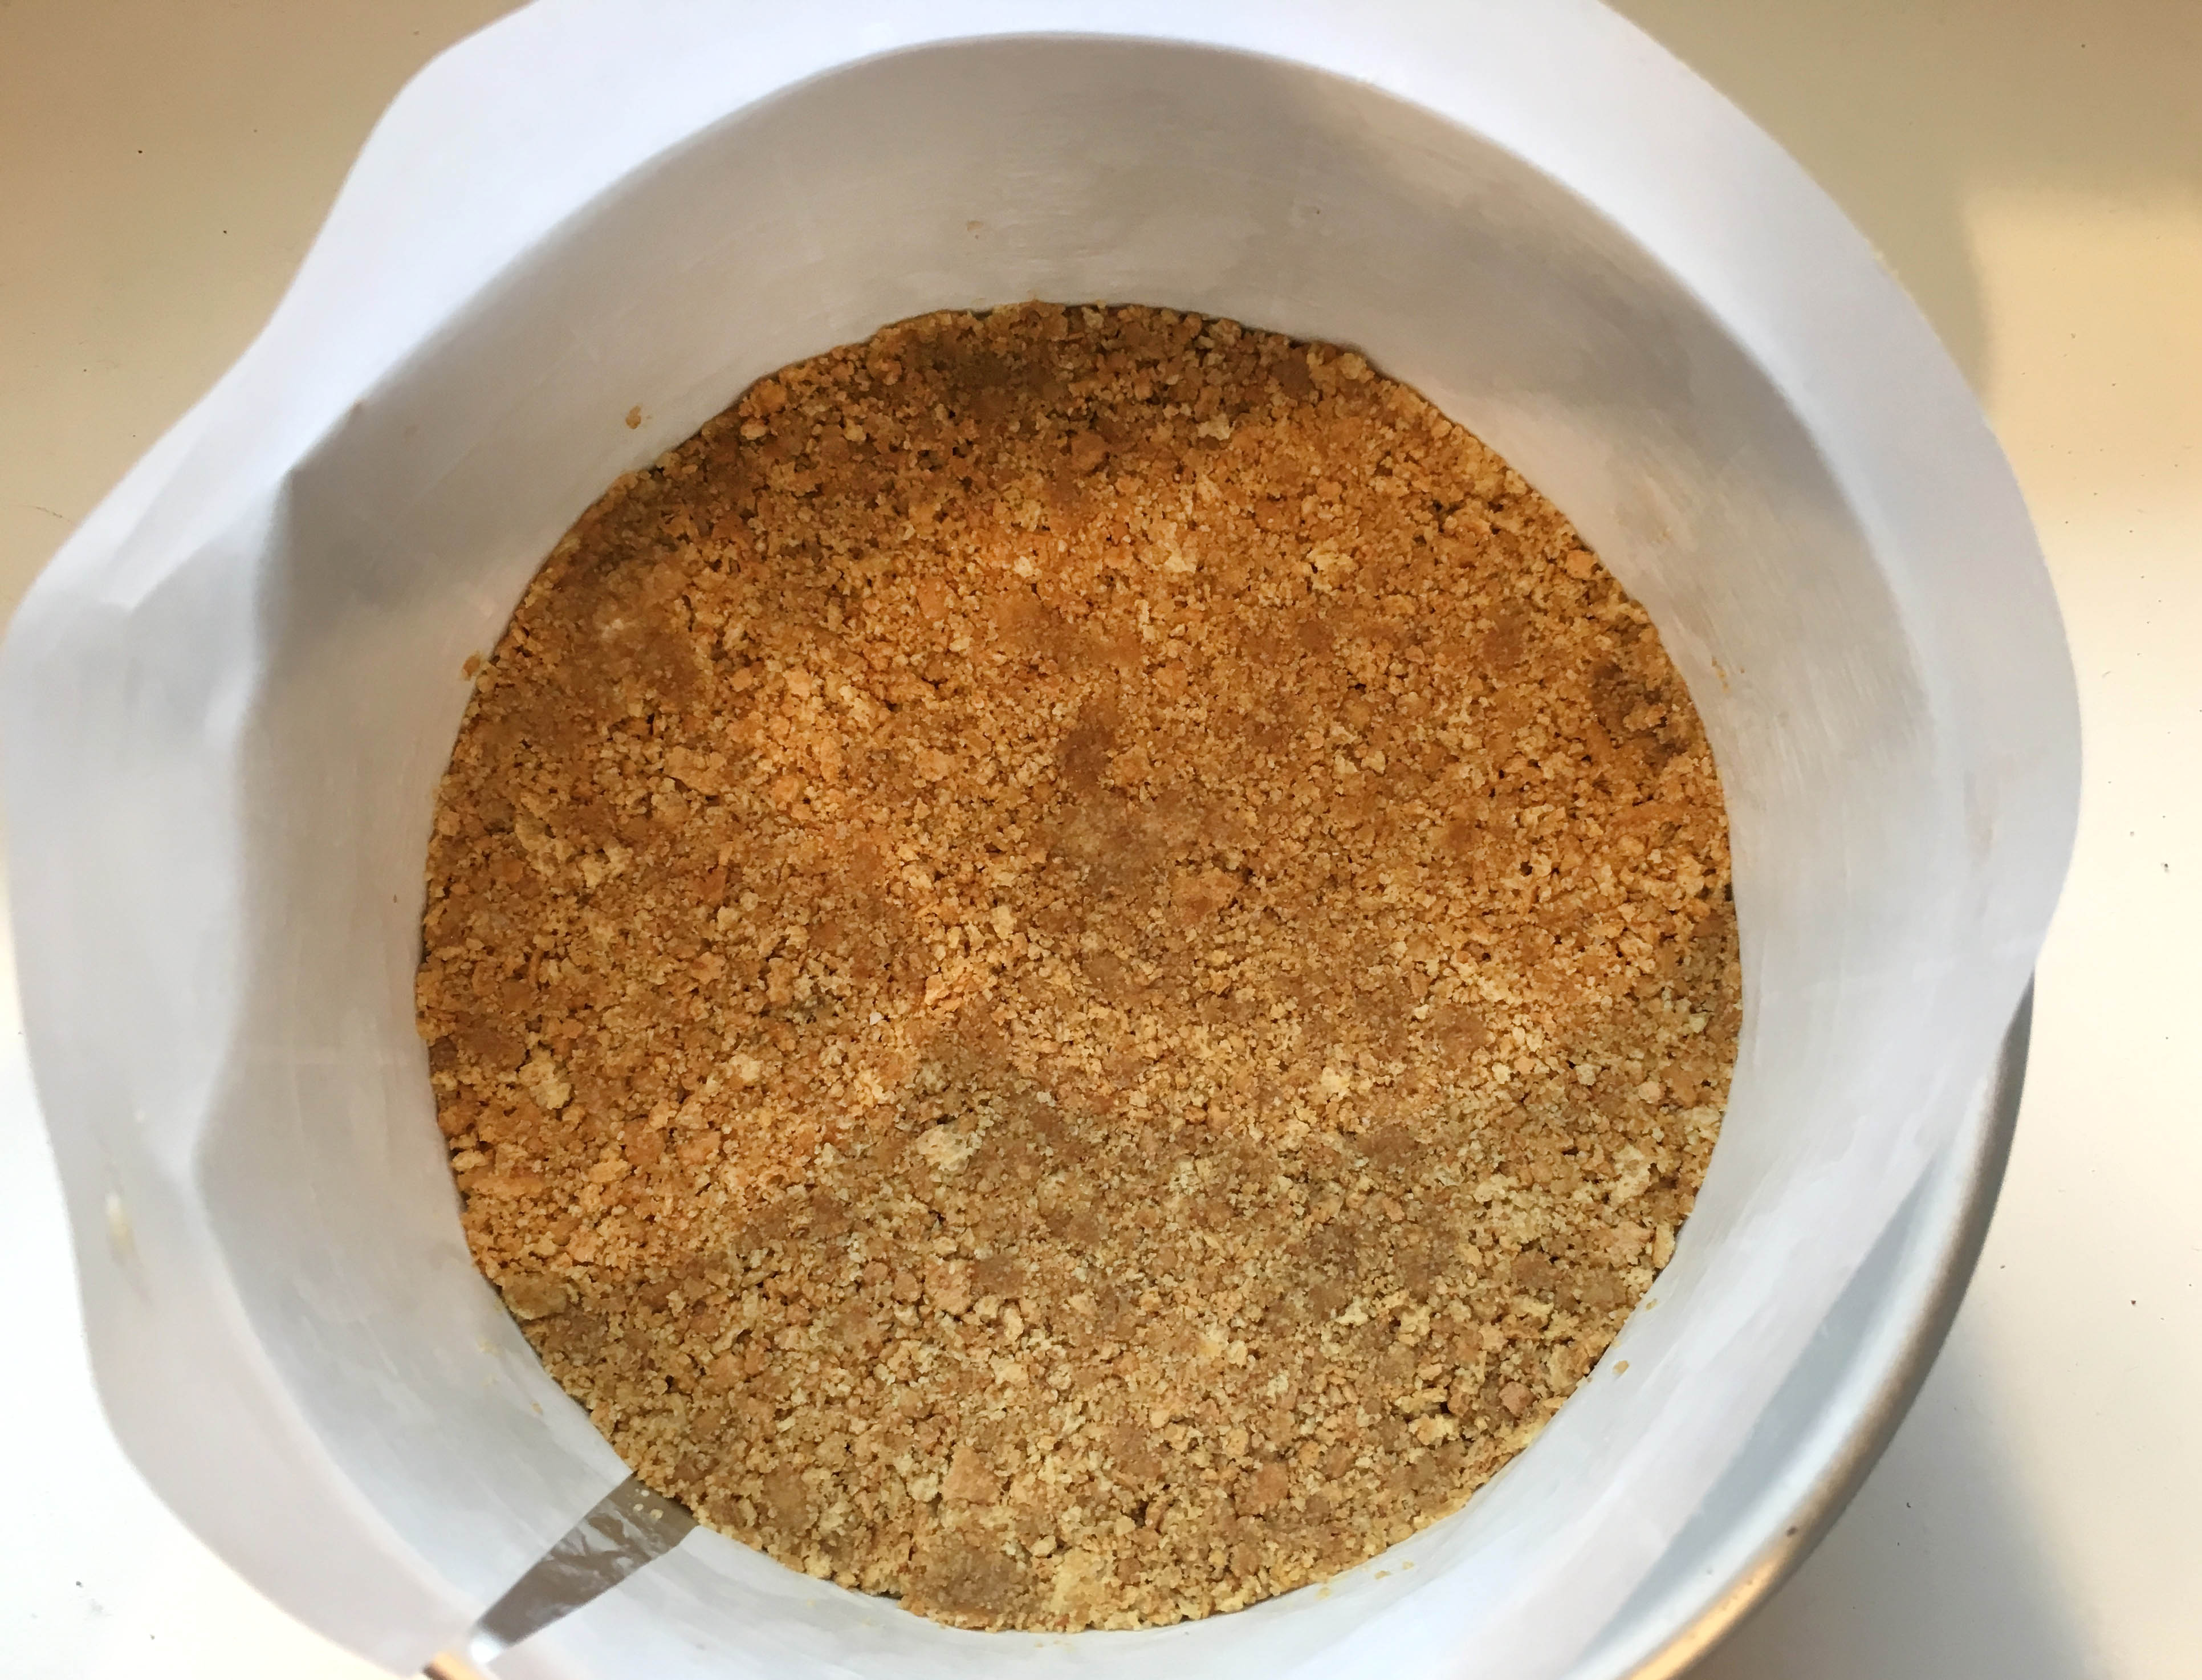
I opted not to pre-bake the graham cracker crust, as I find it completely irrational to have to use another appliance before using the Instant Pot. Let the Magic Machine prove its worth on its own! I expected a soggy crust, but I was surprised that it actually maintained some integrity. Not crispy, but sturdy, and tasty all the same.
The cheesecake itself was lighter both in texture and color than my standard baked cheesecake. It was delicately flavored too. Despite a somewhat pocked surface, it looked like a darn fine cheesecake.
So... was it really worth it to use the Instant Pot? Yes, if you consider yourself a ride-or-die Instant Pot user. Me? I vacillate between "I can do everything in the Instant Pot!" to "I know this would have been better cooked in my trusty Le Creuset." In fact, I was surprised to find myself even writing an Instant Pot recipe. I was skeptical of the robot cooker, just as a younger me scorned the tiny pizza in Back to the Future 2—the mom zaps it in a microwave and it zings into a large family-size pizza. I thought, "there's just no way that tastes good." (I hope to be wrong about that someday too.) But when it comes to Instant Pot cheesecake, I was pleased with the end result. I would even cook it again.
In summary and in conclusion, the advantages of making cheesecake in the Instant Pot:
- Top reason: The texture isn't as dense as ones I've made in an oven. It's almost mousse-like.
- Actual cooking time was 30 minutes, instead of double that in an oven. (That said, you're still chilling the cake for 6-8 hours, so you're really saving half an hour in the beginning.)
- An Instant Pot is likely more consistent, temperature-wise, than a home oven—well, mine, at least. My oven has hot and cool spots, and an unreliable temperature gauge.
- Most Instant Pot owners likely have the standard 6-quart version, and the cheesecake that yielded was the perfect size for a household that had already consumed an inadvisable amount of cheesecake.
- The crust is fine, but doesn't achieve the crunch and toffee-like caramelized flavor you'd get from baking in an oven.
- I typically make cheesecakes in a 9-inch springform pan. This did not fit inside my 6-quart Instant Pot. I happen to have a 6-inch cake pan on hand, but this really is a non-traditional size.
Disadvantages of making cheesecake in an Instant Pot:

My Instant Pot Cheesecake
Cheesecake's cardinal rule is this: completely room temperature cream cheese. I leave my cream cheese out on the counter the night before I make it. Eggs and sour cream should be room temperature as well. You don't want to over-aerate the batter by trying in vain to whip out the cream cheese lumps. Start right from the beginning.
My preference is plain New York style cheesecake augmented with a sour cream glaze, and a slightly tart strawberry compote. The color of the strawberries lightens upon cooking, but I find it a pleasant, rhubarb-hued goo, and endlessly preferable to canned pie filling or super sweet jam.
Equipment
- Your beloved Instant Pot
- Instant Pot rack insert with handles
- 6-inch cake pan
- Parchment paper, formed into a collar for lining the inside of your baking pan (19-inches long and 3 1/2-inches high)
- 2/3 cup crushed graham cracker crumbs (to crush, enclose the crackers in a sealed plastic bag and smash with a rolling pin, or use a food processor)
- 3 Tbsp. butter
- 2 Tbsp. brown sugar
- Pinch of salt
- 2 packages (8 oz.) full-fat cream cheese, room temperature
- 2/3 to 3/4 cup sugar, mixed with 2 Tbsp. corn starch and a pinch of salt. (How much sugar depends on how sweet you'd like the cheesecake batter to be. Two-thirds cup results in a mild sweetness—which I prefer.)
- 1/2 cup sour cream
- 2 eggs, room temperature
- 1 tsp. vanilla extract
Ingredients
Make graham cracker crust
Mix graham cracker crumbs, butter, sugar, and salt together until the mixture has the consistency of damp sand. Add to the bottom of your baking pan, and smooth down firmly with the flat bottom of a measure cup of glass. You're looking for an even layer, with no holes. Place in freezer as you prepare your batter.

Make cream cheese batter
Add cream cheese to the bowl of a stand mixer or, if you're using a hand mixer, a large mixing bowl. Briefly mix the cream cheese on low speed to loosen. Add the sugar mixture and mix until just combined. Be sure to scrape the sides and bottom of bowl with a spatula to make sure all sugar is incorporated.
Add sour cream and vanilla, and blend in gently. Add the eggs, one at a time, combining after each addition. Do not over-mix—we're trying to avoid adding excess air to the batter. Use your spatula to scrape the bottom again, and set aside.
Remove the cake pan from the freezer and butter the insides of the pan. Put the parchment collar inside, smoothing it against the buttered sides so it adheres.
Pour in the batter, and tap the pan on the counter to bring any bubbles up the surface. Poke any bubbles with a fork or knife tip.

Cook your cheesecake
Add one cup of water to the Instant Pot, place the rack insert inside with the handles up against the sides of the pot. Place your cheesecake on the rack. Attach the lid and pressure cook on high for 30 minutes. Allow natural release, about 8-10 minutes.
Once the releasing is complete, carefully remove the lid to avoid shaking water droplets onto your cake. Dab the lid dry and set aside. Give the Instant Pot a gentle shake—if it jiggles a bit, it's done. If the center of the cheesecake looks custardy and slightly loose, fasten the lid back on for an additional 5-10 minutes. Do not turn it back on. The residual warmth will firm up the cheesecake. Make sure handles of rack are cool before lifting out your cheesecake.
Cool your cheesecake on a baking rack for 15 minutes, then run a thin knife between the cheesecake and the parchment collar. If it seems the collar will remove easily, slip it off. Otherwise you can remove it later once fully chilled. Place cheesecake in the fridge to chill for 6-8 hours.
The cheesecake can be made and refrigerated up to three days in advance.
When ready to serve, remove from fridge, gently pull off the collar and again run your knife deep down the sides of the pan to make sure your cheesecake is loosened from the sides. When you flip it over, it should slide out. If not, wait 10 minutes while the butter in the crust warms a bit. Invert onto a plate, and then back onto your serving dish.
Smooth a layer of sour cream glaze over the cheesecake and serve, passing the strawberry compote on the side.
Strawberry Compote
- 1 pint of ripe strawberries, hulled and chopped
- 1 Tbsp. sugar
- 3 Tbsp. water
Place all ingredients into a small pot. Bring to a boil, then reduce to a lively simmer for 10 minutes. Pour into a small bowl or jug, and chill. It will thicken slightly when chilled. Serve with cheesecake. Leftover compote can be stirred into yogurt or ice cream, or mixed with seltzer or cocktails.
Sour Cream Glaze
- 1/2 cup full-fat sour cream
- 1 Tbsp. sugar
- 1/2 tsp. vanilla extract
Combine all ingredients in a small bowl until smooth. Spread over cooled cheesecake. Any leftover glaze can be used as a dip for fruit, or a topping for waffles or pancakes.