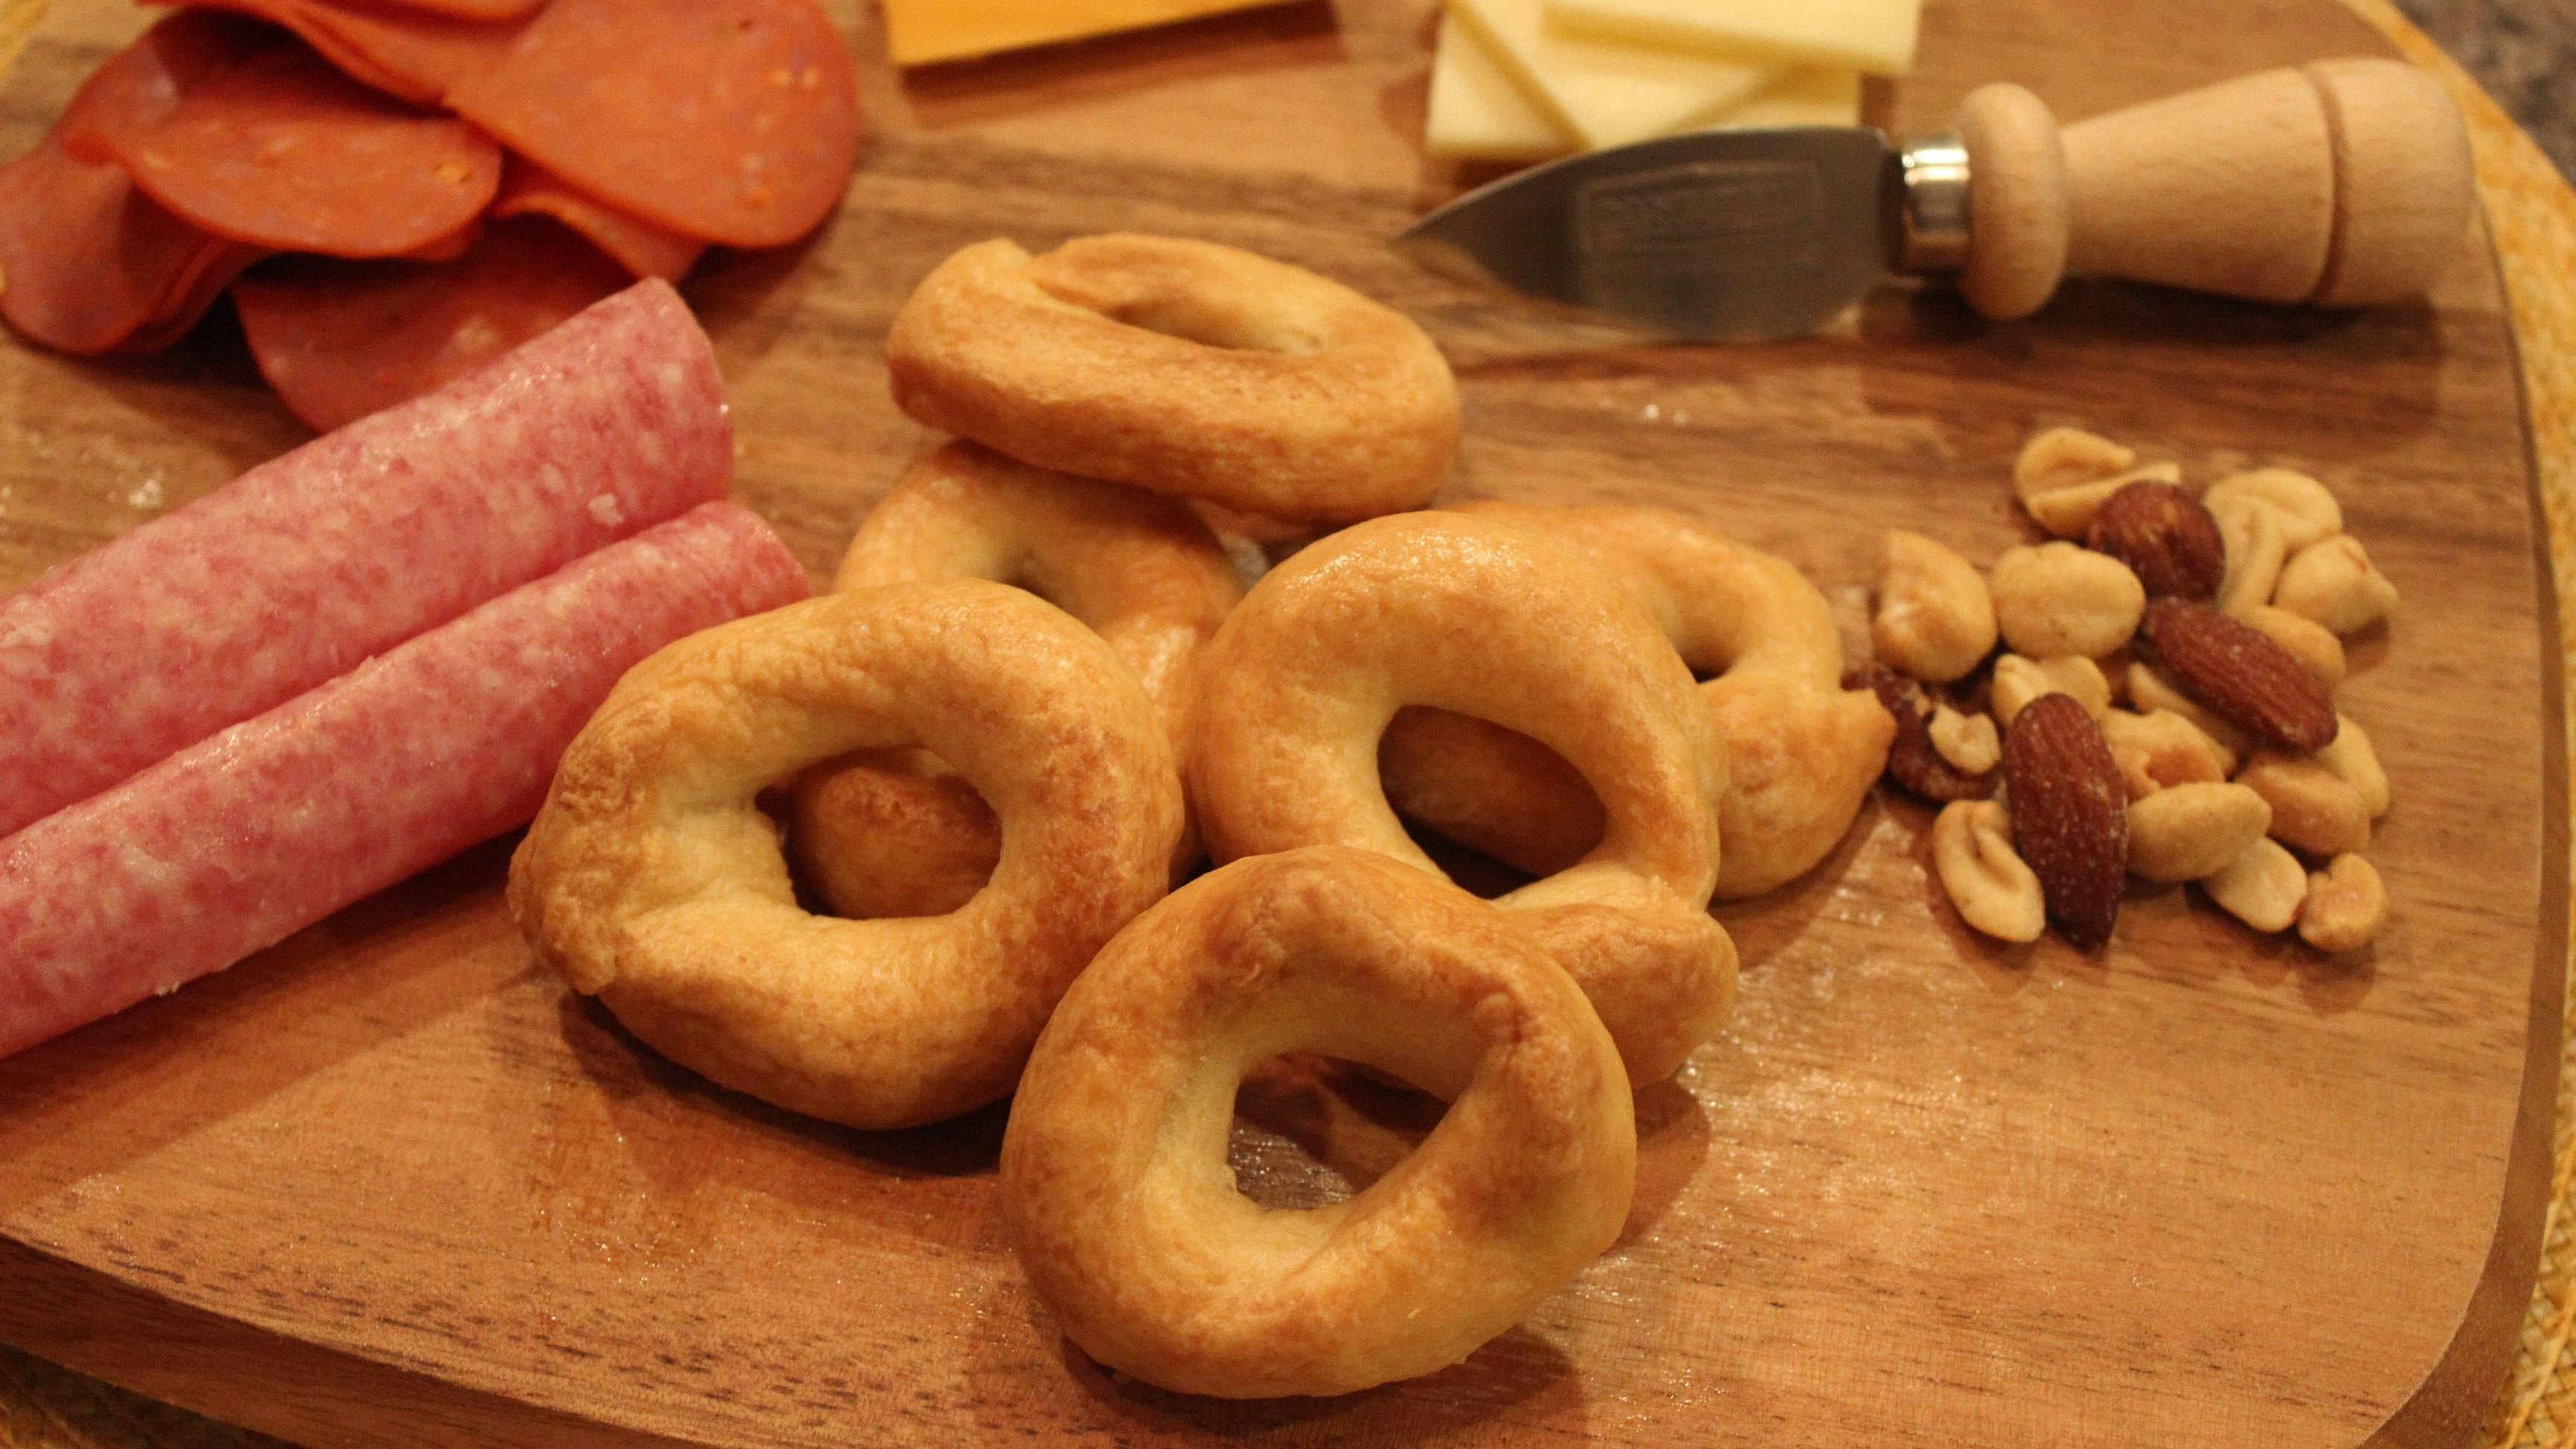
Elevate Your Snack Attack With Taralli
Homemade Italian pretzels are here to save your non-glamorous charcuterie boards.
Regional Italian gastronomy is simply a part of my Italian American identity, and I know I'm in good company. In Southern Italian culture, the emblematic foods include both fish and anything you can fashion from dough. I could probably create an entire tasting menu of the quintessential Apulian foods (from the Puglia region, the achilles heel of the boot)—and at the very top would be taralli.
You can think of taralli as Italian pretzels, but in 2016 the New York Times referred to them as "Italian potato chips," approximately six centuries after they were invented in a village close to my ancestral town of Mola Di Bari. Fast forward to today, the ring-shaped snacks I've been eating since before I even had teeth (they were my Italian teething biscuits) are occupying real estate on every bougie charcuterie board on Instagram. As they damn well should be.
I have also long suspected that the almost pastry-like crust on a Home Run Inn Pizza was inspired by taralli. This is a conspiracy theory that I developed all on my own. Share if you agree.
In the 21st century, it's increasingly common to see foods that have always been considered "la cucina povera," or the food of the poor, elevated to swanky status on restaurant menus. Much like bruschetta, biscotti, or bread dipped in olive oil, these items were originally developed due to scarcity and the "waste nothing" mindset that comes along with it.
They're so easy to make and even easier to eat. In my family, three things are certain: death, taxes, and my father's fully stocked taralli jar. My aunt rarely leaves home without a bag of homemade taralli in her purse (power move). And let's not forget the time my extended family passed bags of taralli up and down the aisles of an airplane on a family vacation. Because once you eat taralli, Rold Golds aren't going to cut it.
This snack makes a great gift, too. To this day, my father will put a batch of taralli in a food storage bag and ship it in a reused Amazon box to relatives across the country. Once they see that package with a handwritten label on their doorstep, they feel like a million bucks.
The handheld rings are crispy, faintly salty, and just oily enough, like a well-done pie crust. The homemade taralli I know and love are "plain," but I have seen them sold in different flavors including black pepper, fennel, lemon sugar, red pepper, and even pizza! Whatever your seasoning of choice, you can add one tablespoon (give or take) to the recipe below to give it a kick.
To achieve high-quality taralli, a KitchenAid mixer with a dough hook is the preferred mixing method. The longer you mix the dough, the crispier the taralli will be (which is a good thing).
Taralli
Makes about 5 dozen
- 2 ½ lbs. all-purpose flour
- 1¾ cups canola oil
- 2 cups dry white wine (anything you'd have on hand for cooking), warmed up in microwave about 30 seconds
- 1 spoonful salt
In the bowl of a stand mixer affixed with the dough hook attachment, add all ingredients and start the mixer speed on low, increasing to medium for about 15 minutes.
While it's mixing, heat a large pot of water three-quarters full on the stove and bring it to a boil.
After about 15 minutes, the ball of dough will be free of dry flour and slick but not sticky. Remove the dough and begin kneading by hand. You will not need added flour for kneading; the oil and wine in the dough creates pliability, so it will be easy to handle. If that's not the case, return it to the mixer for a few more minutes.
After kneading, cut a skinny strip or a hunk of dough and roll it with two hands until it's about 6" long and ½" in diameter. Form the strip into a ring by connecting the two ends of the dough and set aside.
Once all the dough has been formed into taralli rings, add them to the boiling water a dozen at a time. You'll notice they sink to the bottom at first, then rise after about 3 minutes. As the rings rise to the surface of the water, remove them with a slotted spoon and place in a colander a few at a time to drain any extra liquid.
Next, transfer the taralli back onto your workstation (be it a countertop or a plate) to cool off. They will feel gluey on the outside, and will harden significantly in this stage.
Line a baking sheet with parchment paper and fill the sheet with taralli. No need for room between the rings because there is no yeast involved in this recipe so they will not spread.
Bake at 425 degrees for 30-40 minutes, rotating the tray halfway through to ensure even baking. When they resemble a pie crust at your desired golden hue, they are ready to come out of the oven. Wait until they've cooled a bit, then enjoy!
Taralli can be stored in Tupperware, a traditional cookie jar or canister, or even in a food storage bag. A batch can last up to three or four weeks.
