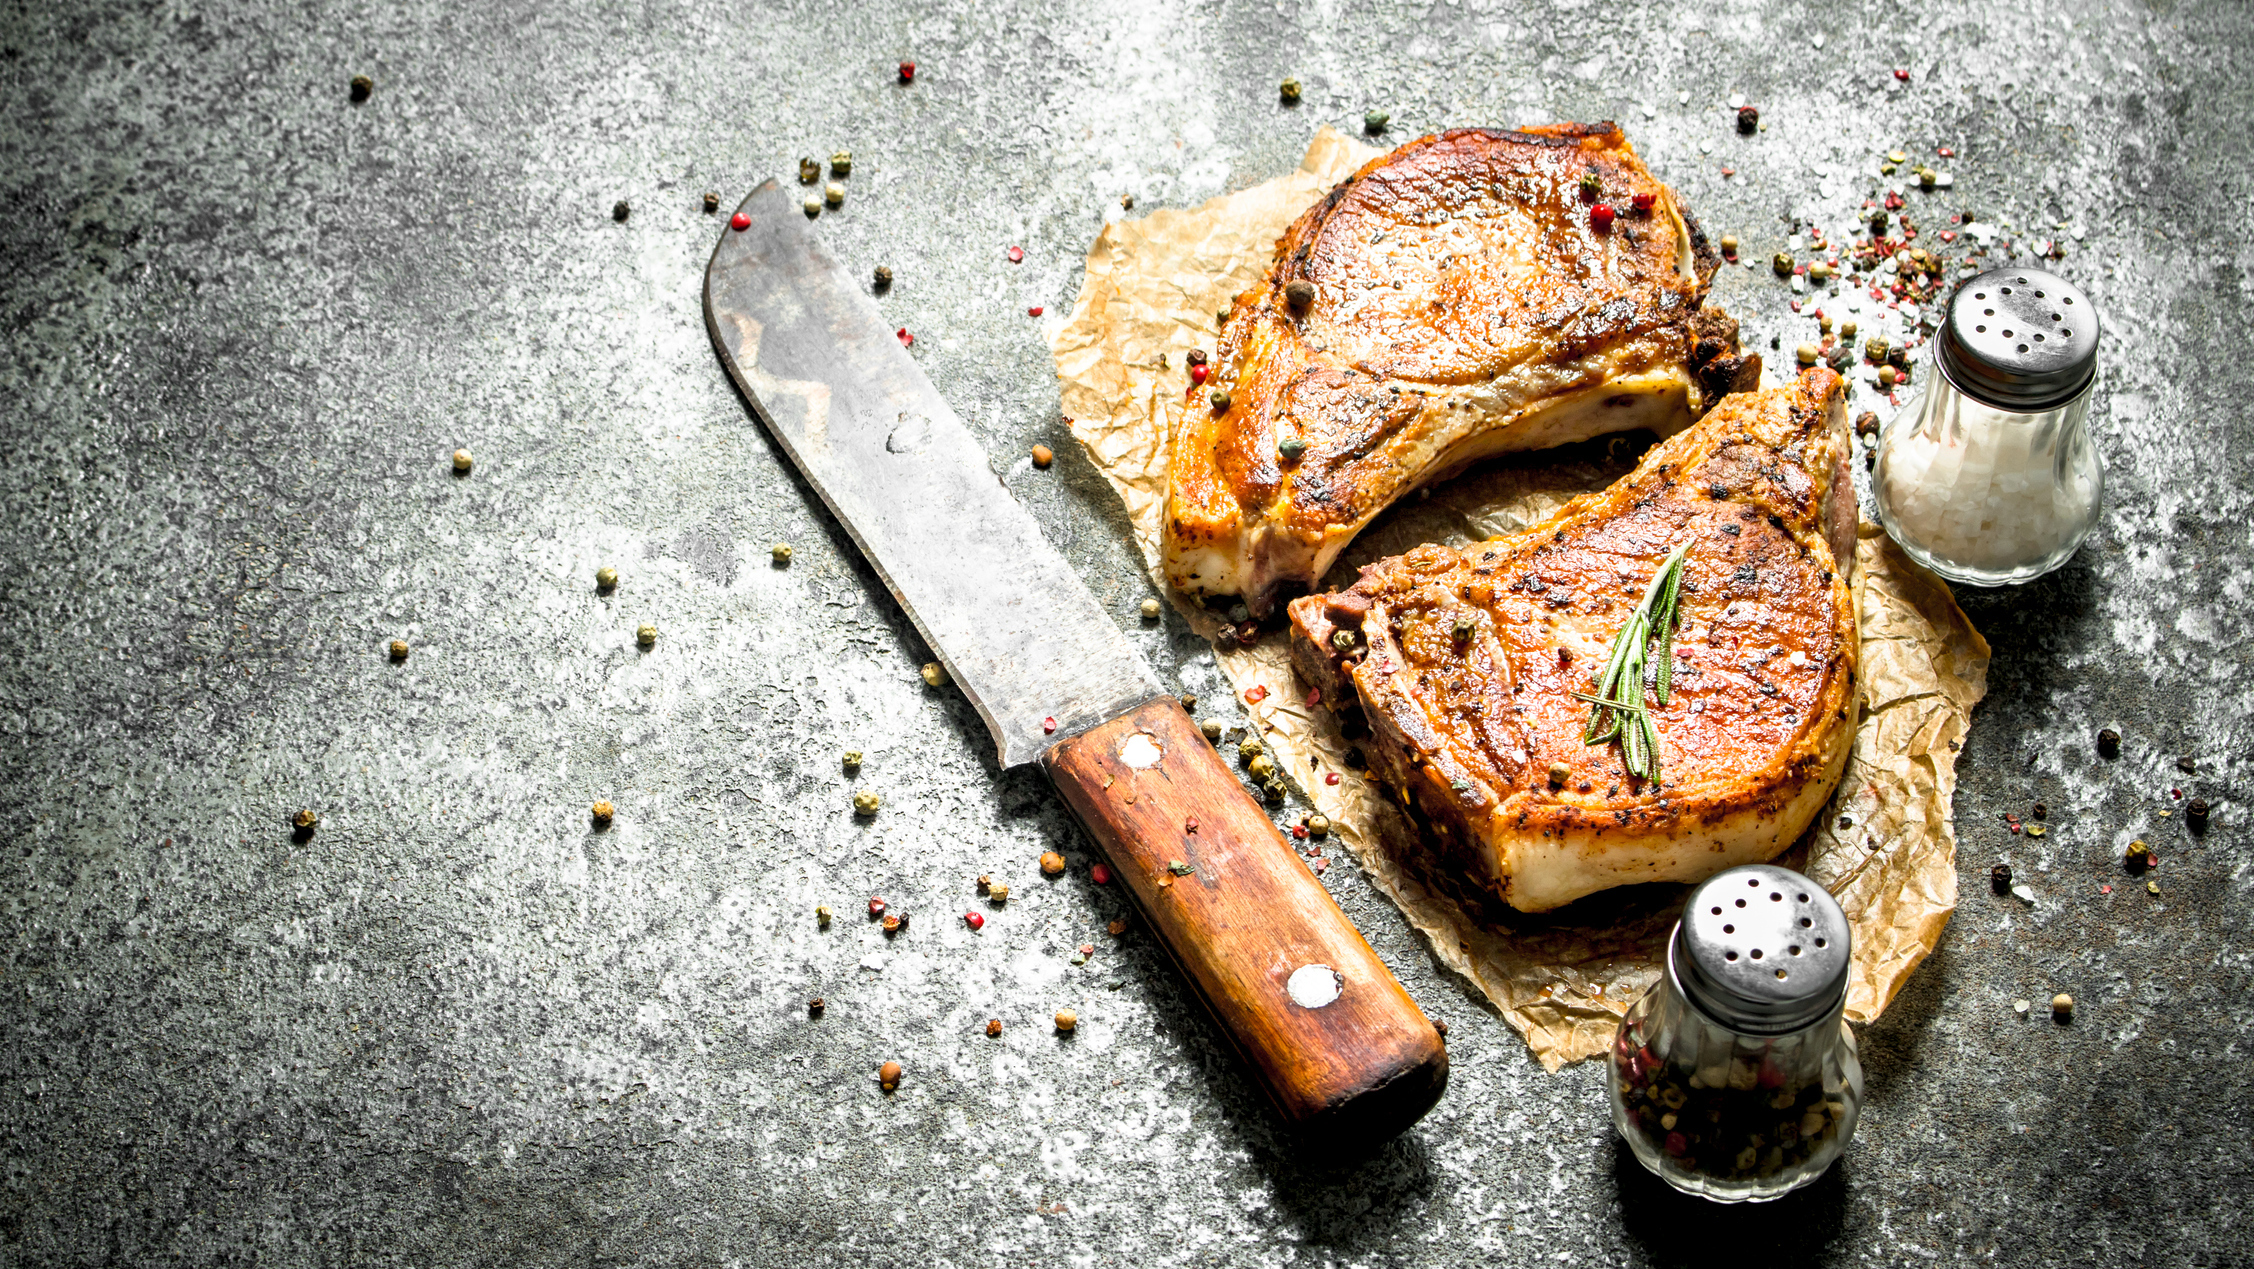
How To Perfectly Sear Pork Chops Without Drying Them Out
As a trusted butcher and meat life coach, customers sometimes bring me pages torn out of food magazines or turn their phones to show me recipe photos on Pinterest. They ask whether they can make their food look that good, or whether it's all the magic of food styling. Truth is, it's both. Often, the object of their desire is that beautiful amber hue on a seared pork chop, which is pretty easy to accomplish if you have some time and a reasonable amount of patience.
Simply put, all you have to do is slow down. As I've said before, the Machismo Method (rippin' hot pan, bro!) will put a nice, deep sear on your steak or pork chop, but will dry out the meat. Starting with a hard sear doesn't allow the chop to cook evenly. Here's how I get that nice color on the pork chop while retaining a juicy interior:
For thicker pork chops, reverse-sear
If you have a thick chop, you can reverse-sear it for better results. First, season the chops, then place the chops in a 275-degree Fahrenheit oven for 20-30 minutes, depending on their thickness, until the chops reach an internal temperature of 120 degrees Fahrenheit. You'll need a meat thermometer, which for about $20 is a lifelong investment in cooking meats properly. Then, sear the pork chops in butter or rendered pork fat over medium heat (about 300 degrees Fahrenheit), basting and turning it every few minutes until seared and just cooked through. Cook to an internal temperature of 135-145 degrees Fahrenheit, depending on how you like you chop cooked. Finally, rest the chop a few minutes to let those juices soak before serving.I still recommend the reverse-sear method for thicker chops, as they will cook more evenly and will caramelize nicely in a medium cast-iron pan. Though if you have the patience to cook a 2-inch chop on the stove, basting and turning the whole way, your pork chops will glisten like the ones on the pages of your favorite food magazine and the flavor will be amazing. See those directions below.
For thinner pork chops, brine and sear
If your pork chops are thinner and/or you want to play with seasoning and really up your color game, try brining your chops. I've shared my basic brine method below, which you can use as a general outline, adding specific ingredients to your liking.
Pork Chop Brine
- 2 quarts liquid
- 2 Tbsp. salt
- 1 Tbsp. sugar
- Additional seasonings
The liquid can be cider, beer, coffee, water, or any liquid you want—though two quarts of bourbon might be a bit much. Play around with it. Same with sugar: Use brown sugar, honey, maple syrup, etc. And to this you can add herbs, spices, garlic—anything you think you'll want flavoring your pork chops.
To brine pork chops, boil half of your liquid of choice, add the salt and whisk until dissolved. Add any other aromatics and boil for a few minutes. Remove from heat and add remaining liquid, cooling the brine to room temperature.
Place your chops in a shallow dish or Ziplock bag. Add room-temperature brine, and refrigerate for a few hours for thin chops or overnight for thicker (1.5 inches and bigger) chops.
After brining, heat a cast-iron pan or the heaviest skillet you own over medium heat. Remember, medium heat is your friend. Cook thinner chops in butter or lard, turning frequently. The sugar in the brine will help caramelize the chops, but if your heat is too high, it will burn. Turn and baste until the chops are beautifully golden and just cooked through.
And as always—please!—let the chops rest before serving.