Secrets To Making The Perfect Crispy Smash Burger At Home
One night while working in a restaurant, my coworkers and I all grabbed dinner together after our shift. Despite spending the previous ten hours cooking burgers with access to as many free burgers as we could keep down while cooking, we went straight to a drive-in restaurant and ordered... burgers. The drive-in didn't use expensive locally raised beef, nor did it offer caramelized onions, and there was nary a brioche bun in sight. But there was one thing that made these burgers taste so much better than the ones at our workplace: someone else cooked them for us.
With as many strong opinions as people have on what makes a Good Burger™, it's a food that doesn't actually require much cooking at all, and the range of ingredients that comprise a burger are simple and readily available. There's no reason why the burger you make for yourself at home can't taste as good as the burger you waited in line for hours to try. The only advantage pro burger flippers have over home cooks is more practice.
Learning to make a perfect smash burger at home
Oddly, we normally associate high volumes of cooking with low-quality results, but this logic doesn't extend to burger cookery, which is done best at a high volume. It took me at least 15 attempts to make a smash burger with perfect lacy edges, but once I got it down, I hardly had to think about what I was doing.
In my most frenzied moments of burger production, I felt like I was playing Tetris, and I've read about veteran diner cooks who liken it to laying bricks. Home cooks will never have to experience this; however, I'll let you in on the techniques I learned plumbing the depths of burgerdom, so maybe it won't take you 50+ attempts to make a smash burger that satisfies.
Choose the right beef and prep your skillet
- Because the patty gets smashed so wide and thin, you don't want to use more than 4 ounces of beef. If you want a bigger burger, make a double with two 3-oz. or 3.5-oz. patties. (For tips on selecting the best beef, head here.)
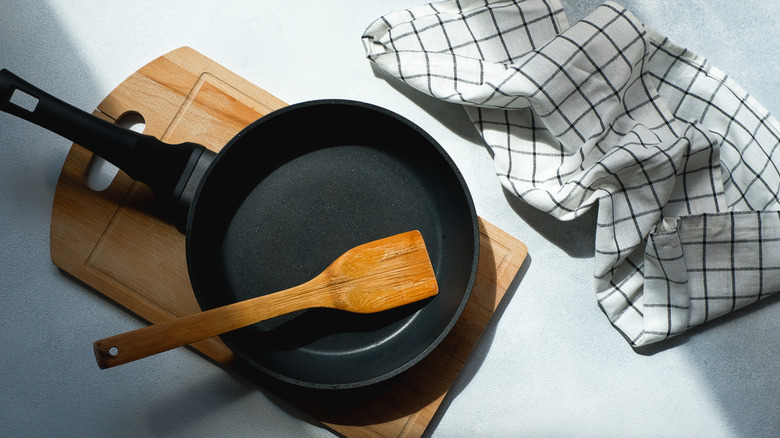
- Heat cast iron griddle or skillet on the stove until it's smoking.
- The cast iron should be as dry as possible. If your cast iron is greasy, you should pour a little water onto it and let it cook off, wiping the cooking surface to make sure it's totally dry. The beef should stick to the cooking surface and not your spatula. I've also seen cooks throw vinegary pickle juice on a hot plancha to deglaze the surface and make it dry.
Roll, soften, and smash the beef
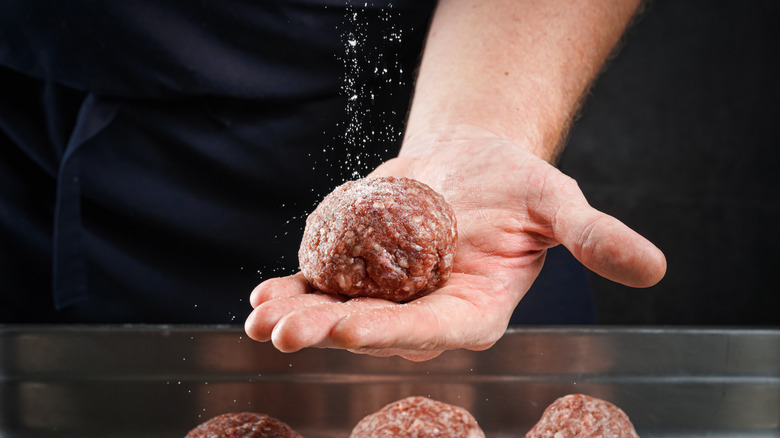
- Roll your portion of beef into a ball (so that when you smash it the shape will be round). Season the ball generously with salt. It's hard to over-salt a burger, so go nuts!
- Place the ball of beef in the center of your smoking skillet, and wait a minute or two before bringing your spatula down on it. This allows some of the fat to soften, making it easier to smash.
- Okay, smashin' time. It's best to smash the burger in one go. Start with a metal spatula in one hand and a clean folded kitchen towel in the other. Place the metal spatula on top of the beef ball and place the towel on top of the spatula, allowing you to use both hands to press down. Smash the patty, being careful to maintain its round-ish shape.
- The patty doesn't need to be completely even in thickness, but it ought to be about 1/2" thick in most spots. If it sticks to your spatula when you release, you can simply press down again. Patch any holes you created in your patty by pinching off a little beef and squishing it in place.
Cook, flip, and serve the tastiest at-home smash burger
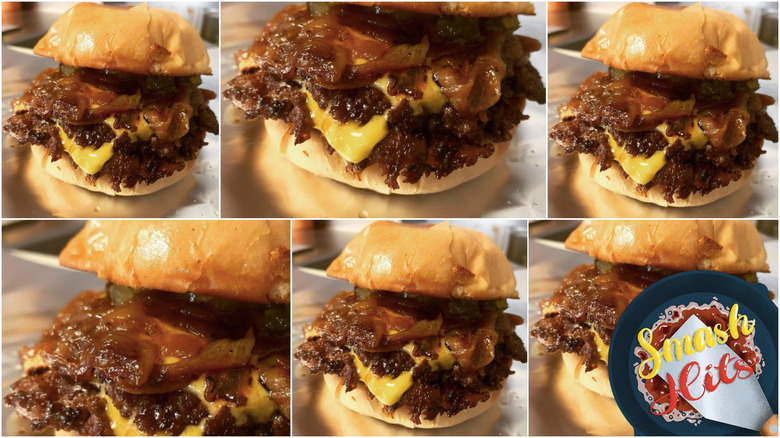
- Watch your burger as it cooks. The edges that are stuck to the skillet should look like they're burning. Once nearly the whole patty has changed color, meaning that even the side of the patty that's not touching the cooking surface has lost most of its pink color, you can flip the patty. You must be very careful here. Wedge your metal spatula underneath the burger, scraping to keep those crispy caramelized edges intact.
- After you flip the patty, immediately top with cheese. Once the cheese has melted, your patty is ready!
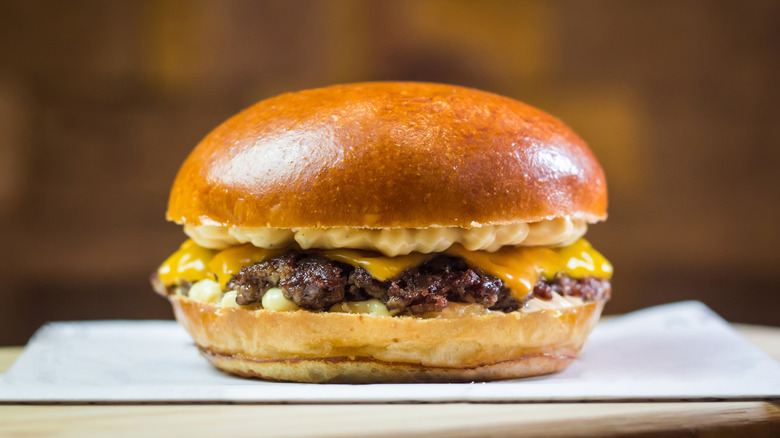
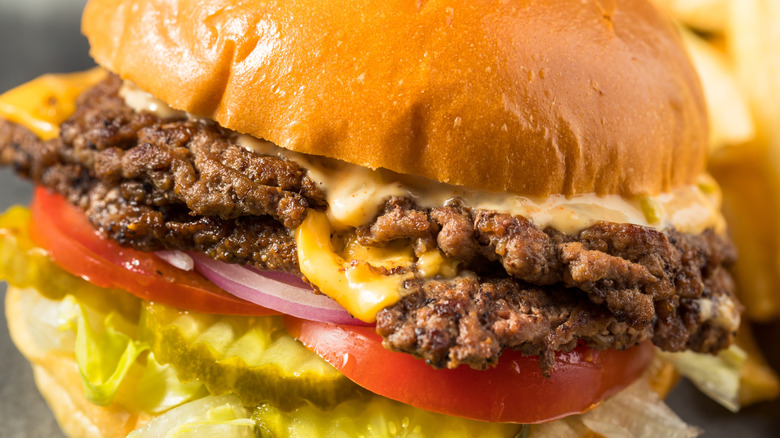
- Select the ideal bun, add toppings to your burger in the correct order, and enjoy the fruits of your labor.