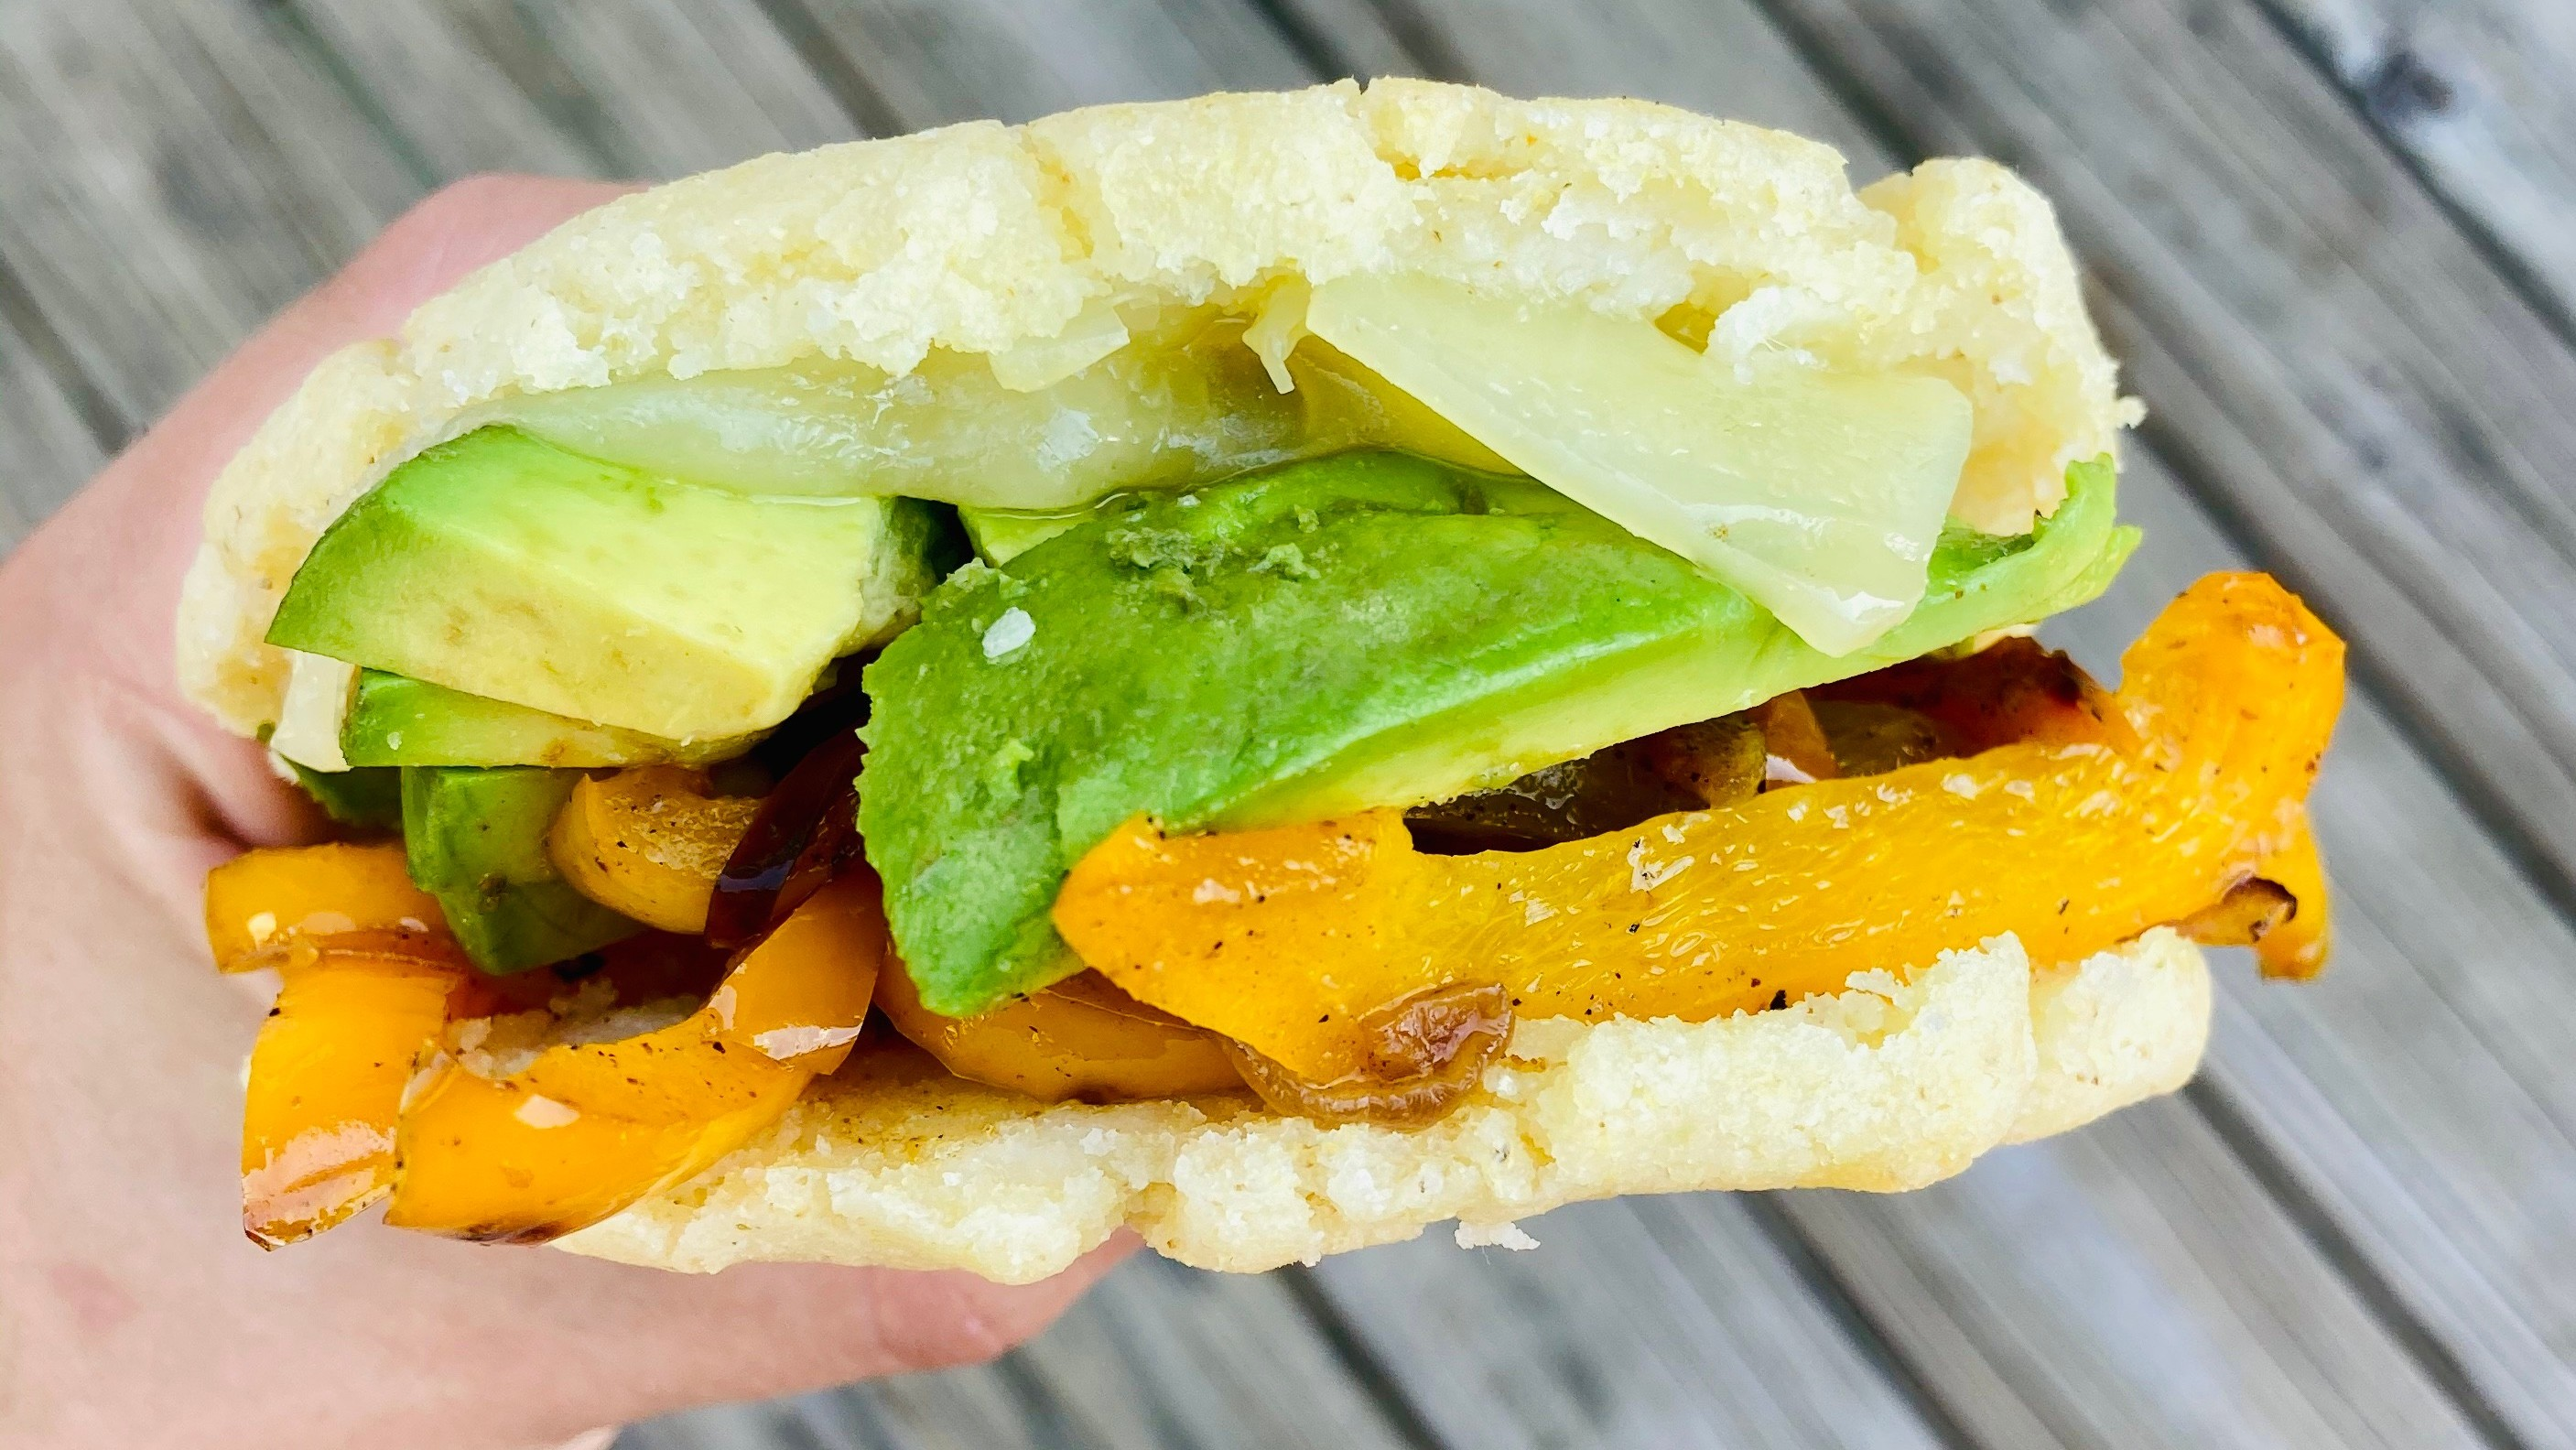
Toaster Oven Arepas Couldn't Be Easier To Make
For anyone who's late to the party, an arepa is a corn flour bun that plays a major role in both Venezuelan and Colombian cuisine. I was introduced to this tasty cheese and meat vehicle by my Caracas-born college roommate, but these sandwiches have gained a foothold on menus throughout the U.S. as more Venezuelan expats settle here. Arepas' rise in popularity is easy to understand: they're delicious, inexpensive, easy to make, and naturally gluten free.
Traditionally, arepas are fried on a griddle, but they can be cooked in a number of different ways. My roommate would always bake them in the oven on a lightly oiled sheet tray. This method requires a bit less oil overall, making them healthier, and it also allows you to produce a large batch at once without standing over a hot stove.
Recently, I've experimented with making arepas in my toaster oven. While the batch size is limited by the size of your toaster oven, this method offers similar advantages to the oven. You won't need to use very much oil; the cooking time is inactive, allowing you to work on other things; and most importantly you won't heat up the kitchen by turning on your stove. Because most toaster ovens function more like a broiler than a traditional convection oven, it actually produces a better crust than a convection oven would. If your toaster oven has both broiling/toasting and baking modes to choose from, either setting should work. Start to finish, it takes about 30 minutes to mix, form, and bake a batch of arepas, and you'll have time to take a shower, clean up the kitchen, or prepare a tasty filling while the arepas cook.

Toaster Oven Arepas
Serves 2
- 1 cup warm water
- 1 cup Masarepa* (see note below)
- 1 Tbsp. oil, or melted fat such as butter or schmaltz
- 1 tsp. kosher salt
Method:
- Mix your warm water with the salt and oil. Then stir in the Masarepa and let the mixture sit for a few minutes. This allows the corn flour to hydrate and means a less sticky dough.
- After a few minutes, knead the dough until smooth. Then divide the dough into 2 or 4 evenly sized balls. I find that smaller arepas are easier to make, and take half as much time to cook. However, if you want to fit in some chores around the house while the arepas bake, make larger ones.
- Flatten each ball between your hands to form a patty roughly the same shape and thickness as a Thomas English Muffin. They should be just shy of an inch thick. Use your fingers to smooth any cracks in the dough.
- Line your toaster oven tray with aluminum foil. Either lightly oil the foil or coat each arepa with oil on both sides. If you skip the oil, the arepas will stick to the foil and lose their crust when you attempt to flip them.
- Bake the arepas at 450 degrees for 10-20 minutes or until a lightly golden crust forms, then flip the arepas and bake for another 10-20 minutes. Toaster ovens vary, so adjust the cooking time as you see fit. For four smaller arepas, I find they're ready to flip at 10 minutes. The two larger arepas take 20 minutes per side in my toaster oven. Essentially, you're trying to create a golden crust that seals off the inside, allowing it to steam internally. When the arepas are done, you should be able to tap on the crust and hear a noise like you would with a crusty loaf of sourdough bread.
- Let the arepas cool for a few minutes, then split them carefully with a dinner knife or similarly sized kitchen knife before filling. Imagine that you are cutting through a stick of butter, and use one smooth consistent movement. Rather like an English muffin, if you do a poor job of cutting the arepa, you'll break your two halves into multiple pieces and ruin your sandwich experience.
Suggested Fillings
Classic Venezuelan arepa fillings include reina pepiada (a type of chicken salad with avocado), shredded beef, pulled chicken, roast pork shoulder, black beans and cheese, and more. My roommate would fill arepas with scrambled eggs at breakfast time and sliced deli meats and cheese for quick midday meals. My favorite vegetarian arepa is a simple tomato, avocado, and cheese, though I sometimes replace the tomato with roasted onions and peppers.
*Masarepa is not the same thing as masa harina, which is used to make tortillas. Masa harina is nixtamalized and has a distinct lime smell, and it simply won't do for making arepas. Masarepa is labeled as "harina precocida" usually. If you're unsure which corn flour you've found, look at the package and see if there are any recipes or suggested uses. Arepas will definitely be listed on a package of masarepa. A package of masa harina would list tortillas, gorditas, pupusas, and sopas.
