A Pie-Curious Baker Tries To Earn Her Crust
As I've mentioned, I am an aspirational baker, but not a very successful one in practice. Anything more complicated than the Toll House recipe on the back of the chocolate-chip package is bound to throw me for an absolute loop.
One of the many baking hurdles I've never been able to clear: a basic pie crust. Whenever I try, I usually wind up piecing the whole thing together in the pan, rather than laying the crust over the pie plate an in an impressive flourish. There seem to be so many different variables—Temperature! Ice water! Butter! Lard! Food processors! Mixing by hand!—that I was at a loss as to discern the best possible method.
Continuing my 2018 theme of self-improvement, I was able to arrange private tutoring sessions with some of Chicago's finest pastry chefs. These people kindly and warmly welcomed me, a baking dunce, into their professional kitchens in the hopes of teaching me how to make a pie crust I could proud of.
First up: Ashley Danello of El Che Bar. The Massachusetts native moved to Chicago a few years ago, working under pastry chef Mindy Segal at Chicago's beloved Mindy's Hot Chocolate. At El Che, she draws on her love of South American desserts to creating an after-dinner menu of amazing puddings, pies, dough pastries, and frozen confections using El Che's live-fire hearth.
The first thing you notice about Ashley is the giant rolling pin atop her kitchen worktable. It's a gift from her grandmother, who used it to make ravioli, ultimately inspiring Ashley to her pastry career. For our lesson, Ashley had prepped like a Martha Stewart morning show, pulling out pre-chilled butter and pre-formed dough at various steps along the way. Best of all, she was unfailingly patient with her lummox student: Too bad somebody had to be first, Ashley. You deserved better.
The important thing to remember here is that Rome wasn't built in a day. In fact, it took several thousand years. Hopefully my pie timetable will be quicker than that, but my head was spinning as Ashley rattled off the various intricacies related to pie crust. With all that attention to temperature, to say nothing of civil engineering, it's no wonder that my previous pie efforts wound up with my sad dough scrapbooking in the pan. There was a lot of talk about the horror of gluten development, which sounded like it should just send your pie straight into the bin.
Ashley started out with a pound of 83-percent fat butter, carefully cut into equal 1/2-inch cubes. She suggested chilling it for about an hour. "Temperature is super important," she stressed. If that horror of gluten development happens, it results in a "tight and dense dough" that's "too tough." This can also happen if you overwork the dough. That's me, I totally tend to overwork things.
We talked about the advantages of unpasteurized milk and vanilla straight from the bean (which she also scraped into the crust) as Ashley broke down all those cubes of butter into the flour and sugar, using her thumb and index finger. Eventually, the mixture became more granulated, like a very thick sand, with various "pistachio-sized" pieces of butter.
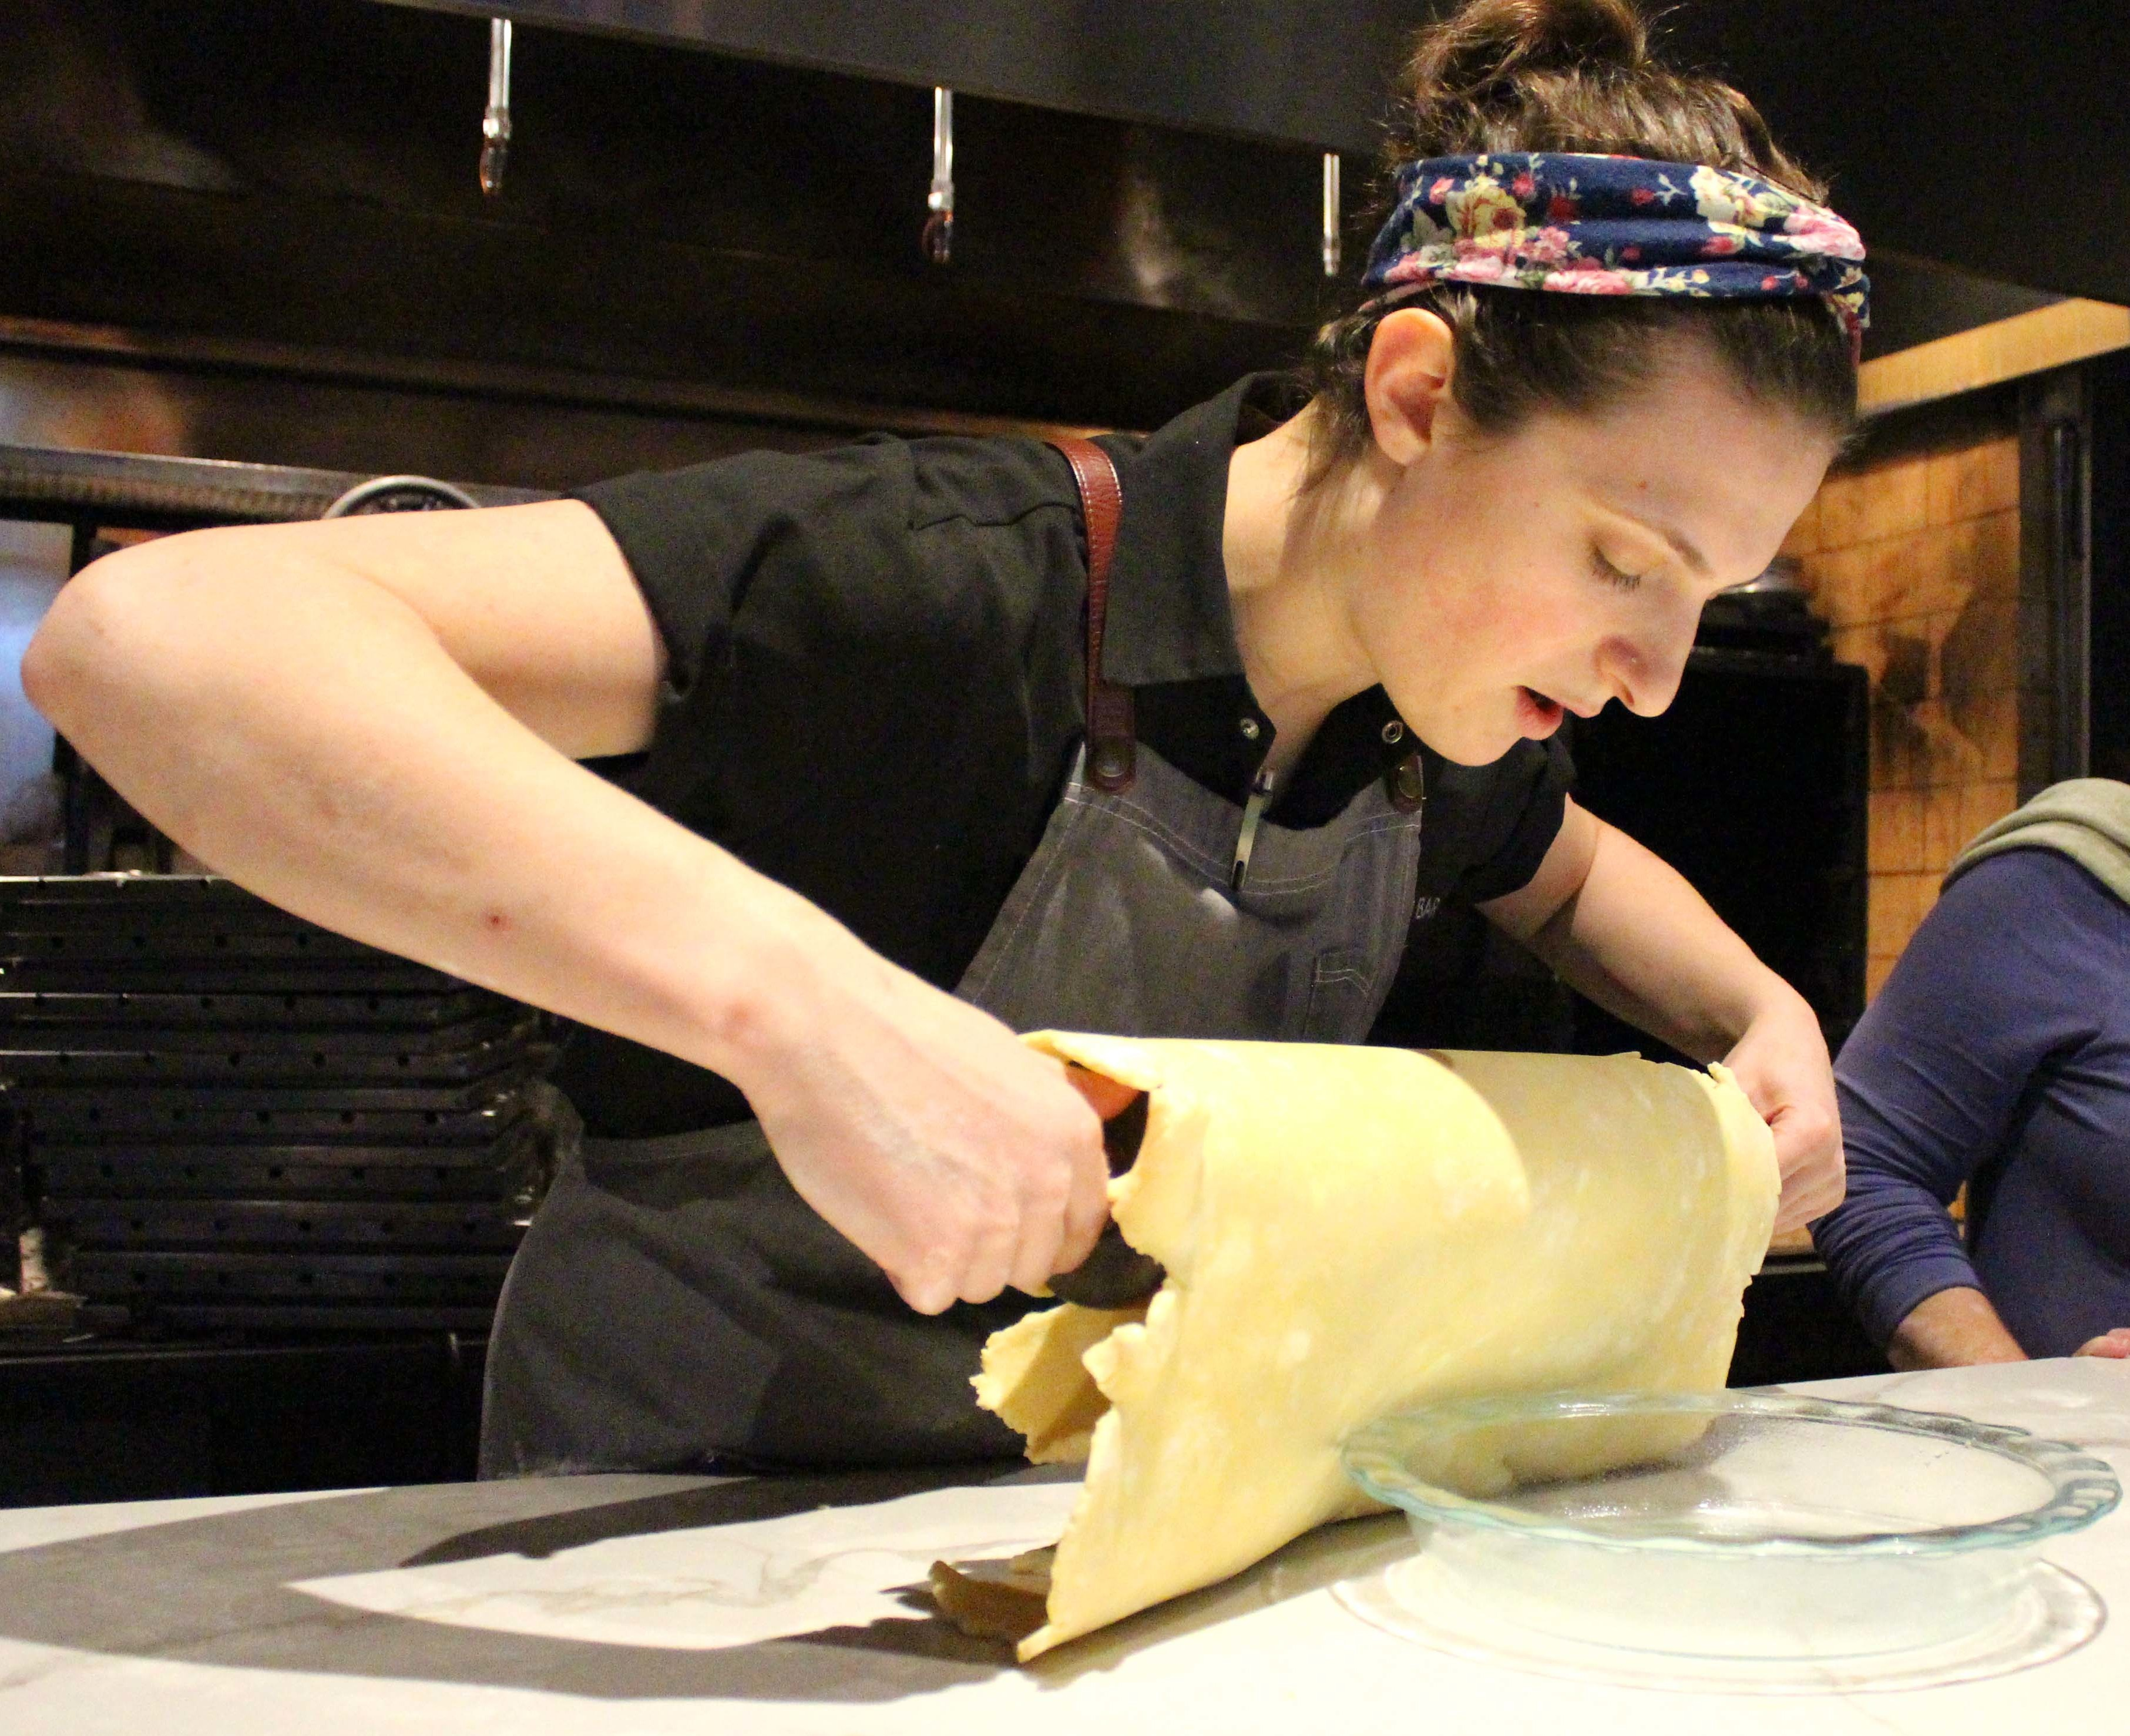
Ashley then made a well in the pastry sand dune, adding the eggs and milk to the center, and kneading and pushing with her hands until the dough was formed. She favored a nice rectangular shape to enable an easy rollout. She used wax paper instead of flour, to help prevent too much flour making the pie crust tough—a brilliant move, I thought. She definitely had that pie crust flourish down that I so envy, carefully laying the crust into the pan and adding some lovely fluted accents around the rim (spoiler: this is where I should have paid more attention).
She then gave me an extra pound of dough to take home, and sent me on my way, my head spinning with new phrases like "marbled butter" and "gluten development." My homework was to make my own pie, which I decided would be pumpkin: the easiest filling imaginable (basically a can of milk, a can of pumpkin), since I would be focusing all my attention on the crust.

Like Ashley, I cubed and chilled my butter, and integrated it into the flour/sugar/salt/mixture. Somehow my fingers' muscle memory remembered the technique she showed me, and I got that same beachy texture. Not gonna lie, I was pretty excited. I then made the sand well and kneaded in the milk and eggs, and scraped my first vanilla bean. I was so anxious to get that nice vanilla marbling that I was afraid I was overworking it. But like Ashley described, the dough had a nice play-dough feel when I was done with it.
Where my pie fell apart was in the aesthetics. Ashley chills her pie dough in a nice, compact rectangular shape, which makes it easier for her to roll out. I attempted her perfect form, but it was late at night, and my pack was kind of lumpy. The next morning when I tried to roll it out, I realized why that was so very terrible. Instead of a recognizable shape rolling out, my crust dough resembled a state that hadn't been annexed to the union yet.
After all that effort, I feared that I would once again be piecing my pie crust into the pan like an asshole. But fortunately for me, this recipe was for a double-crust, so I had enough pie carpet to lay into the pan. It didn't have Ashley's elegance, though, and I worried that it was too thick/tough.
This next part reads like a chapter out of Bridget Jones's Diary; this is how things like blue soup get invented. My pie filling as I'd hoped, was pretty simple—just egg, pumpkin, milk, and spices—but I was unfortunately out of ginger. I poured the filling in anyway, and made the absolute rookie error of cutting the crust too close to the edge. I crimped the sides with a fork (I didn't have enough room for Ashley's pretty detailing), to no avail.
I put the pie in the oven. As I cleaned up the kitchen, I found a hunk of ginger root staring me right in the face. I foolishly decided to shave the ginger over the top of the pie. This is why I'm a better cooker than a baker; I can't stop tweaking. Tweaking in baking usually leads to disaster.
Sure enough, a clump of ginger landed on the top of the pie and I scooped it out. This left an unsightly hole in the top of the pie. I had plenty of pie crust left over, so I dug out some cookie cutters and crated some crust cut-outs on top of the pie. I then also made some crust cookies, the better for Ashley to taste and my kids to eat for breakfast. So, actually, the ginger disaster ended up enhancing the pie a little bit.

Good thing, too, because my lack of outside crust caused the edges to nearly slip underneath the pumpkin filling completely. The part that remained got a bit singed. I was pretty disappointed. My son tried to cheer me up: "I like a lot of filling. It's like you created a whole new kind of pie!" My daughter methodically began whipping whatever heavy cream we had left in the fridge as a topping, the better to augment my pie abomination.
I set out for my return to Ashley's kitchen, even though I was a bit embarrassed about my presentation. Unsurprisingly, she was super-nice about it. I gave her a few crust cookies first. She said my crust "falls apart nicely," with "a good crumb" and "nice layering." Since my structure was solid, the crust had a "good chew, not tough... nice in-between."
We dove into the pie proper for breakfast. Somehow I had "creased" the crust properly into the pie plate, so that we had no dreaded "soggy bottom" like those Great British Baking Show types are always talking about. In fact, she noted that the crust was golden brown all the way around. Except on the top: She suggested that in addition to not cutting the pie crust edges off too closely, I could have added foil around the edge to keep it from browning too much. But as with many (most) of the things I prepare, the pie tasted better than it looked.
I asked Ashley to grade me: She gave me a B+, which was definitely on a curve. Still, I'll take it. This pie is leagues above any other pie crust I've ever made in my life. And I can hardly wait to apply all of these hard-earned lessons to pie number two next week.

Ashley Danello’s Pie Crust
- 1 lb. butter
- 3 1/4 cups all-purpose flour
- 2 Tbsp. granulated sugar
- 1/2 tsp. salt
- 4 egg yolks
- 7 Tbsp. whole milk
- 1 vanilla bean pod (remove if pie is savory)
- 2 tsp. lemon zest (remove if cream-based pie)
Cube the butter into uniform 1/2-inch cubes. Chill for an hour.
Combine the flour, sugar, and salt. Add the chilled butter and combine slowly, pinching the butter cubes between thumb and index finger, until the mixture resembles a sort of thick sand, with some pistachio-sized hunks of butter throughout.
Make a well in the mixture and add the egg yolks, milk, and lemon zest. Scrape the seeds from the vanilla pod and add that as well. Then knead the dough together until the butter and vanilla is marbled throughout. It should have a consistency similar to play-dough.
Form the dough into a rectangular shape and chill for a few hours. Then roll out the dough to a 1/4-inch thickness and place in pie plate. Add whatever filling you like; back at 350 degrees for about 40 minutes, taking care to note that the crust doesn't get too brown. Makes enough for one double-crust pie.
Next week: A pork-fat lard crust forms the base of a traditional apple pie.