15 Mistakes You're Making When Cooking Ham
Cooking large portions of proteins is generally considered a bit challenging. It's why the newest cook in the family typically isn't tasked with making the Thanksgiving turkey. Admittedly, cooking a large ham isn't as tricky for most as cooking a whole turkey or other bird, but it does come with its potential pitfalls. Whether you're cooking a ham for Easter, Christmas, or just because (an excellent reason!), there are certain things you might inadvertently do that could result in what you'd hoped would be a moist, succulent meal coming out of the oven drier than dirt. Even if you nail the moisture element, you might find your ham is lacking in flavor or even a food-borne illness waiting to happen.
For the tastiest ham possible, make sure you're avoiding these top mistakes, which range from mistakes you can make at the grocery store to those you might make when or even after serving. If you do avoid them, you may just find that you're quickly voted the family ham expert for all the ham-based holidays to come.
Cooking the wrong type and cut of ham
The potential ham-cooking mistakes you could make begin immediately, when you're at the grocery store perusing your ham options. Should you go for one of the bright, foil-wrapped hams? Something covered in shrink wrap? Or something altogether different?
First, it's important to realize that not all ham is the same, and there are big differences between types of hams (there's even Black Forest ham). Country hams are cured and salted, and best served with breakfast and in small quantities, as they're extremely salty. City hams are what you think of when you think of a holiday ham. They're pre-cooked and ready to heat through in the oven. You likely want a city ham, not a country ham.
Then, you need to choose the right cut of ham. You can go with a butt or shank ham. The butt will be fattier and more expensive. The shank will be larger and easier to carve. You can also choose between boneless and bone-in. Most chefs recommend bone-in hams as the bone provides flavor as well as moisture, and helps the ham retain its shape while cooking.
Buying a low-quality ham
If you buy a city ham, you may fall prey to accidentally buying a low-quality ham that's been injected with a lot of water or another liquid. If the label says "water added," steer clear. While these liquids can add moisture, they can also negatively impact flavor. Besides, you won't need the extra help with moisture if you simply avoid certain moisture-related mistakes.
Plus, consider that the extra water adds weight, so you're getting less actual ham for the per-pound price, as you directly pay for that water weight. Popular phrases you might see on ham labels might include "ham, water added," which means the product is up to 10% added water by weight; "ham and water product," which can contain any amount of water; and "ham with natural juices," which only has to be 18.5% protein.
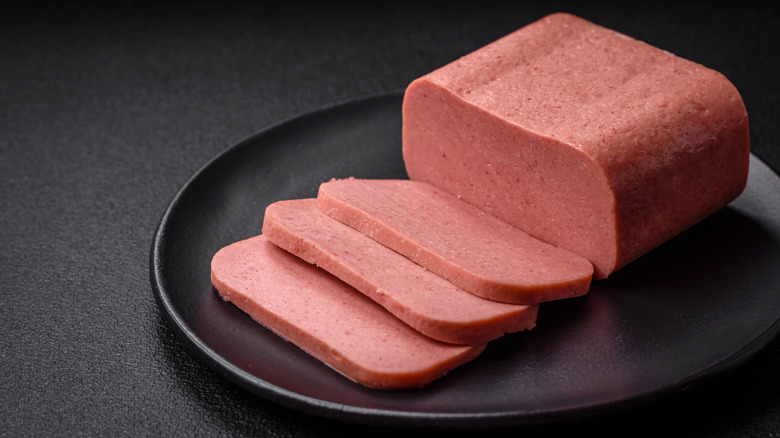
Additionally don't bother with canned hams. Canned hams, which may look somewhat like ham, are actually made up of little bits and pieces of ham, pressed together, making them slice-able. If you're wanting something easy, you can consider buying ham steaks, instead.
Not lining your baking pan
It's a baking pan! It's non-stick! What's the big deal? If you're just looking at the ham itself and your final, cooked product, there's really not a big deal when it comes to whether you line or don't line your baking pan. However, not lining your baking pan before you pop that ham in the oven can result in a big mess that future you is going to really dislike.
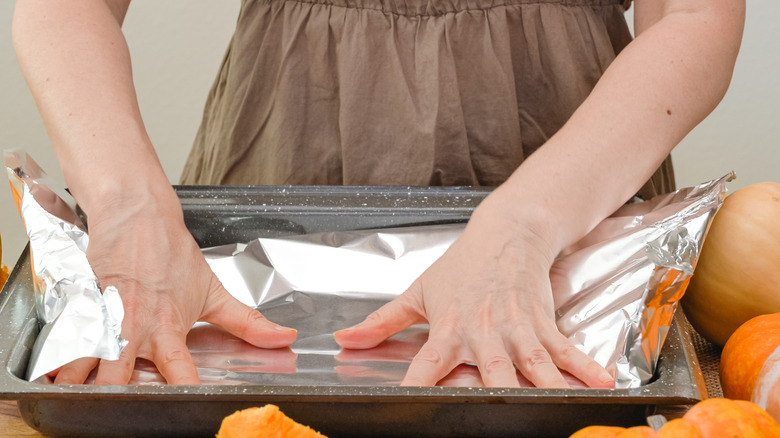
If you use any sort of rub or glaze on your ham (which is definitely recommended, for the best flavor), it's highly likely that that rub or glaze is going to include some sugar, such as brown sugar, maple syrup, honey, and/or other sweet ingredients that work really well with ham flavors. Unfortunately, since you should cook that ham low and slow and then kick up the temperature and add the glaze, you'll be giving those sugars a chance to caramelize and then, in some cases, burn — and they're going to burn all over the bottom of your baking pan, leaving you with a charred mess that takes a whole lot of elbow grease to scrub away. Once you make this mistake, it's one you likely won't make again. Save yourself the trouble and line your baking pan with aluminum foil.
Not scoring your ham
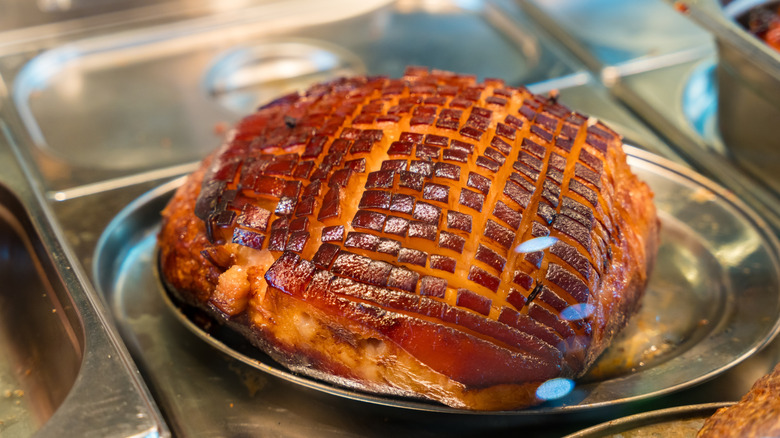
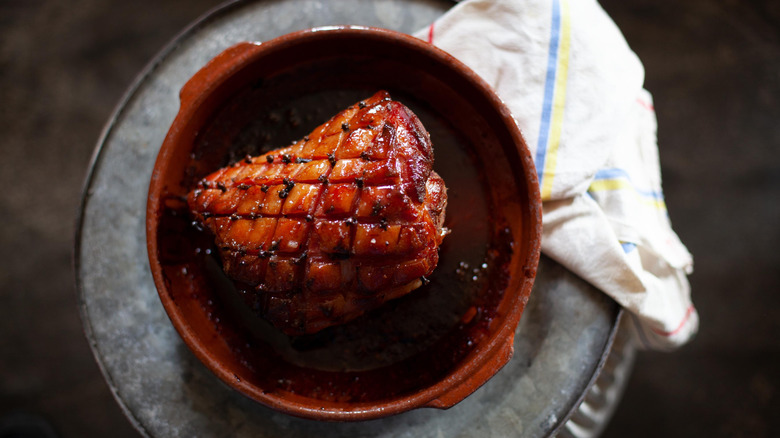
Most ham recipes will instruct you to score the ham before you bake it, but why is this step necessary? Can't you just skip it? If you're tempted to skip scoring your ham, hold up. Take the mere few minutes necessary to complete this step and do so. It's not just necessary for a great-looking ham.
Very simply, scoring the ham allows for whatever glaze or rub you're using to get past those somewhat tough, outer layers of fat, so that the flavors really get into every nook and cranny, soaking into the full piece of meat. As such, whenever you do score your ham, make sure you cutting deep enough, all the way through the fat. Additionally, scoring the ham can also help with cooking, as it allows that outer fat layer to crisp up a little more than it would had you not scored the ham. And here's how to
Applying the glaze incorrectly
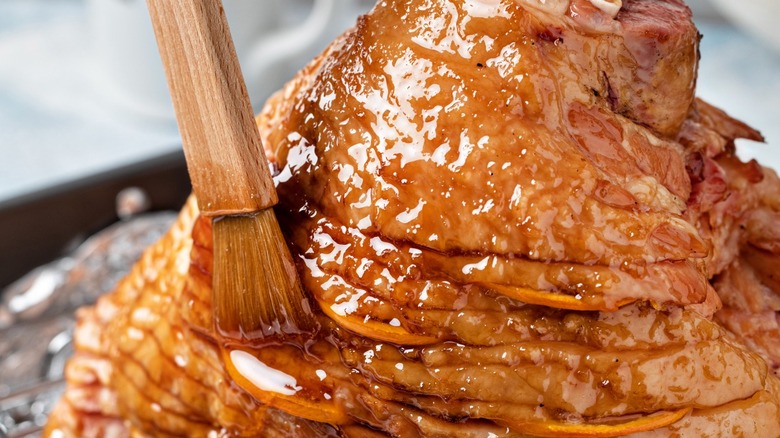
Glazing the ham is important, so don't even think about not using a glaze. Adding a glaze ensures that your ham gets an extra dose of flavor and moisture. Plus, making a glaze, or even just using the little packet of glaze powder that came with the ham and that requires mixing with water, is very easy. However, be sure that you're applying your glaze correctly.
Resist glazing the ham too early. Definitely don't add the glaze to the ham right when you put it in the oven for the first time. The glaze will heat up far faster than the ham and end up burning before your ham is even remotely warmed through. Instead, add the glaze at the very end of the cooking process. You can choose to, after the ham is cooked through, add your glaze, crank up your oven's temperature, and let the glaze heat up. You can also just add the glaze during the last hour of cooking, adding more every few minutes or so, so that the coating of glaze doesn't dry out nor burn. The first option, though, is the most convenient.
Neglecting to make your own glaze
Yes, as mentioned, many store-bought hams will come with a little packet of power that needs to be rehydrated, forming a glaze for you to add to your ham. However, there's no need to settle for this option if you're looking for a more unique flavor profile. Making a homemade ham glaze is incredibly easy and typically only requires a few basic ingredients.
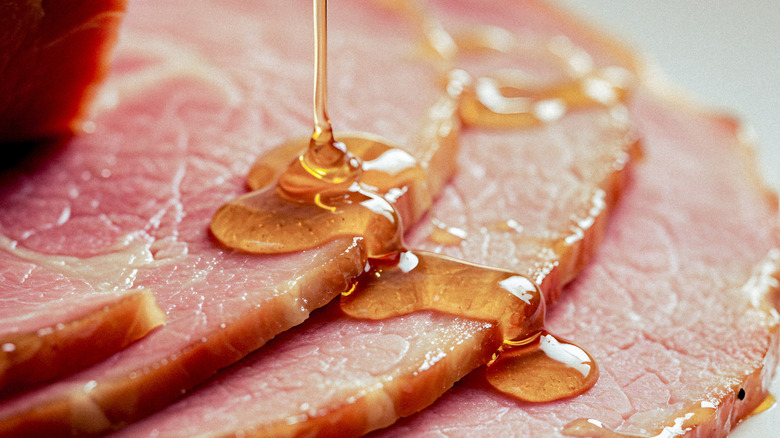
Most glazes are a mixture of a sweetener base, a little bit of liquid, and a blend of spices. You could combine honey, Dijon mustard, and brown sugar for a very classic honey-glazed ham recipe, for example. For a ham recipe with a little more citrusy tang, you could use brown sugar, marmalade, brown mustard, and apple cider vinegar. For something with a more umami flavor, add soy sauce and chili crisp oil. As for spices to incorporate, consider ground cloves, cinnamon, or nutmeg. Some even like to use a sugary cola for their glaze's liquid.
Not adding a dry rub
When it comes to adding flavor to a ham, many limit their creativity to glazes. However, don't forget about all the possibilities that arise when you add a dry rub into the mix. Use a dry rub in tandem with a glaze for greater overall and complimentary flavors.
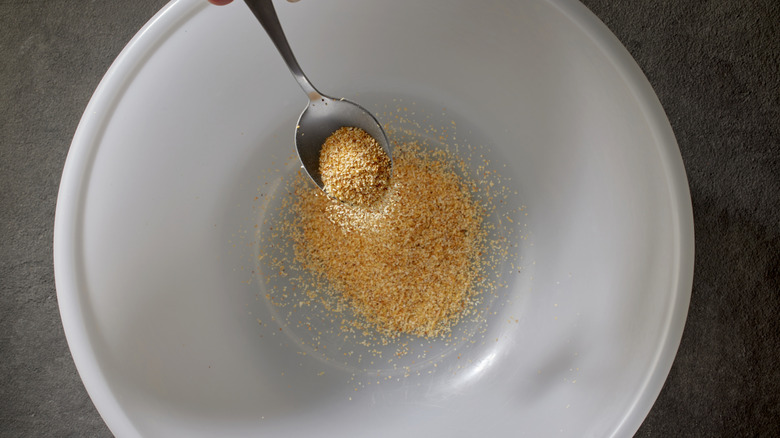
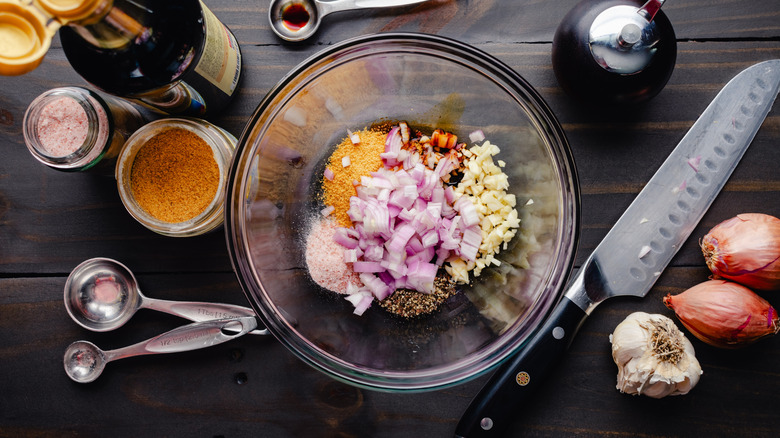
Your dry rub could be made from any dry ingredients that you might already be considering adding to your glaze. For example, those ground cloves, cinnamon, and nutmeg are good options, as are star anise or ginger powder. You can also branch out to add smokier or spicy notes, such as with pepper, paprika, or cumin. If you want to apply a spice rub to your ham before placing it in the oven, give it a little massage in olive oil first, then rub your dry mixture into all the ham's nooks and crannies. Later, you can add your glaze at the end of the cooking process, like normal.
Studding the ham
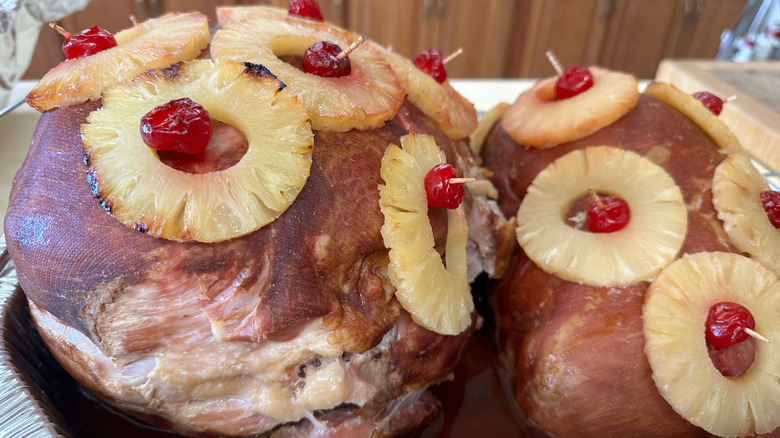
Many recipes will instruct you to "stud" the ham by adding whole cloves into the scored fat. However, studding the ham adds extra work both before cooking (you'll have to patiently poke individual holes in the ham for each and every whole clove) and then when it's time to actually serve the ham, and it does little in the way of adding any flavor. Yes, the ham will look pretty when served and have a classic vibe, but otherwise, the whole cloves are doing nothing.
If you do stud your ham with cloves, you'll need to remove all the cloves before you actually slice the ham, or you'll risk serving your guests whole cloves with their dinner — something no one wants to bite down on by mistake. You can really get more flavor by adding a dry rub paired with a glaze to your ham, versus relying on the studded cloves.
Drying out your ham
Beyond committing some of the ham faux pas discussed in this article, there are even more ways you can go about drying out your ham. First of all, don't cook your ham at too high a heat. Yes, it's a large piece of meat. That does not mean that it needs a higher temperature, or even a moderately hot temperature, in order to fully cook. Go for about 325 F and let your ham cook longer, rather than hotter, for a ham that's fully heated through without becoming tough and dry. Along those lines, though, don't let the ham cook for too long. Most hams will cook within a few hours. It's not an all-day affair.
Additionally, be sure that you cover your ham while it cooks. You'll need a layer of aluminum foil both lining your baking pan, to prevent nasty messes from your glaze, as well as a layer of aluminum foil over the ham, pressed in tight so that it completely seals the ham inside a little aluminum foil cocoon.
Failing to cook fruits or veggies with your ham
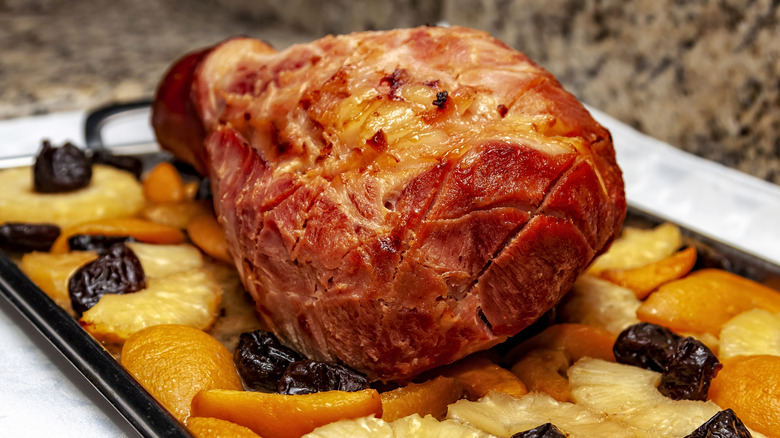
Do you love a one-pan dish? Just throwing all your ingredients onto one sheet pan, in a slow cooker, or into a sauté pan? Not only do one-pan dishes make for easier cleanup, but they can also make for greater flavor, as all the ingredients get to mix and meld, cooking away in their combined juices. However, when cooking a whole ham, most don't think of one-pan dishes, likely because hams are associated with the holidays, when you're often committed to making a huge swathe of sides already.
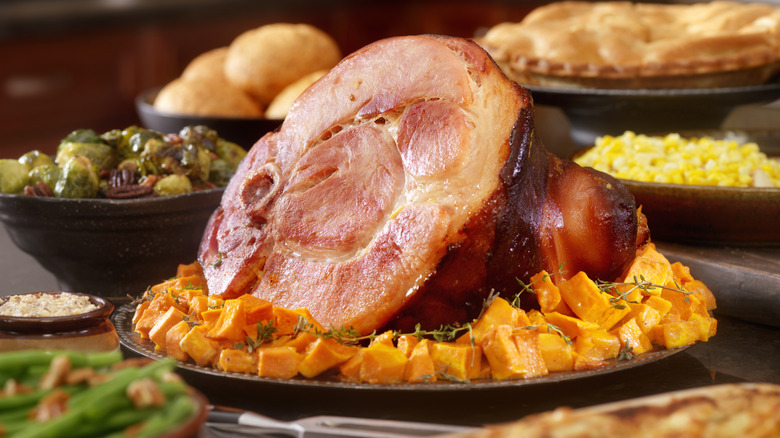
However, the next time you make a ham just because, consider how you can turn your ham's baking pan into a vessel for the rest of your food as well. Toss some potatoes in there. Root vegetables of all kinds are good options, including carrots. While you won't need to add them until later on in the cooking process, consider adding green beans, too. Apples are a good option, as well, as the flavor pairs nicely with the ham.
Marinating the ham
When cooking a protein, many turn to marinades to seal in extra moisture. If you're worried about drying out your ham, then, you might think that you should marinate it for a few hours or even a day before you cook it, or let it sit in a brine overnight, like you might a turkey.
However, there's no need to marinate a ham. If you take the right precautions and don't make any major mistakes, your ham shouldn't be in danger of drying out, as it's already salted or cured, and because of the fat content. In fact, you may just find that marinating a ham either makes the ham saltier than you'd like, or that it interferes with all the other great flavors coming from your marinade and/or dry rub. As such, don't feel like you need to add lengthy marinating processes to your to-do list. Your ham will be fine as-is.
Not using a meat thermometer
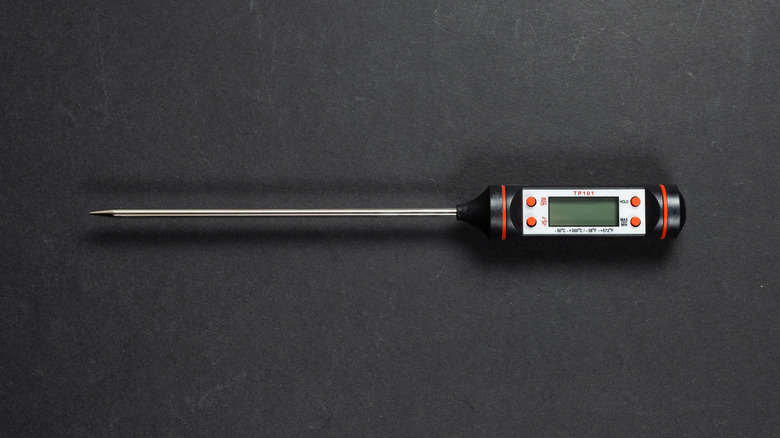
Don't make the mistake of thinking that just because your whole ham has technically been cooked before, that you don't need to worry about cooking it to any particular internal temperature before serving. Yes, you can eat pre-cooked hams cold, right from the package. However, once you begin reheating that ham, you put it in the danger zone, where bacteria can thrive. As such, make sure that you reheat the ham entirely, until it reaches the proper temperature.
The U.S. Department of Agriculture recommends never reheating ham at a temperature lower than 325 F, and always reheating the ham until it's at least 140 F on the inside. If, though, the ham is leftover from another meal, or if it's not coming straight from its original packaging for any other reason, you'll want to cook it even longer, until it's reached an internal temperature of 165 F.
Deviating away from the oven
Baking in the oven is the go-to cooking method for a whole ham, but adventurous home cooks are always looking for ways they can deviate from the norm. We see it with holiday turkeys, with more home cooks moving away from the oven and, instead, deep-frying, smoking, or even pressure-cooking their turkeys to mixed results.
However, before you leave the oven behind, really consider if there are that many benefits to trying out a new cooking method. After all, baking a ham in the oven is already pretty easy, even if there are pitfalls to avoid. Cooking a ham in a slow cooker? Most average slow cookers can't accommodate a whole, bone-in ham and it'll take far longer to cook than it would in the oven. Placing your ham on the grill can make it difficult to ensure you're keeping it at a constant temperature. Deep-frying a ham, meanwhile, comes with fire risks and can require expensive equipment. When baking a ham is so easy, and produces such great results, why even bother?
Not letting the ham rest
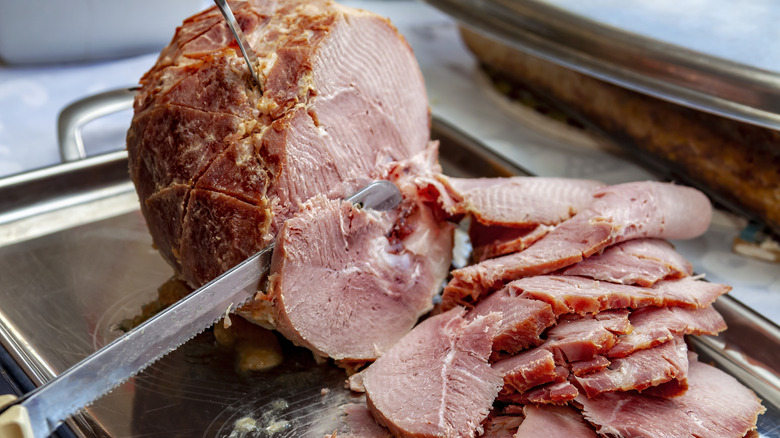
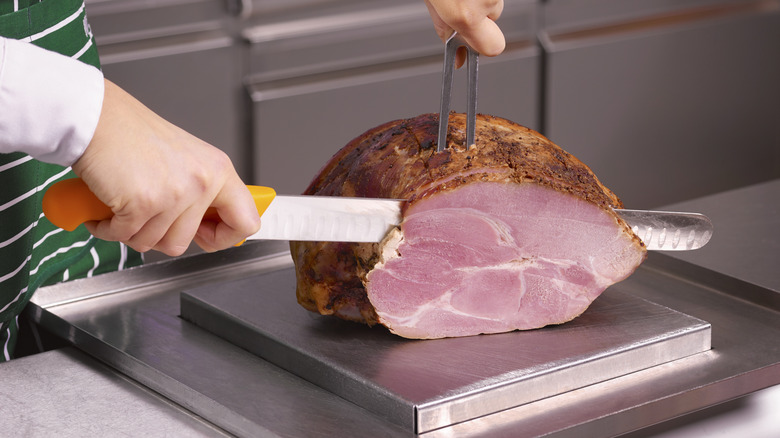
Yes, you just cooked a ham perfectly. It's out of the oven now and looks fantastic. You're ready to dig in. Put away the carving knife, though. Just as you need to let any cooked piece of meat rest, you need to let your ham rest as well. Allowing the ham to rest will ensure that all the meat's moisture can redistribute evenly, throughout the ham, so every piece is moist and juicy. If you don't allow for resting time, once you cut into the ham, the moisture will quickly leak out.
How long you need to allow a ham to rest will depend partially on the ham's size, but you should be safe with allowing it rest out of the oven, at room temperature for about half an hour. If you're really eager, you can get away with 15 minutes, just be sure to keep the ham covered in its aluminum foil hat.
Forgetting to repurpose your ham leftovers
Once you've chowed down and fully enjoyed your perfectly cooked ham, make sure that you properly store the leftovers and then get ready to repurpose those leftovers for some amazing meals in the days ahead. Leftover ham will stay good in the fridge for three to five days after cooking, or in the freezer for one to two months.
If you're unsure of the best ways to repurpose those ham leftovers, consider dicing the ham for use in the next day's breakfast, like in a simple hash, quiche, or omelet. Casseroles are great for using up diced ham. Tamales, ham salad sandwiches, and breakfast burritos are also expert-approved ways to repurpose ham. If you purchased a bone-in ham, make sure to keep the bone, too. Keep the ham bone for later use in making a from-scratch split pea, bean, or veggie soup. If you're not making soup in the immediate future, go ahead and make ham stock and freeze it for future you. Just cover the bone with water, add in any vegetables you might have on hand, and some bay leaves, and let the mixture simmer for a few hours.
Static Media owns and operates Mashed and The Takeout.
