10 Mistakes You Might Be Making When Using A Culinary Torch
We may receive a commission on purchases made from links.
Maybe we're just indulging our inner pyromaniac, but what amateur chef hasn't debated buying a culinary torch? Also referred to as a kitchen or brûlée torch (for obvious reasons), we often pass on buying the handy little tool, unsure if we'll take advantage of it or even know how to use it. There are plenty of uses for a kitchen torch beyond crème brûlée (and we're not just talking about lighting a cigar), but that does still leave the question: Is there a right or wrong way to torch your food?
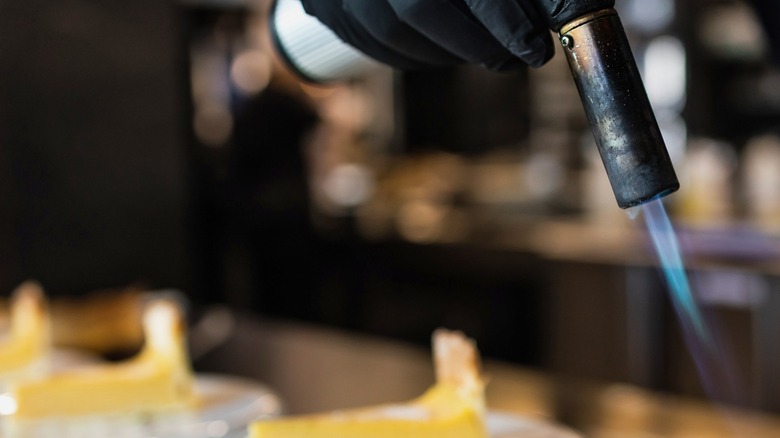
The reason torched dishes taste so good is because of the Maillard reaction. It's why we sear our steaks for a nice crust or brown some butter for richer cookies. This chemical reaction changes — for the better — both the texture and taste of our creations. Be aware though, if you're using a culinary torch, toasted can quickly become burnt. You'll have to avoid some of these common kitchen torch mistakes to keep your tool in tip-top shape, ensuring your food is as safe to eat and as tasty as possible.
Most importantly, don't pull your new torch out of the box right before dessert at your dinner party, after promising everyone flame-kissed crème brûlée. The more rushed and unfamiliar you are with the torch, the higher the chances of committing one of these slip-ups. When it comes to culinary torches, tread carefully, take our advice, and test, test, test.
Wasting money on a professional culinary torch
Before investing in any new kitchen tool, we all want to find that sweet spot where best quality meets lowest price. Once you dive into the market for a kitchen torch, however, you're going to realize the options are about as limitless as the supermarket cereal aisle. While we wouldn't advise you to choose the cheapest available, it's simply not worth it to empty your wallet for "the best on the market."
With that in mind, skip the kitchen supply store and avoid spending an exorbitant amount for a professional-grade torch. Most of us are looking to experiment with one at home –– and maybe bolster our supply of useful kitchen tools –– so there's no need to invest in something designed for catering a crème brûlée convention. In fact, many of the mid to low-range culinary torches are flimsier and more prone to breaking down.
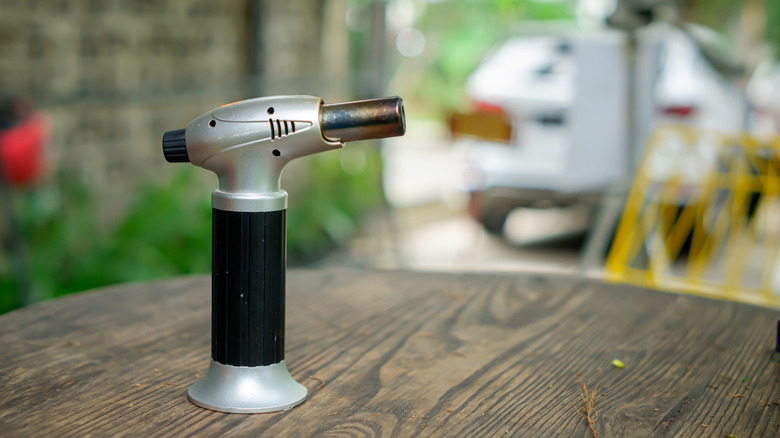
Don't be afraid to check out the selection at your local Home Depot. That's right: There's a negligible difference between kitchen torches and basic welding torches, and often your money will go farther for a sturdier product. The advantage to something like this Benz-O-Matic butane torch is you can use it for everything –– from soldering jewelry and lighting up the barbecue, to searing steaks or torching desserts. If you invest in a hardware torch, just make sure it has a pressure-regulated flame, meaning the fire won't go out or diminish when tilting the torch.
Not testing the flame before torching your food
After purchasing a torch that best suits your budget and culinary needs, you might experience a mad-scientist honeymoon phase where you're finishing all your kitchen creations with a blaze. While you may be well on your way to discovering some incredible dishes, watch out for anything with a harsh, chemical flavor. This highly unpleasant occurrence is called torch taste, and probably comes from aiming and lighting the torch directly at your food.
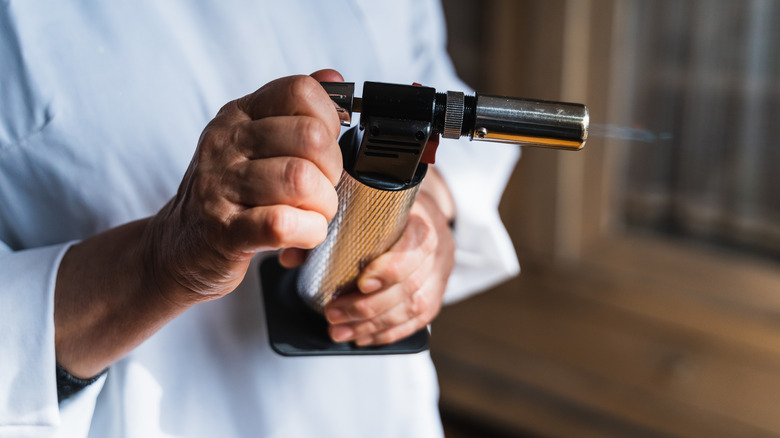
For starters, pointing the kitchen torch away from your food can give you feel for how the device works before charring anything. Some torches include useful features like a slide to tweak the flame or a lock function that relieves your finger from constantly holding down the trigger. Initially aiming away also gives you a moment to adjust the flame to the perfect length for your dish.
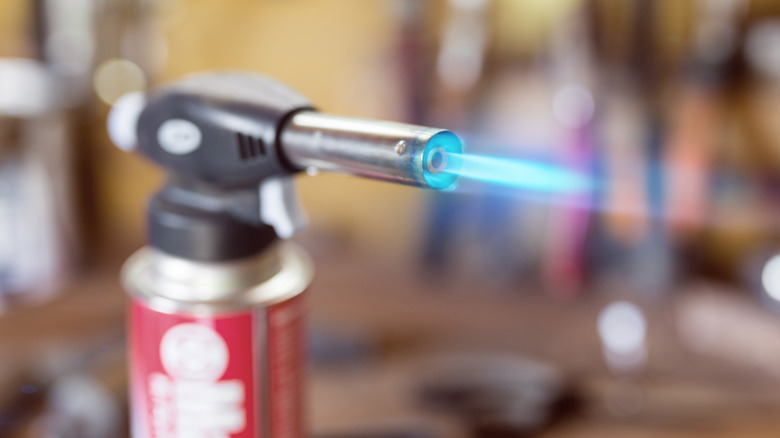
The ideal torching flame is short, dark blue, and hissing. Often, our flame is so long that it emits a yellow tip or so short that you're left with only the inner blue core. These extreme ends of the flame represent different forms of unburnt gas, which could inadvertently spew onto your dish. While gas particles evaporate immediately, they can leave behind an unmistakable flavor. Don't fret, though, if you see a yellow-orange flare once you actually start torching the food. This is just the normal chemical reaction between a flame and sugar molecules or fats.
Not flipping it upside down to refill
Despite our best intentions, culinary torches can be finicky little kitchen tools that require specific maintenance practices. If yours isn't working as expected, the first thing you should examine is how you refill it. If you're new to torches, they are not electric and they will run out of fuel depending on their use. A professional chef could easily go through an entire deposit within two hours, while your occasional at-home use could extend that window to a couple months. Either way, you'll know it's time to refill when the flame is struggling and you can't hear any liquid sloshing around inside. Some even have a window to view the fuel level.
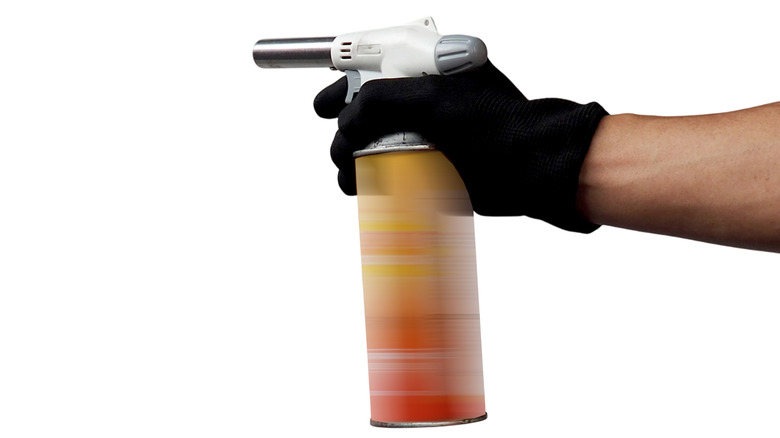
The most important step when refilling your torch is flipping it upside down, then firmly and squarely pressing the gas canister into the torch's fuel valve. One Reddit user recommended placing the torch in the freezer to cool it down beforehand, then refilling in spurts. "Press the can to the lighter and hold for a couple seconds. Remove can then repeat a few times," they shared.
If you mistakenly try it right-side up, the gas could leak from the valve and spray around the kitchen, while you just fill the torch with air pockets. You'll know the tank is full of bubbles if it produces an especially weak flame. In this case, flip the torch around and press a pen into the valve to bleed out the extra air.
Not waiting a couple minutes after refilling the torch
There are plenty of safety tips to remember when using a culinary torch, but this one was so important we gave it its own slide. After properly refilling your torch with gas, there will very likely be a bit of excess gas that's leaked from the valve. In fact –– especially if it doesn't have a fuel-level window –– some torch-users recommend refilling until a few droplets escape, to know for sure that it's topped up.
Please know that this excess gas is a highly flammable liquid that has collected on the end of your torch and is possibly dripping onto other kitchen surfaces. It just takes one spark to go from pleasant afternoon in the kitchen to mini inferno, so for the sake of your eyebrows, just wait a few minutes before using the torch. Wash up some of those dirty dishes. Meanwhile, any rogue droplets will evaporate and return your kitchen to a safe working space. For extra precaution, wipe down your torch after refilling, first with a wet cloth then a dry one.
Not cleaning the nozzle after every use
If you're starting to notice a bit of a harsh aftertaste with your torched foods, it may be time for a deep clean. Every time you use your torch, there's a possibility that some unburnt gas is remaining around the nozzle, which can obviously accumulate over time. Considering you're using it in the kitchen, there's also the chance of some food debris sticking to the torch's end. Have you ever lit the torch and noticed an initial puff of smoke? Yep –– that's some of the excess fuel and leftovers spewing out and vaporizing (and another reason why you don't want to point it at your dish right off the bat).
To ensure your culinary torch becomes one of those kitchen utensils you use for life, it's best to give it a quick clean after every use. If not, the situation could become a bit too sticky or even damage your torch. Wait until it has cooled off, then wipe it down with a damp cloth and give the nozzle some extra attention. If the residue has built up considerably, use an air compressor –– like these from Innovera –– and spray it right inside the nozzle. It should loosen up any obstructions inside.
Forgetting you're dealing with a potentially dangerous tool
You might have some reservations about investing in a kitchen torch, wondering if it's safe to eat food that's been exposed to such high temperatures. In short, a torch's mechanisms ensure that the fuel burns clean and the gasses evaporate immediately. This means your torched dishes are perfectly unpolluted and safe to eat, and the worst you'll encounter is a slightly off "torch taste" (which can be remedied with proper techniques).
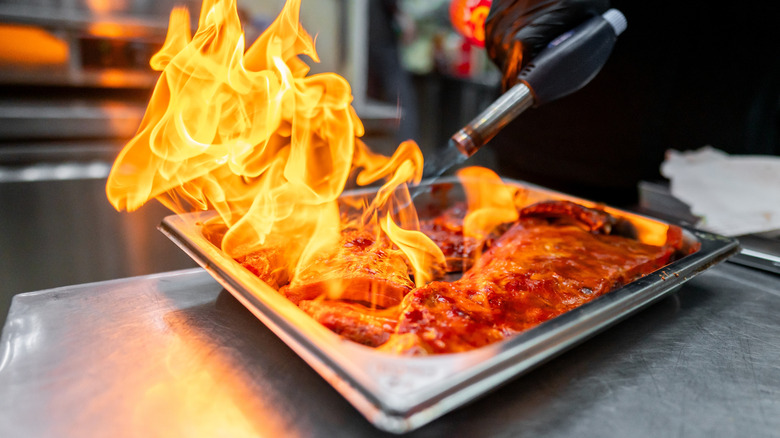
Don't forget, though, that the only real difference between a food-grade and heavy-duty blowtorch is design. Even a small culinary torch is a potentially dangerous tool, capable of burning at nearly 3,000 F. Exercise the same caution you would with any other power tool to avoid a painful or disastrous situation. Clear your kitchen space of any clutter before use, and torch your dishes on a metal tray or surface that can withstand extreme heat. Double check that your gas stove is switched off, and make sure there are no other flammable liquids around.
This may also be a good time to mention that you should never forget to engage the safety lock on your torch. Whether it's sitting on the countertop between use or in the drawer for safekeeping, switching on its safety is a simple step that can save you from any regrettable accidents.
Overthinking which gas to use

We won't get into the nitty gritty of it, but your kitchen torch works thanks to the combustion of air and fuel mixing. A lot like a car, the gas you use to create this combustion is really what makes your torch function properly. Unlike gas stoves –– which use natural gas –– culinary torches typically run on butane or propane. While each type of gas warrants different considerations, don't waste too much time deciding which one to buy. At the end of the day, it's all about high-quality gas and achieving a good flame.
Propane –– often used for the grill –– burns hotter and has a lower boiling point than butane. It can be stored outside, but typically comes in larger, more unwieldy canisters. Butane has a higher boiling point and should be kept indoors, but is more fuel efficient and is readily found in convenient sizes. Take these Zippo butane fuel cans, for example. Another option for more heavy-duty flame torches is MAPP, which can burn close to 4,000 F.
Some enthusiasts (pyromaniacs?) recommend this ultra-scorching gas because it ensures a quicker, more effective sear that won't leave behind any residual "torch taste." In reality, any harsh flavor often comes from a weak flame and consequently holding the torch too close to our food. Check your torch for a knob that adjusts the air to fuel ratio, allowing you to find the best flame for your torch and gas combo.
Your technique is sloppy
There's something especially delicious about cutting into a torched steak and getting bits that are slightly more browned than others. It makes for a flavorful and texturally-diverse mouthful, proving that absolute uniformity is never the end goal with your kitchen torch. What you don't want, however, is bits that are un-torched alongside others that are simply burnt. Using a torch isn't rocket science, but it does take some patience and careful technique to get a satisfying crust.
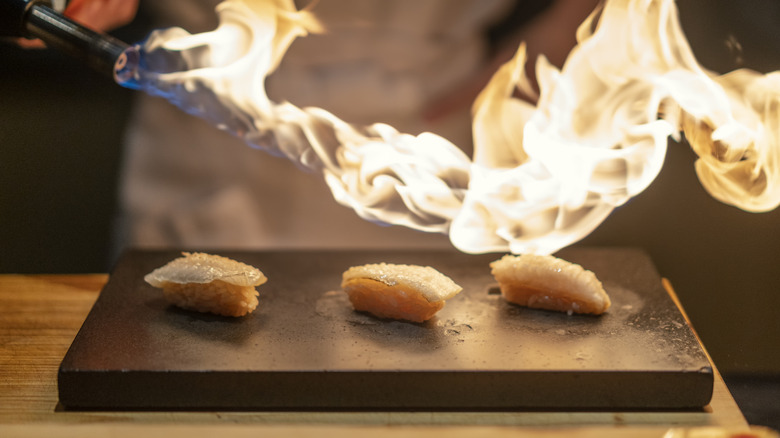
After igniting the torch and adjusting its flame, you should hold it about 2 inches above your dish and use slow and sweeping motions to brown its surface. The optimal distance between food and torch depends on the flame, but try to kiss the food's surface with the tip of the flame's outer blue ring. Don't use a flame that's so long that it's formed a yellow end, as this won't properly sear the crust. Conversely, you should also avoid holding the torch so close that the nozzle is practically touching your meal.
With that in mind, make sure every inch of the surface gets about the same amount of time under the heat. A bit of carryover cooking and browning will take place after you've stopped torching, so when in doubt, pull away sooner rather than later. There's a fine line between toasting and incinerating, but with some practice, you're on your way to embracing another kitchen tool that makes cooking more fun.
Using the wrong sugar
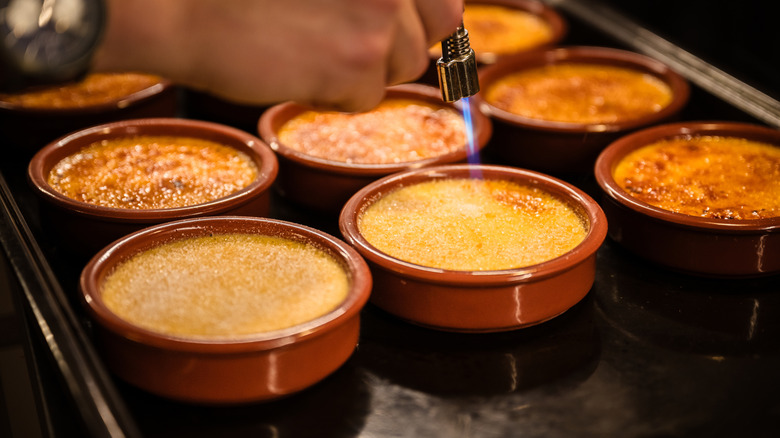
While you can make crème brûlée without a torch, it's typically the first dessert that comes to mind when we think about culinary torches. Even if it is the first, it's far from the easiest. Think of it more like the final boss of torched dishes, demanding dexterity and finesse. Opposed to one solid shade of brown, a great crème brûlée's crust usually looks as weathered as an ancient map, but achieving this masterpiece requires proper technique and the right ingredients. If your attempts are tasting more like burnt toast, it may be time to change up the sugar.
Not all sugars react the same under a torch's heat. Many recipes recommend a type called turbinado, but like other fancier, less refined sugars, turbinado's large, brown crystals make it difficult to determine doneness. Caramelizing plain old white sugar –– it turns out –– is the best bet for your desserts. Visually, it is very clear when white sugar becomes bubbling brown and has had enough time under the torch. Its finer granules and simpler flavors also mesh better when torching for crème brûlée.
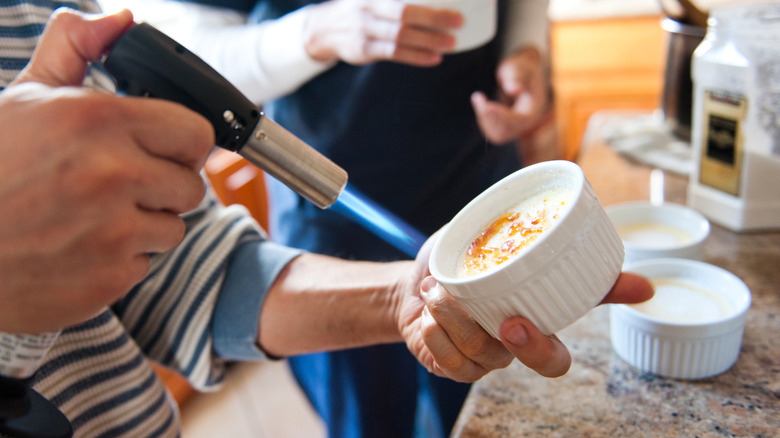
Once you've coated your custard with white sugar, gently swirl the ramekin in one hand while torching the surface with the other. The sugar will brown and liquefy, filling out the surface. Once the sugar is bubbling, pull away the torch and let the sugar harden into an even layer of crunchy goodness.
Only using it for crème brûlée
You bought a culinary torch to try your hand at crème brûlée, but since then, it's been gathering dust in that miscellaneous-items kitchen drawer. Underutilizing your torch, however, is the gravest mistake you're committing with this kitchen tool. Its ability to char, brown, and bring new flavors out of a dish's crust is basically limitless, and certainly extends beyond crème brûlée. If you're letting your torch fall into disuse, you're missing out on giving your meals a simple –– but serious –– upgrade.
For starters, some other desserts that can use a boost include toasted meringue, a singed banana split, or s'mores when it's too cold for the bonfire. You could also use leftover pumpkin pie filling in ramekins and blast the top with sugar and fire.
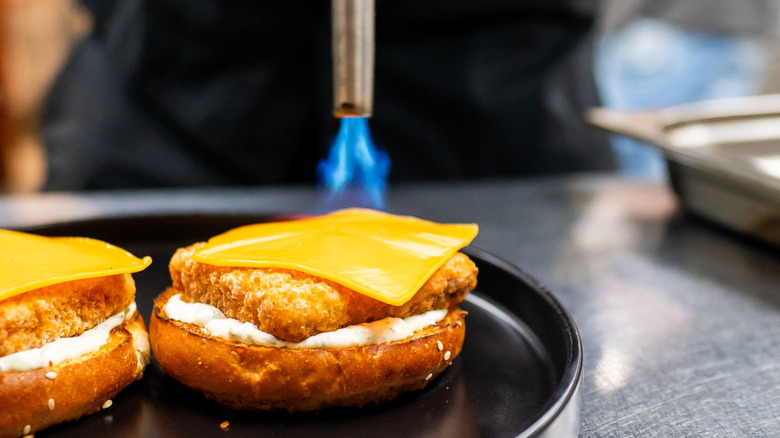
Beyond sweets, try giving your steak a finishing sear or your oven-roasted vegetables and fish a crispier crust. Blast-browning the top of your mac and cheese would not only give you a crunchier, gooeier bite, but would also save you the trouble of broiling it in the oven. Torch some eggplants for baba ganoush or the granola on top of your fruit cup. Even those impressively smoky cocktails are made with the help of a torch. If you're getting the picture, you can torch just about anything that needs melting or some crisping up. It's up to you to get creative and put your kitchen torch to its maximum potential.