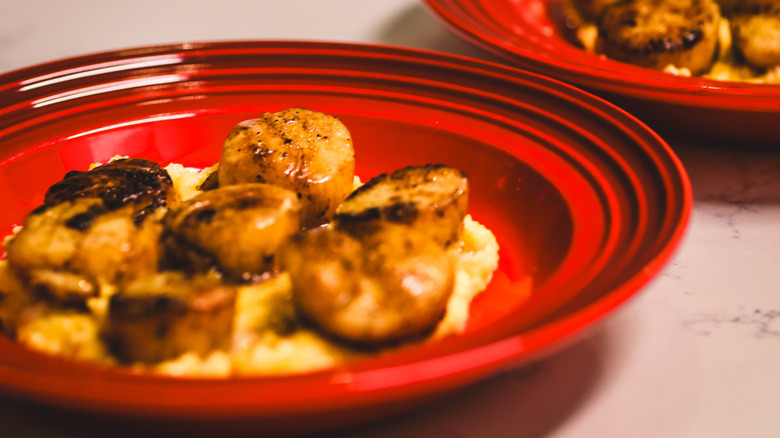
12 Cooking Mistakes That Will Ruin Your Scallops, According To Chefs
Whether for an appetizer or light dinner, scallops can make any course feel a little more elegant. Slightly sweet, tender, and quick to cook — as long as you can make them right — serving up scallops is an easy way to impress your friends and family.
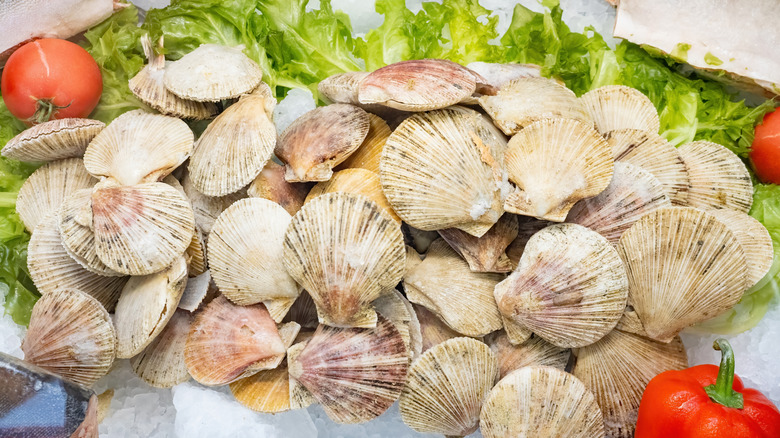
Like oysters and mussels, the scallops we eat and love are bivalve mollusks, and are actually adductor muscles, joining together both halves of the sea creatures' shells and allowing them to literally swim underwater. Not only tasty, the pearly muscle is packed with protein, omega-3 fatty acids, and B vitamins.
If you have the luxury of buying fresh scallops, you'll notice they're sold under a unique 10 to 20 pricing system, referring to an approximate range of shucked scallops you'll get per pound. The smaller the number, the bigger and meatier the scallops you'll receive. While not the highest-priced seafood, you might still wonder why scallops are so expensive, and you'll definitely want some preparation tips before spending your money on them. From buying to preparing them, we've consulted a group of chefs to elaborate on how to get the most out of these delicate bivalves. Our experts dive into the mistakes to avoid while offering tips for cooking scallops, including chefs Alfredo Nogueira from New Orleans' Cane & Table, Tim Lu from Denver's Noisette, Andy Bruch from Denver's Point Easy, and Andy McLeod from Charleston's Fleet Landing.
Falling for fake scallops
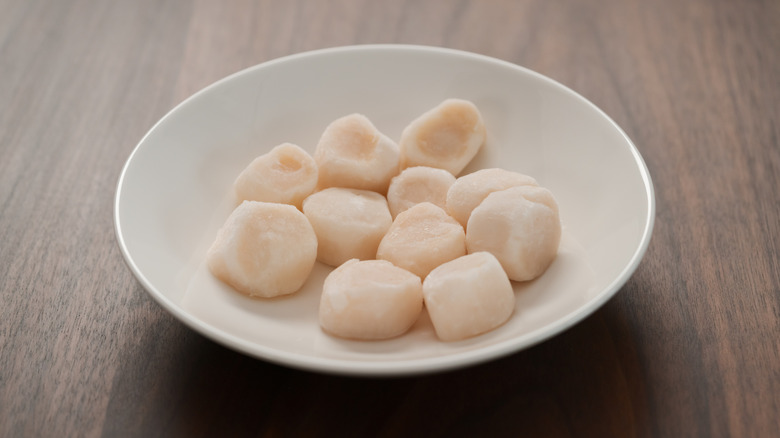
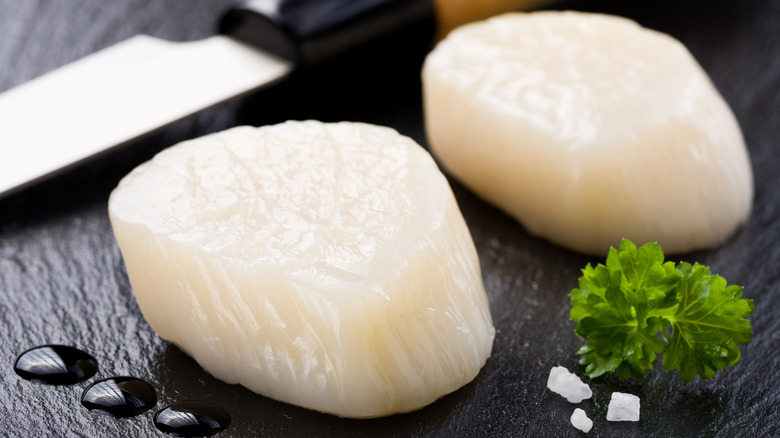
Surprisingly, the first mistake you could be committing with your scallops is realizing you're not even cooking with scallops at all. Seafood is expensive and the sweeping imitation market offers plenty of wallet-friendly — albeit less flavorful — options. Like imitation crab, most fake scallops are made with mashed pollock, a white fish that will swap scallops' unique flavors for something you might find on a cafeteria lunch tray. Fortunately, Chef Andy Bruch says it's pretty easy to distinguish real scallops from fake ones, since imitation scallops should always be labeled accordingly. "But if you're not sure, the best tell is shape and texture," he mentions. "Nature's scallops are different sizes and have distinctive graining on the surface. Fake scallops will look as if they've been punched with a cookie cutter."
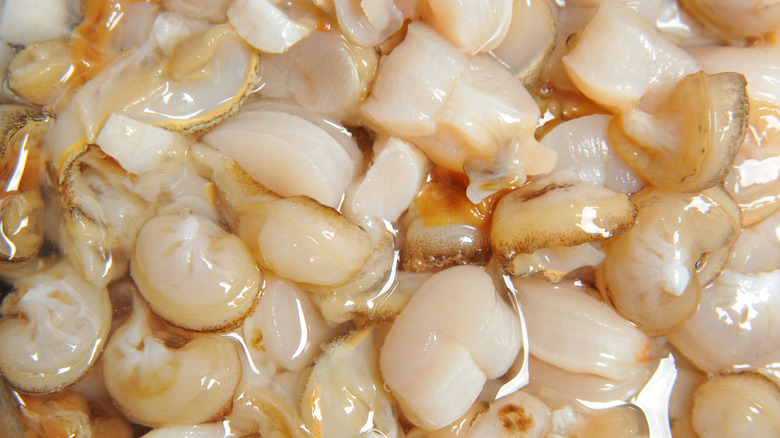
Where a vendor might be able to fool you, however, is by mislabeling bay scallops as sea scallops, or vice versa. Sea scallops are bigger and meatier, and — if they're caught in the wild — will be more expensive, thanks to the deeper depths needed to retrieve them. Bay scallops are smaller and sweeter, coming from bays and harbors on the East Coast. "In my experience, most home cooks want sea scallops," Bruch explains. "You really want that nice, broad surface area to get a great sear on the flesh while not overcooking the interior –– it's a delicate balance that can turn pretty quickly if you're not on top of things."
Keeping them around for too long
Unsurprisingly, to get the most out of your scallops, you'll need to respect their storage needs. "I would try to use them within the first two to three days of getting them," Chef Alfredo Nogueira recommends. Since they have a relatively short shelf life, cooking scallops when they're as fresh as possible ensures their entire flavor spectrum of a subtle sweet and sea saltiness. You can also freeze live scallops after properly cleaning and patting them dry. You could technically freeze them indefinitely, but after too long, they'll lose some integrity.
Another common slip up is allowing too much moisture to affect the scallops during refrigeration. "If you plan on searing them, it is best to keep them on a paper towel-lined plate to keep the surface nice and dry," Nogueira shares. "Keep them in the coldest part of your fridge." It's a delicate balance, then, as you want to make sure the scallops stay dry enough for a good sear, but not that they dry out from prolonged refrigeration. Teetering too far in either direction could make their firm texture go rubbery. Cooked scallops can be refrigerated a little longer — from three to four days — but a visual check for firm texture, white color, and a slightly sweet smell is the best way to guarantee their quality.
Thawing frozen scallops too quickly
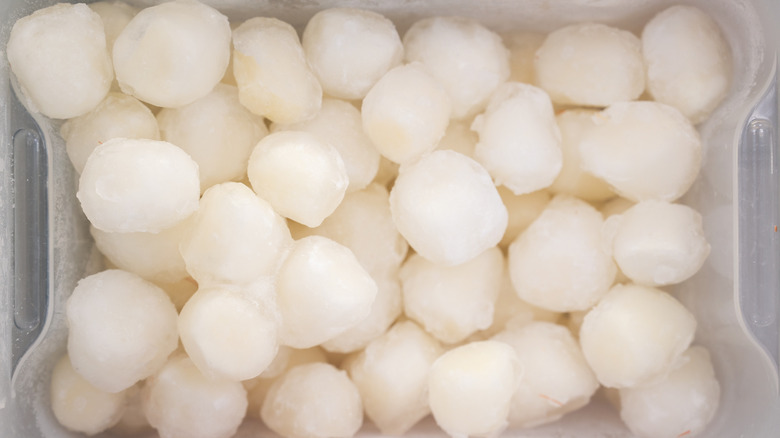
Before we can get around to the best way to thaw frozen scallops, it's important to know there are two types of the soft, white mollusk available if you opt for buying frozen. Scallops labeled as "wet" are packaged and frozen in a slurry of chemicals, more susceptible to becoming chewy with cooking. "Dry" scallops, on the other hand, are frozen fresh. Although frozen "dry" scallops are clearly more desirable, our expert Chef Andy McLeod reveals that almost all sea scallops are initially frozen upon capture, even the ones you buy fresh. "This process helps lock in quality," he describes. "Instead of scallops aging out of the water while a vessel is out to sea, they are preserved in their freshest state."
Either way, if you saved some cash by buying scallops from the freezer aisle, you'll want to plan ahead before defrosting them. "Thawing should happen in a way that allows any moisture that comes off of them to drain," McLeod says. "And it should happen slowly in refrigeration." That means if you forgot to transfer them to the fridge and you're tempted to pop them in the microwave, maybe consider postponing the scallop dinner. Not only will a gradual thaw keep their surface dry while maintaining their inner moisture, it also guarantees food safety. Leaving them out on the countertop or running them under warm water could encourage a less-than-desirable growth of bacteria on the surface.
Forgetting to pat them dry before cooking
Even if the scallops you bring home are not of the "wet" — packaged in preservatives — variety, you're still going to want to make sure their surface is dry. Because "dry" scallops will naturally have some exterior moisture, patting them with a paper towel before cooking is an easy step to take for the tastiest results. "Patting a scallop dry is a great way to ensure a great sear," Chef Andy McLeod echoes. "Excess moisture on proteins prior to searing can essentially rinse away a lot of the delicious caramelization."
Basically, what you want when you sear scallops is for a browning chemical reaction to occur, where proteins and sugars transform with heat and show off buttery, nutty, and toasted flavors. Proper browning takes a lot of heat, and any unwanted water at the start of the process will bring down the heat of the pan, drag out the cooking time, and potentially make the meat chewy.
And if by mistake you've brought home some "wet" scallops, is there any chance of saving them for a proper sear? While you can try drying them off as much as possible, preserved scallops will always hold onto some excess moisture. Instead, soak them in water, lemon juice, and salt to extract any strange flavors, then pat them dry and continue with your recipe.
Choosing not to remove the foot
You could follow every scallop cooking tip to a tee, but as you're making your way through the meal, still bite into something unpleasantly tough. What gives? Well, remember that the meat we enjoy from scallops is actually an adductor muscle that keeps the bivalve active and allows it to open and close its shell. This muscle is attached to the shell by another muscle — the abductor — often referred to as the scallop's "foot." And just like mussels need to be de-bearded, a scallop's side muscle should be removed. Chef Alfredo Nogueira puts it plainly: "They are just chewy and will take away from the texture we all want from scallops."
Luckily, removing the scallop's foot isn't rocket science. You can identify the side muscle as the small protrusion that has a slightly firmer texture than the rest of the meat, and is usually lighter in color. After spotting the foot, it's as easy as pinching it and pulling it away from the scallop. Once you've pinched off the foot, remove any other grit off the scallop, pat them dry, and you're off to the races.
Going overboard with the extras
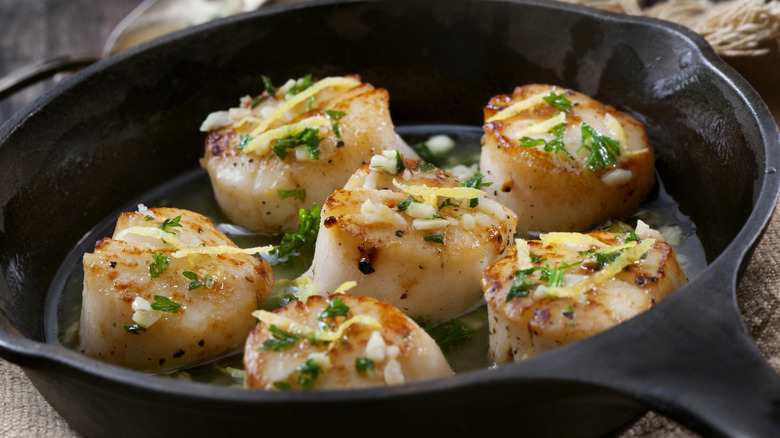
The first method most of us think of when preparing scallops is pan searing them, which works best with those nice, big sea scallops that can handle a burst of heat. Smaller, bay scallops are more susceptible to overcooking, but work great for frying, or in a ceviche or aguachile. If you're racking your brains deciding on a scallops recipe, however, our experts pretty much agree it's a mistake to overthink things. Chef Andy Bruch says, "You really just want to put them center stage and let them shine; the simpler, the better."
While you can play around with different spices to add more flavor to scallops, a couple issues emerge. Firstly, you don't want to overdo it and smother the scallops' subtler flavors. Additionally, if you're searing, powdered spices are all too easy to burn. Don't feel guilty keeping it simple. Chef Alfredo Nogueira agrees, "Salt and pepper is kinda the move with scallops for me."
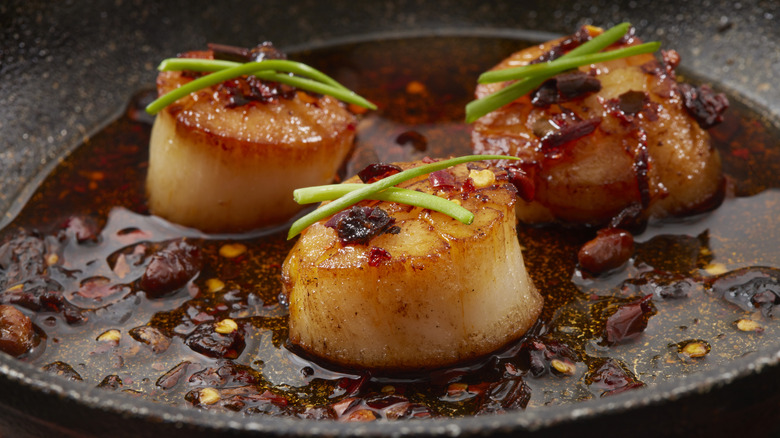
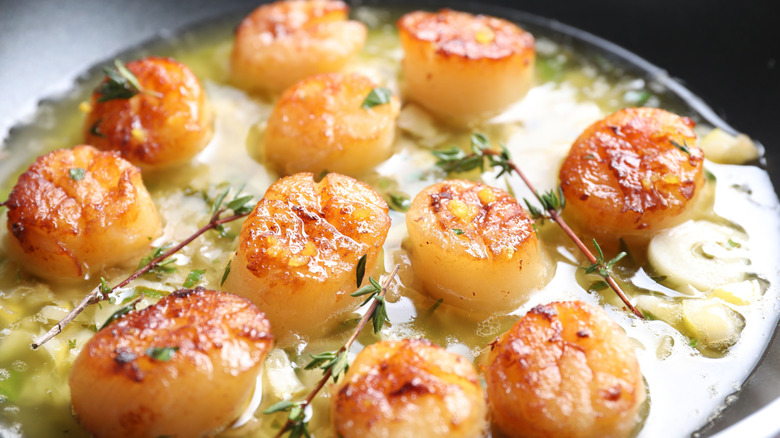
You also might envision a garlicky sauce or something sweet and spicy, but proceed with caution. "Scallops are pretty delicate; at the restaurant we never cook them with or in a sauce," Bruch advises. Slow cooking scallops in a thick liquid could unintentionally turn them rubbery, so Bruch suggests preparing the scallops and sauce separately before serving. "Light, bright sauces are generally best (think butter, lemon, herbs)," he continues. "Lemongrass as a component works well also."
Searing the wrong side
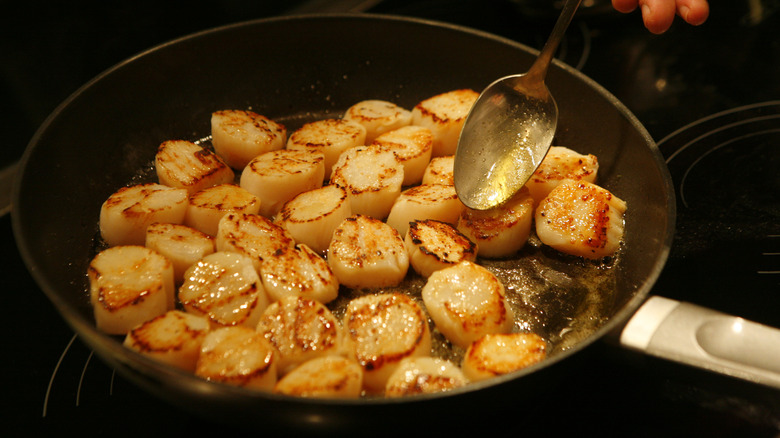
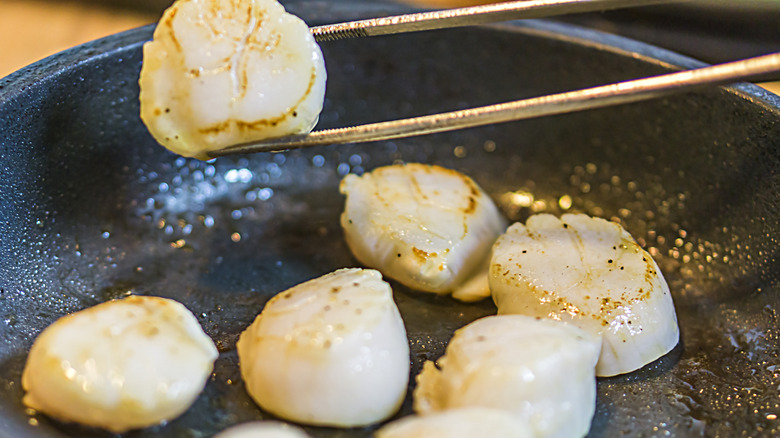
To achieve scallops with a flavorful crust and melt-in-your-mouth tenderness, you're going to want to sear them. Although you might be tempted to toy with the mollusks while they're cooking or show off your impressive skills with an occasional jiggle of the pan, it turns out you're better off throwing them onto the heat and leaving them be. That's right, you don't even need to flip them. "Searing both sides can reduce the amount of buttery texture that we enjoy so much about scallops," Chef Andy McLeod describes. "[This creates] an imbalance of the natural sweet flavor of the scallop to the savory caramelization."
If you want to be a real pro about it, compare each of the scallop's broad sides before setting it down onto the pan's heat. Typically, sea scallops will have one side that is slightly wider than the other, and it's precisely the wider side that you want to put face-down in the pan. The greater surface area can handle the heat a little longer — allowing the rest of the scallop to cook thoroughly — while also amounting to more of the crispy-crust goodness.
Using a low smoke-point oil
You shelled out decent money to bring home some scallops, now you're thinking it only makes sense to sear them with the equally expensive bottle of extra virgin olive oil you've got in the kitchen. Think again. We asked Tim Lu which oils to avoid when cooking scallops, and he responded, "Anything that has a low smoke point, such as EVOO or whole butter." Satisfyingly seared scallops require high heat, and oils with lower smoke points just aren't up to the task. "You want high smoke point oils like grapeseed or clarified butter," Lu recommends.
Just like it sounds, smoke point refers to the moment an oil's components begin to break down and release smoke. Smoke points vary wildly — even among the same types of oils — but generally increase the more refined the oil. Think sunflower, avocado, or even coconut. Although refined oils may lack complex flavors, you'll make up for it with some perfectly seared scallops, and save yourself any health scares. Not only does burnt oil taste bad, but it can also release possible carcinogens.
And although whole butter shouldn't be used to kickstart the searing process, don't rule it out completely. Chef Andy McLeod says, "Butter and scallops are the best of friends. I love to throw in a little butter and maybe some aromatics and baste just a little to finish cooking the scallops."
Overcrowding the pan
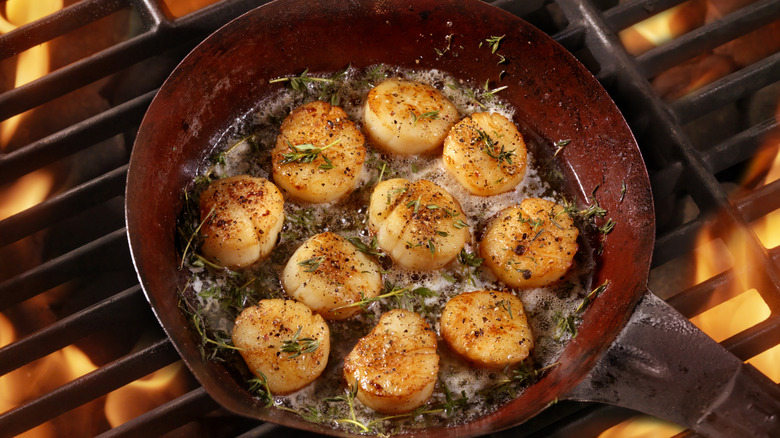
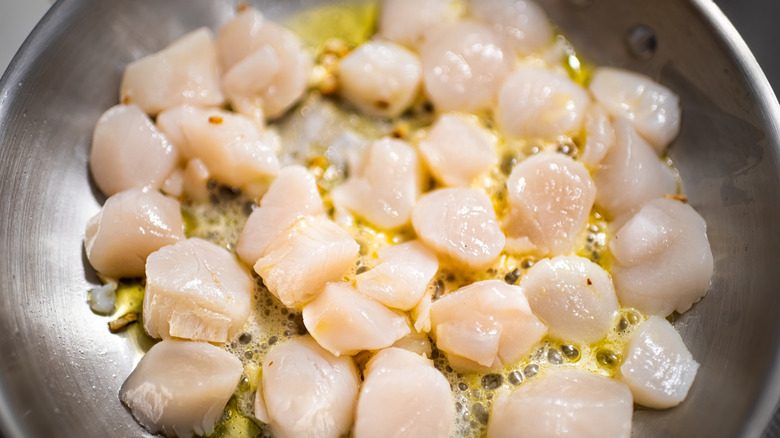
"Someone out there has probably invented a method where crowding a pan with scallops works," muses Chef Andy Bruch. Unfortunately, this method has yet to be discovered. Because scallops are delicate but also require high heat to cook correctly, any overcrowding or excessive movement of the pan can bring down the temperature, prolonging cooking and resulting in rubbery mollusks. "What you really want with sea scallops is that nice, golden-brown caramelization from the Maillard reaction," says Bruch. "Those beautiful scallops need some space in the pan to produce that outcome, rather than essentially steaming them."
The Maillard reaction is a type of browning that occurs on a food's surface when properly exposed to high heat. Compounds within the exterior sugar molecules start moving around, causing darker colors and savory new flavors. Overcrowding your pan might impede the Maillard reaction entirely and instead make your scallops lose too much of their own liquid. You're better off giving them some room to breathe and searing in batches if need be. Sufficient spacing will also allow you to spoon up the liquids and oils in the pan to baste your scallops while cooking.
Messing up the heat in the pan
Ask Chef Tim Lu what temperature you should aim for when cooking scallops in the pan, and he'll probably say something like "screaming hot." He mentions that not getting the pan hot enough is one of the most common mistakes people make when cooking scallops, but it's not as simple as setting the burner to its highest heat and baptizing your scallops by fire. "Too high of a temperature for any method will result in burnt and dry/stringy scallops," Lu says. "Too low and they will stick in the pan and overcook before you get any significant browning."
The sweet spot is more nuanced, first by getting the pan piping hot, then turning down the temperature just a bit before incorporating the scallops. "We start with high heat, until the oil reaches smoke point," Lu explains. "Then, lower the heat to medium to continue browning the scallops without burning them."
In any case, don't panic if your scallops stick at first. While you really don't have to flip them at all, wait until they've formed a crust and move with ease before messing with them. A decent pan that can handle high heat will be your best friend when searing scallops, like this cast iron skillet from Lodge or stainless steel.
Overcooking them
Whether you had the pan too hot or left them on the heat too long, overcooked scallops are just not it. You want to enjoy them golden and buttery, not tough and stringy. "Scallops should be cooked just until they are room temperature in the middle," Chef Tim Lu recommends. "Maybe two to three minutes in the pan to get the desired color, then basting with butter and aromatics for another few minutes just to achieve the desired temperature."
Since they cook so quickly, you'll need to be on your toes and watch for visual cues. Perhaps the best way to tell when scallops are done is to wait until they're firm, opaque all the way through, and golden brown on the exterior, but there's always room for more precision. Etekcity's infrared thermometer, for example, would be a great tool for monitoring the scallops' temperature without disturbing the meat. Scallops are ready to pull from the heat when their internal temperature reaches about 115 F, after which carryover cooking will raise the temperature another 10 degrees or so.
The USDA recommends cooking most seafood to 145 F, but if you must err on the side of caution for quality, it's better to pull your scallops sooner rather than later. "Undercooked is much more desirable than overcooked," Lu says. "Undercooked just means they will be cold inside, but the texture is okay if you like raw scallops."
Letting them rest after cooking
Any good at-home cook has probably learned that many types of meat require some time to rest after cooking, allowing the meat to come to temperature and reabsorb its juices. Don't mistakenly apply this theory to scallops, though, since you could potentially miss out on their best flavors fresh off the pan. "I don't rest scallops because they are so small, and I like to serve them hot," Chef Tim Lu comments. "I will plate them right as they reach the desired temperature." Too much time between the frying pan and the plate could just result in disappointingly cold or lukewarm mollusks.
Your first temptation if you let them rest too long might be to give them a quick zap in the microwave, but Lu mentions this will only compound the issue and overcook them. Although when stored properly, cooked scallops can be refrigerated for three to four days, they're a delicacy best enjoyed at the moment. Take a page from Chef Andy Bruch's cookbook and start treating scallops almost as you would toasted marshmallows. Describing how he prefers to cook scallops, Bruch says, "Ripping hot, heavy pan, generously salt and pepper one side of the scallop, sear one side only, and just stand by the stove and pop one in your mouth when it's ready."
