How To Churn Your Eggnog Into Ice Cream
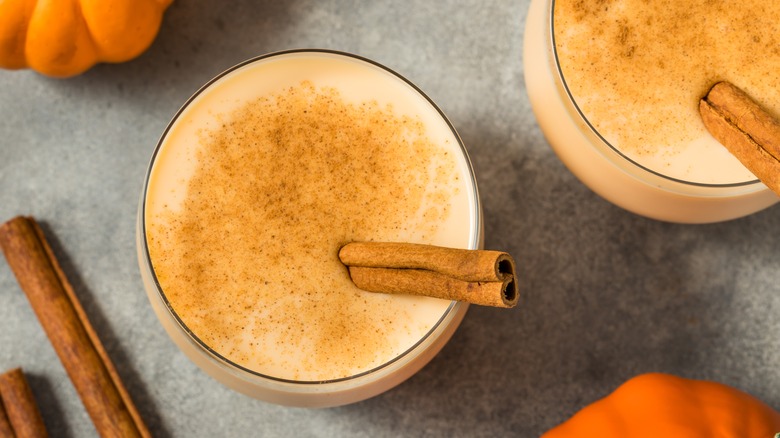
With the holiday season fast approaching, it's hard to miss the arrival of classic seasonal drinks. Say goodbye to pumpkin spice and hello to eggnog. While sipping eggnog is a festive treat, why not take it up a notch and turn it into ice cream? Making your own eggnog ice cream is a fun and delicious way to celebrate the season. While it only takes about an hour to prepare, the ice cream needs 12 hours or overnight to set. You'll need heavy whipping cream, sugar, milk, cloves, cinnamon, salt, nutmeg, egg yolks, and vanilla extract. For an extra holiday kick, add a few tablespoons of rum for a spiked version.
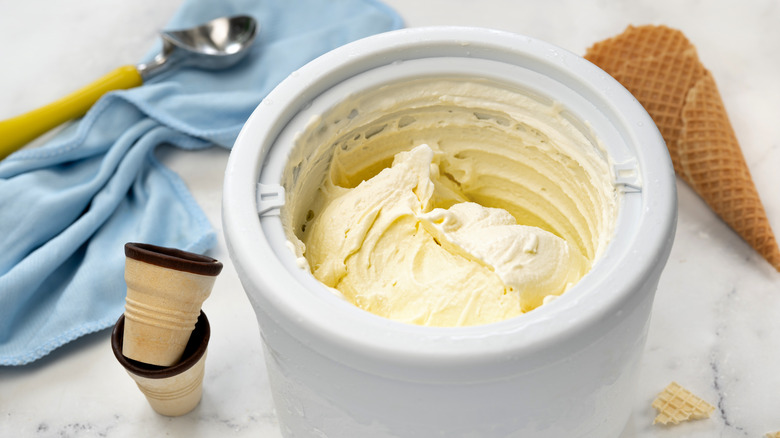
Creating eggnog ice cream can be a labor-intensive process, but the results are worth it. If you're short on time or if tempering, ice baths, and straining aren't up your alley, you can simplify the process by using store-bought eggnog. Just add extra heavy cream, vanilla, and other spices to balance the flavor. Then, pour the mixture into your ice cream maker and let it work its magic. For a thicker consistency, freeze it longer, or enjoy a soft-serve texture right away.
In true ice cream fashion, don't forget the toppings or add-ins. Chunks of gingerbread cookies, crushed peppermint pieces, or a sprinkle of cinnamon will add a festive touch and a nice flavor to bring out the array of flavors hidden within the eggnog ice cream.
How to achieve the perfect texture
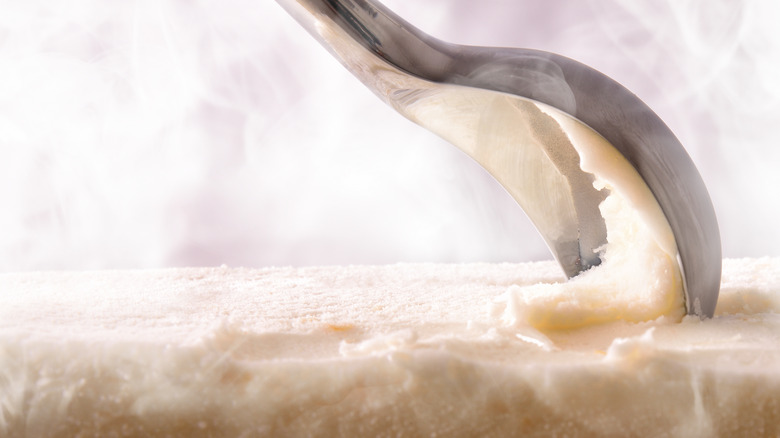
The key to tasty ice cream is its texture. If you prefer a thick, creamy scoop, allow your ice cream to set longer in the freezer after churning. This will help it firm up to the ideal consistency for scooping. If you like your ice cream more like the consistency you'd find at Dairy Queen (smooth and able to be flipped upside down) be sure to serve soon after churning while it's still at that creamy, semi-frozen stage.
The texture of the ice cream depends largely on two factors: the amount of air introduced into the mix called overrun and the balance of fats and sugars. More air results in a lighter, fluffier texture, while less air creates a denser consistency. Try 30% to 50% for a denser soft serve, or 70% to 100% for a fluffier taste. Sugar also plays an important role in texture, as it lowers the freezing point of the ice cream and helps prevent the formation of ice crystals, resulting in a smoother mouthfeel. Without enough sugar, your ice cream could become grainy and icy, rather than creamy. A well-balanced mix of fats (from cream, milk, or plant-based alternatives) and sugar is key to keeping your eggnog ice cream smooth.
Plant-based alternatives and no-churn options for eggnog ice cream
For those who don't consume dairy, plant-based eggnog ice cream is still within reach. Many vegan or dairy-free recipes are no-churn, requiring just a blend of ingredients and a few hours in the freezer. After mixing eggnog with the other ingredients recommended in your chosen recipe, pour the mixture into a freezer-safe container, line it with parchment paper or non-stick adhesive, and let it freeze. Whisk the mixture every 45 minutes during the freezing process to create a soft-serve consistency. While a bit tedious, it's an option for those who do not have an ice cream maker.
For a simpler solution, So Delicious offers a eggnog ice cream recipe using its coconut milk eggnog. All you will need is a pan with parchment paper and about eight hours to freeze. It lasts up to a week, but may not carry the ideal ice cream consistency. From Whole Foods' 365 Almond Nog to So Delicious' coconut milk eggnog, there has been a plethora of plant-based eggnog on the market since it first appeared in 1981.
However, no-churn ice cream isn't only for plant-based options — it's a great alternative for anyone without an ice cream maker. While it may not have the same smooth, creamy texture as store-bought or machine-churned ice cream, it's still a fun and easy way to enjoy your favorite holiday flavor. Whether you're using an ice cream maker or not, eggnog ice cream is a festive treat worth trying this season.


