Mistakes Beginners Make When Baking With Yeast, According To Baking Experts
We may receive a commission on purchases made from links.
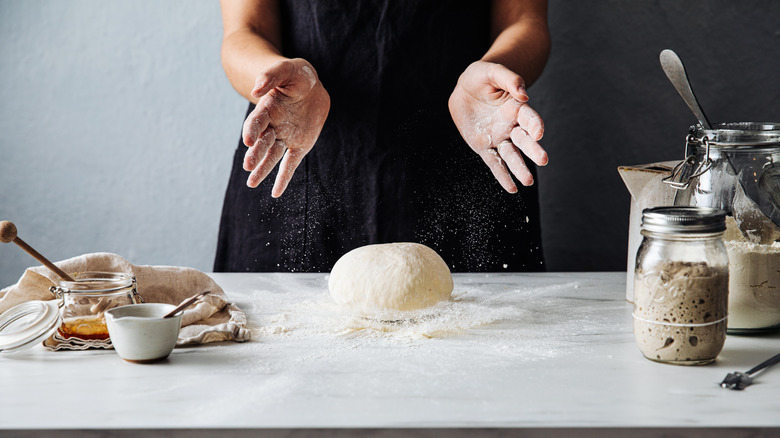
The mistakes beginners make when baking with yeast are plentiful, but that's to be expected. After all, with all of the steps involved and the finicky nature of dough-making, one might be tempted to throw in the towel and leave yeasted dough baking to the professionals. We hear you.
Thankfully, we've got a crew of culinary pros ready to give you the 4-1-1 on everything you need to know about baking with yeast. Yeast is a living microorganism that can produce carbon dioxide when combined with the right environment and proper baking techniques. As such, baking with yeast can be difficult as different types of yeast call for diverse procedures.
That's why our team of experts are providing tried-and-tested remedies to get you that much closer to baking near-flawless bread and cakes. With tips that include how to store yeast, what pan to use, correct water temperatures, recipe adjustments, and more, you'll be that much closer to approaching your next baking expedition with confidence. Stick around as we uncover the most common mistakes beginners make when baking with yeast along with how to remediate them.
Ignoring the size of your baking pan
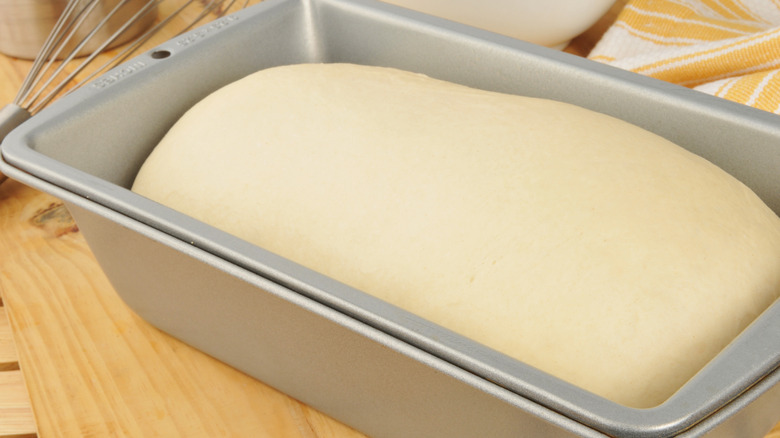
As a beginner, you might not think pan size matters when baking with yeast when, in actuality, using the wrong type can negatively impact your baked goods. Chef Jessica Randhawa, food blogger and recipe developer over at The Forked Spoon, shares a bit of insight as to why the size of the vessel you're baking with makes such a difference. "A pan that's too small can cause the dough to overflow, while one that's too large can lead to flat, overcooked edges," she states. "It's important to use the pan size recommended in the recipe to ensure optimal rise and even cooking."
As Randhawa suggests, most recipes will clue you in on what size pan to use, but if the recipe doesn't state what type of pan is best or if you aren't using a recipe, it's best to shoot for a vessel that's big enough– but not too big. As Jessie-Sierra Ross, food blogger and creator at Straight to the Hips, Baby notes, a good rule of thumb is to simply use a pan that is at least double the size of the dough to ensure your final product doesn't overflow while baking.
Not refrigerating open yeast
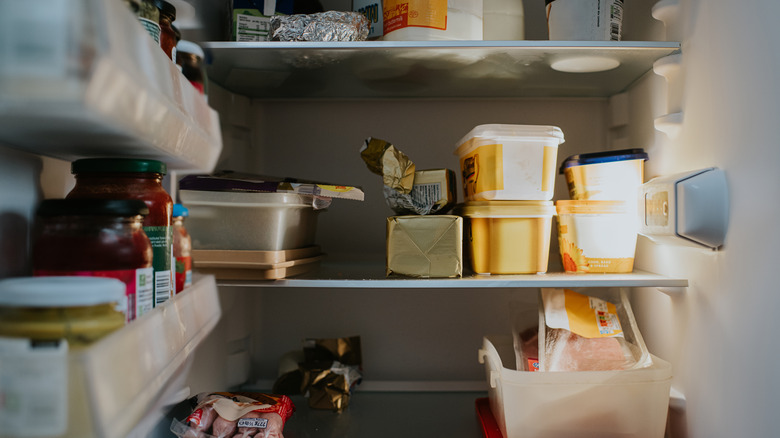
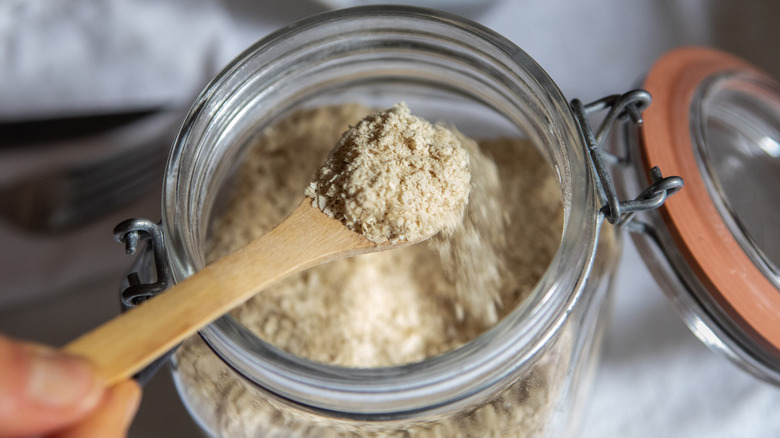
When it comes to how you should store your yeast, details matter, especially when you're a beginner. Though it might seem simple enough to open a jar or packet of yeast and toss leftovers in the cabinet, it isn't the best option. Yes, yeast should be stored in a dry, cool place, but once opened, there are specific protocols you should follow to ensure your yeast stays as fresh as possible.
"Unopened packets of dry yeast can be stored in the pantry, but once opened, it's best to seal them tightly and store them in the refrigerator to maintain their potency," Jessica Randhawa tells us. "Fresh yeast should be wrapped and refrigerated and ideally used within a couple of weeks." Also, when it comes to keeping yeast fresh, don't be shy about storing your yeast in the freezer; it's is a great option for keeping yeast long-term.
Lastly, no matter which way you choose to store yeast, one thing is crucial, and that's to always keep it in an airtight container. This ensures that no moisture gets in, further prolonging its lifespan.
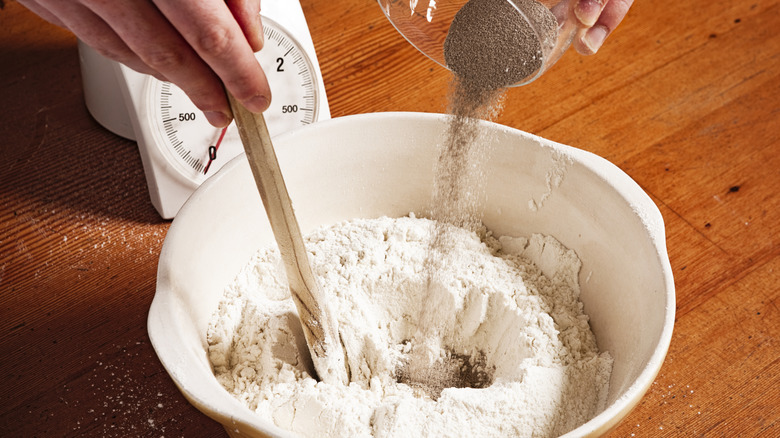
Using water that's either too hot or cold for proofing
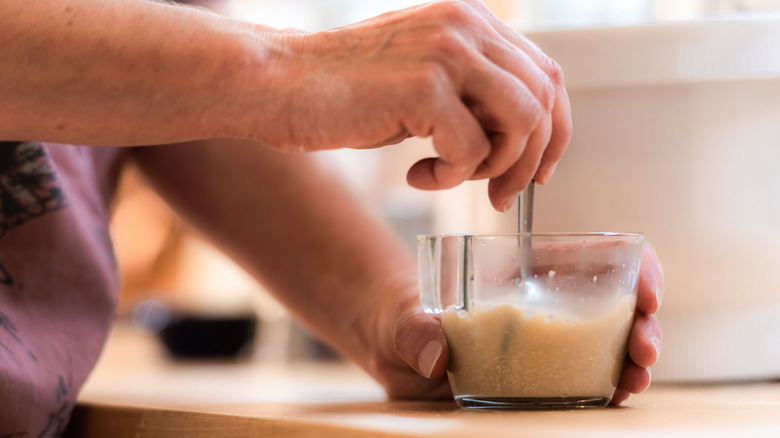
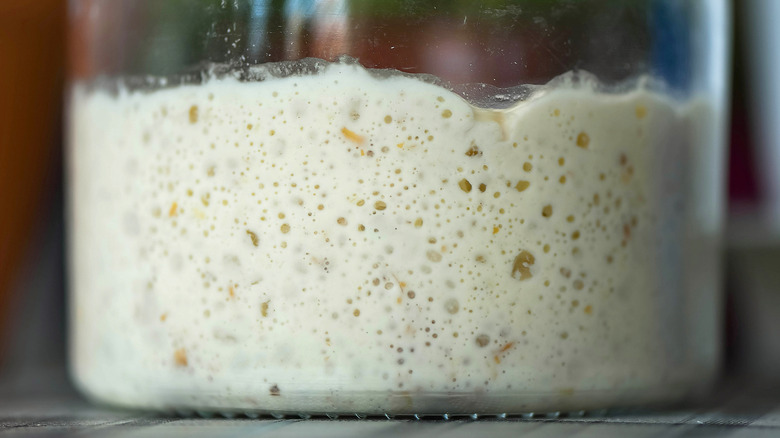
If you're new to baking and have ever wondered how to proof yeast, know that there are specific steps that must be followed to ensure the process goes smoothly. "Proofing" refers to the process of testing yeast to see whether or not it is active. Because yeast is a living organism, you are essentially "proving" that it is alive and ready for use in baking. During this process, you'll follow several steps, including immersing a specific amount of yeast in temperature-controlled water.
"If your recipe calls for active dry yeast, proofing is recommended," explains Jessie-Sierra Ross. "I like to use water that is slightly above room temperature, between 105 F to 110 F, and then stir the active dry yeast in gently." So, what happens if your water isn't between 105 F to 110 F? According to Jessica Randhawa, water that is too hot will kill the yeast, while water that is too cold won't activate it. When the water temperature is right, a foamy layer will develop on top of the water within about 10 minutes of adding the yeast. Yeast that isn't viable won't do anything, so if no foam is present, you'll need to grab fresh yeast before continuing on in the baking process.
Assuming all types of yeast are the same
When you're new to baking, you probably think the word "yeast" is an all-encompassing term. Actually, there are several different forms of yeast, meaning things might get tricky when you go to purchase it. We asked Chef Dennis Littley, owner of Ask Chef Dennis Productions, why choosing the right kind of yeast is important when baking. "Each type [of yeast] works differently, so choosing the right one can affect the texture and taste of your final product."
So, exactly what types of yeast are out there? "[Dry active yeast] is the most commonly used commercial grade yeast," Jessie-Sierra Ross explains. "It can be damaged by extreme high and low temperatures while in storage and becomes less potent with time." Another type, instant yeast, can be poured directly into a recipe without needing to follow the proofing procedure mentioned earlier. "Instant dry yeast is also more consistent, less impacted by temperature changes, and won't impart any extra moisture to your recipe," Ross states.
Other yeast types serve different purposes. "Wild yeast starter requires more attention than its commercial cousins, including regular 'feedings' of water and flour to keep it healthy." Ross goes on to explain that bread machine yeast is a type of instant yeast, though, as its name would imply, is intended for use in bread machines. Even so, this type of yeast is also interchangeable with instant dry yeast, making it a more versatile choice than some of the others.
Not checking the expiration date on the yeast
Baking novices often make the mistake of not checking the expiration date on their yeast which could have negative effects on their baked goods. Checking the date of your yeast is particularly important when using dry active yeast, which is the reason the "proofing" step mentioned earlier is so important. Jessie-Sierra Ross reminds us that if no foam residue forms on top, you may need to check the expiration date. Chances are, you're using old yeast and will need to replace it. Other elements that could make your yeast inactive include exposure to high temperatures and other adverse conditions that could kill it, according to Jessica Randhawa.
Instant yeast may also prove inactive after a while, although it's a little less likely to happen, per Ross. "For instant dry yeast and bread machine yeast, this typically isn't an issue as they are more hardy types of yeast. But, if your dough fails to rise after an hour, chances are you need a new pack of instant!"
And while you can't exactly check the expiration date on wild yeast, you can at least tell if it needs a little help. Ross explains that small bubbles or failure to double in size is an indicator that your wild yeast is going south. At that point, you may need to start over with a new starter, or figure out how to fix the issue if you think it's remediable.
Incorrectly adding salt to yeast

Adding salt to yeast is a bit of a controversial topic, but in reality, salt is more important to making bread than you might expect. Adding it to doughs that contain yeast offers benefits, although there are a few caveats you to bear in mind. "[Adding salt to yeast] is a critical step that many beginners overlook," Dennis Littley tells us. "Salt plays an important role in controlling the yeast's activity — it slows it down, which allows for a more controlled rise."
Littley goes on to explain that though adding salt to yeast can prove beneficial, putting it directly into your yeast can do more harm than good. Adding salt during the proofing process can kill your yeast, much in the same way that boiling water can. Instead, you'll want to add salt to your dry ingredients; you'll still enjoy the advantages of using salt while ensuring that your yeast stays active.
Underestimating the importance of proper measurements
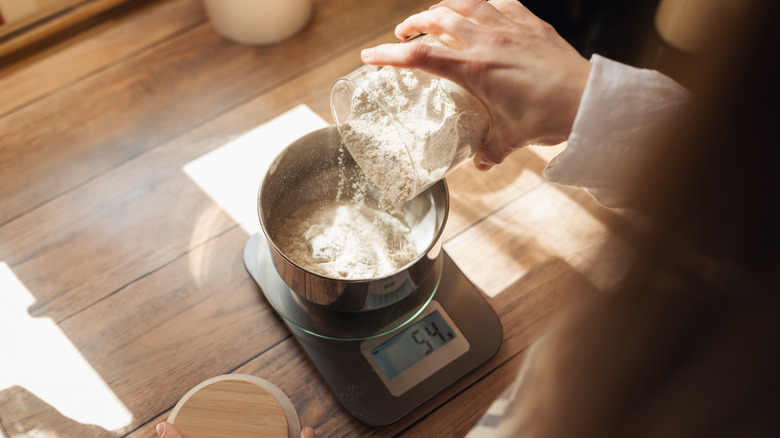
When asking experts what mistakes beginners make most often when baking with yeast, improperly measured ingredients were among the most cited. Though we agree that taking the time to ensure that every cup, tablespoon, and teaspoon is precisely measured sounds like an agonizing task, failing to do so could spell disaster when it comes to baking with yeast.
According to Jessica Randhawa, beginners can achieve the best results when baking with yeast by using simple and effective tools in the kitchen. "Baking is a science, and the precise ratio of ingredients is crucial," she explains. "Use a digital scale or proper measuring techniques to ensure accuracy." Jessie-Sierra Ross agrees, noting the consequences of neglecting to include the correct measurements in your baking recipe. "If you add too much yeast, the dough can get away from you. Not enough hydration? The dough will be difficult to work with and won't rise correctly. Measuring correctly is key."
Don't feel like spending extra money on a digital kitchen scale? Though there are plenty of affordable kitchen scales on the market (like this CROWNFUL Food Scale), measuring spoons accompanied by levelers like this Spring Chef Magnetic Measuring Spoons Set can work well, too.
Not considering the temperature and humidity in your kitchen
As if there wasn't enough to worry about when it comes to baking with yeast, the temperature and humidity levels in your kitchen also matter. If the room you're baking in is too hot or too cold, it could lead to objectionable results when it comes to the rising process. Jessica Randhawa provides us with a few tips. "The recommended temperature for dough to rise is between 75 F and 78 F," she states. "A higher humidity level can help the dough retain moisture and rise better. Aiming for a humidity level around 75% to 80% in the rising environment is ideal."
Not sure how to control the temperature and humidity in your kitchen? Dennis Littley offers the perfect solution. "In professional kitchens, we use proofing boxes set to the perfect temperature and humidity, but at home, you can get similar results by placing your dough near a warm oven or using a warm, draft-free spot in your kitchen." If your kitchen is running a little too hot, Randhawa recommends allowing your dough to rise in a turned-off oven, instead. To increase humidity, try placing a bowl of water in the oven alongside the dough or laying a damp cloth over the bowl as the dough rises.
Kneading dough too little or too much
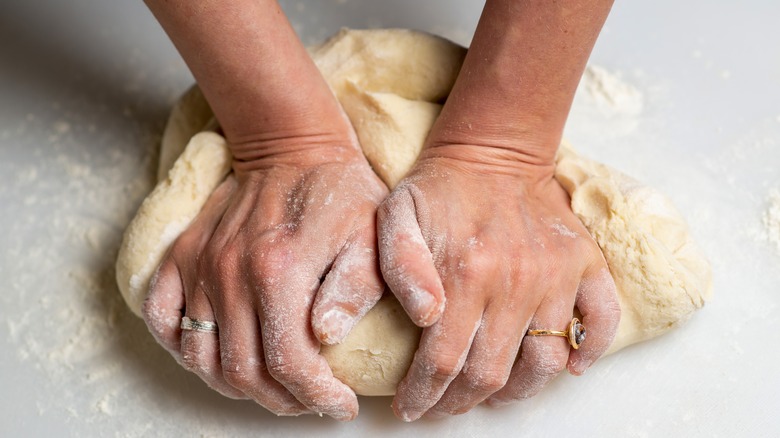
When working with yeast-containing doughs, you'll often be required to knead the dough before allowing it to rise. Kneading dough is usually done by hand, though it can also be accomplished through the use of a machine. This simple action of pushing the dough away from you, folding it over, and pulling it back toward you multiple times makes the dough smooth and uniform. This motion develops gluten and helps establish the dough's structure. Even so, too much of a good thing can eventually go south, and according to Jessica Randhawa, both under or over-kneading dough can cause issues during the baking process.
As Randhawa explains, under or over-kneading often negatively impacts the texture of your baked goods. She states that your dough should always be smooth and elastic after kneading but never sticky. The easy way to tell if your bread is over-kneaded is to stretch it out to see if you can see through it. If the dough isn't very flexible, it's possible that you've gone overboard. Standing mixers, though convenient, are more apt to cause over-kneaded dough, which is why kneading by hand is often ideal. As far as how to tell if your bread dough is under-kneaded, look for raw dough texture that appears uneven. The dough will also typically tear easily due to lack of development in its structure.
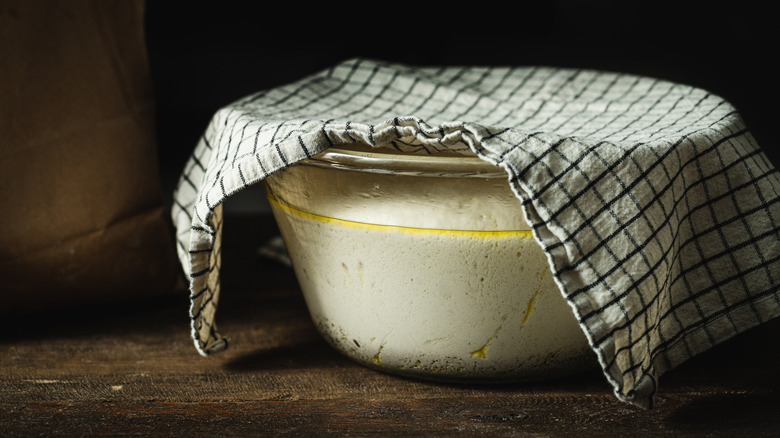
Rushing the rising process
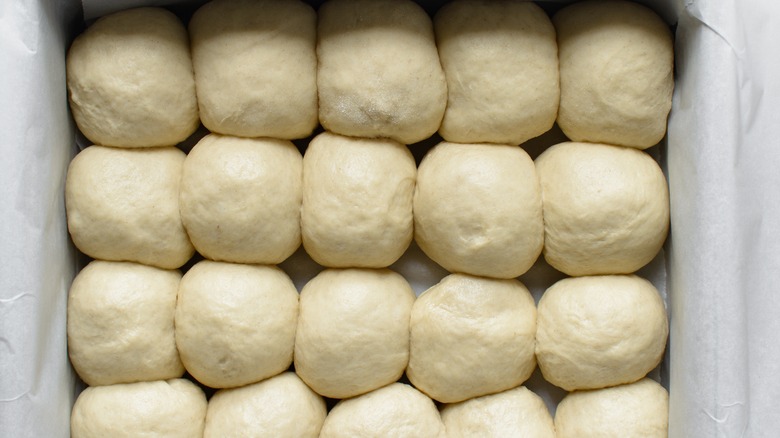
You might find it tempting to cut the rising process short when making dough — heck, some of us may even skip the process altogether. Even so, it's important that you don't make this mistake. By allowing dough to rise for the appropriate length of time, you allow it to achieve the proper structure and height. "Patience is key," explains Dennis Littley. "Many beginners rush the process, but yeast needs time to work its magic. If you don't allow your dough to rise properly, your bread will end up dense and chewy. Let it rise until it doubles in size."
Another detrimental mistake our experts see beginners making is allowing the dough to rise for long periods of time. Chefs warn that this could be just as detrimental as skipping the rising process, as this mistake could lead to over-proofing. "Letting the dough rise too long can cause it to collapse when baked, leading to a dense, unstructured loaf," states Littley. "Set a timer to avoid forgetting about it, especially in warmer environments."
So, how can you tell if your bread dough is over-proofed? The texture of the raw dough is usually a good indicator. It'll be very fragile and delicate, and may even become difficult to score. Another way to tell is to poke your dough with your finger; dough that is proofed correctly will spring back slowly. If it never springs back, chances are that your dough is over-proofed.
Forgetting that some recipes require a second rise
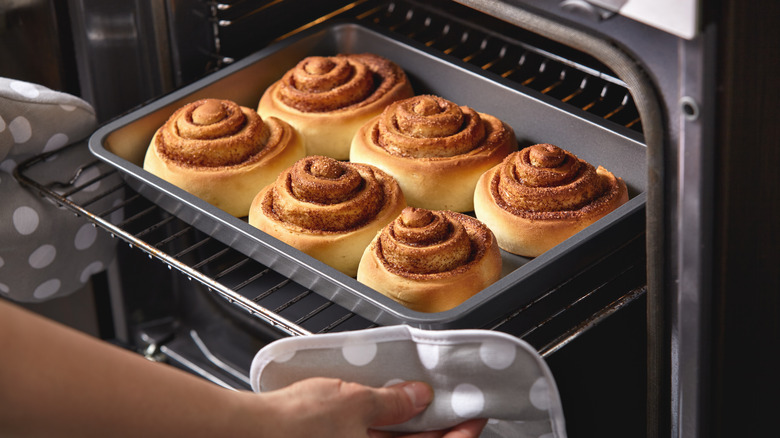
If you find yourself getting impatient with the rising process, brace yourself; it gets worse. Some recipes that involve yeast require a second rise, though this rise is usually shorter than the first. In this easy homemade rye bread recipe, you'll notice that the initial rise takes 12 to 18 hours and the second only one to two hours. Cinnamon roll fan? Avoid this common mistake that many make with cinnamon rolls by remembering to allow your dough to rise a second time before baking for the best results.
In case you're wondering what the point of the second rise is, allow Dennis Littley to fill you in with the details. "This step helps develop the flavor and texture. Beginners sometimes skip this out of impatience or inexperience, but it makes a big difference!"
Initiating a second rise is easy — simply allow the dough to ascend the first time, "punch" it down, and then allow it to rise again. How much time will be required for your dough to rise will depend on the recipe. Follow the techniques mentioned in your recipe's instructions for the best results.
Not adjusting your recipe when swapping one type of yeast for another
You've run out of instant yeast and have active dry yeast on hand; now what? Can you swap the two without making changes to your recipe? Not really. In order to swap one type of yeast for another in a recipe, you'll need to make a few alterations. First, remember that active dry yeast requires that you dissolve the yeast powder in warm liquid. When swapping active dry yeast for instant, you'll need to keep the same amount of liquid requested in the recipe, even though you aren't using the water for proofing.
If, on the other hand, you plan to replace instant yeast with dry active, you'll need to add the amount of water you will use to dissolve your active dry yeast and include it as part of the total amount of liquid listed in the recipe. Do not use more water than what your recipe calls for total; doing so may negatively affect your baked goods.
Lastly, Jessica Randhwawa informs us that when swapping instant yeast in for dry active yeast, you'll typically want to use less of it. How much less? Reduce the amount of instant yeast you use by 25% for the best results. "If your recipe calls for 1 teaspoon of active dry yeast, you'd use about ¾ teaspoon of instant yeast instead," she states.