Red Solo Cups Are The Perfect Popsicle Molds For Your Summer Parties
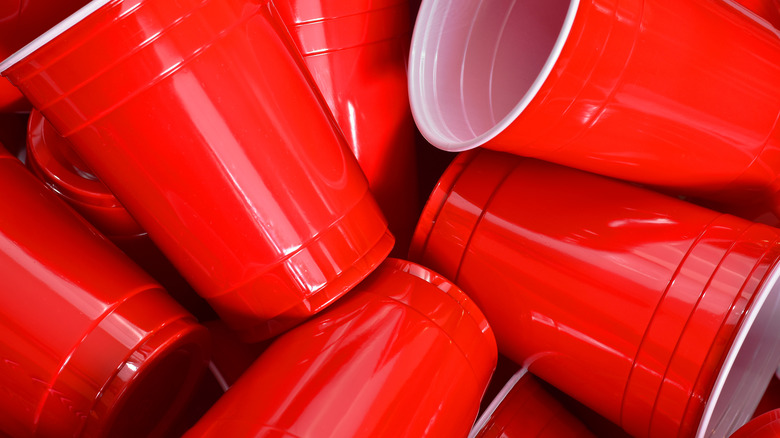
Sure, these days you can get all kinds of fancy silicone popsicle molds in whimsical shapes and colors. But if it's a hot day and you've got a hankering for a homemade frozen treat, the key component may already be in your kitchen cupboard, left over from your last backyard barbecue: The classic red Solo cup, that staple of beer pong and Toby Keith songs, also happens to be the ideal shape and size for a popsicle. All you do, really, is fill it with the liquid of your choice, put a popsicle stick in it, and throw it in the freezer.
Unlike other kinds of popsicle molds that need the help of some kind of rack to stay upright in the freezer, the red Solo cup's flat base means that this is a vessel that can stand on its own. The cost is minimal. You can make one at a time or you can make a dozen. And as for flavor? You can do things unheard of in the supermarket freezer aisle. This might even be the summer to give boozy popsicles a try.
How to make a red Solo cup popsicle
According to one story, the Solo cup got its name because it was designed to be "So high in quality, so low in price." Others claim it's called Solo just because it's an ideal container for a single person to drink from. In any event, disposable cups came into being in the 20th century to help prevent the spread of germs; previously, shared drinking cups had been common. Though there are many options on the market today, there's just something about the red Solo cup that has captured the American imagination. As Toby Keith sang, it's the "best receptacle / For barbecues, tailgates, fairs, and festivals" (via Genius). And, yes — popsicles (it almost rhymes!).
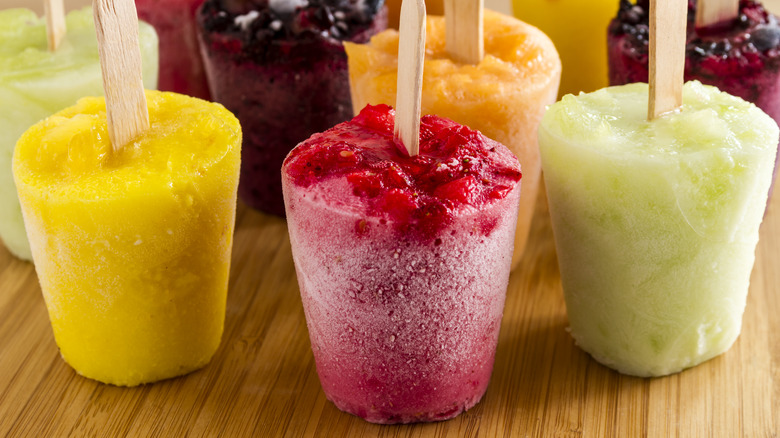
The general procedure is simple: Just take whatever you want to make your popsicle out of and pour it into a Solo cup. If you're freezing a big batch, putting the cups on a baking pan will help keep them stable. Stick your popsicles into the freezer and let them chill for about an hour before inserting wooden popsicle sticks down the center. You want them just firm enough that the stick will stand up. Then put the cups back into the freezer until they're frozen solid — a few more hours, though the precise time depends on your freezer and what you're making your popsicles out of. To ease the frozen treat from its mold when the time comes, run the cup briefly under hot water.
With homemade popsicles, the flavor possibilities are endless
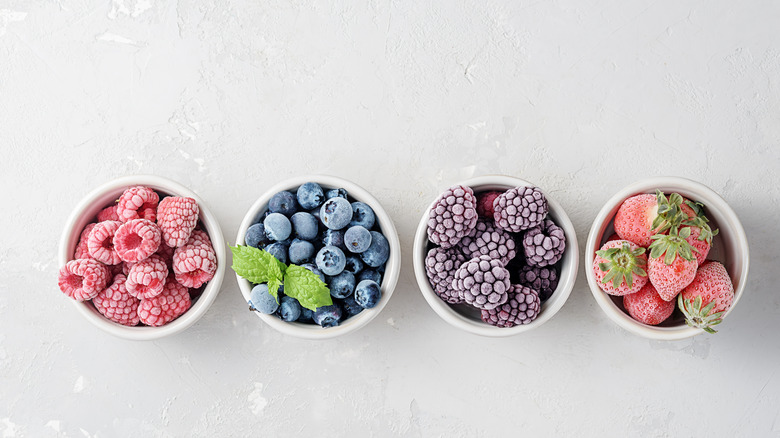
So that's the "how" of homemade popsicle making. Now for the "what" — what are you going to put in that red Solo cup? Fruit juice is classic, and about as easy as could be — and nobody's judging if you use fruit juice from concentrate. But the possibilities expand from there. You could make popsicles out of fruit you've pureed in a blender: bananas, blueberries, mangos, peaches, or anything else you want. Add plain yogurt for body and a little creaminess, or vanilla yogurt for added flavor — or even ripe avocado for a slightly savory undertone. Honey makes a good sweetener, and a squeeze of lemon or lime will help fruit flavors really shine. Rather than yogurt, you could also use pudding, either store-bought or homemade.
For texture as well as visual appeal, add whole chunks of fruit to the Solo cup along with your juice or your pureed mix. If you're really feeling patient, you could create a kind of layered situation here: Fill the cup partially with one flavor, let that freeze until it's starting to solidify, add another layer, and repeat. Or you could get really wild and make a savory popsicle — for instance, a Michelada pop. As always, the red Solo cup is just a receptacle for your dreams. What you do with it is up to you.