The Trick To Getting Jell-O Out Of Its Mold Every Time
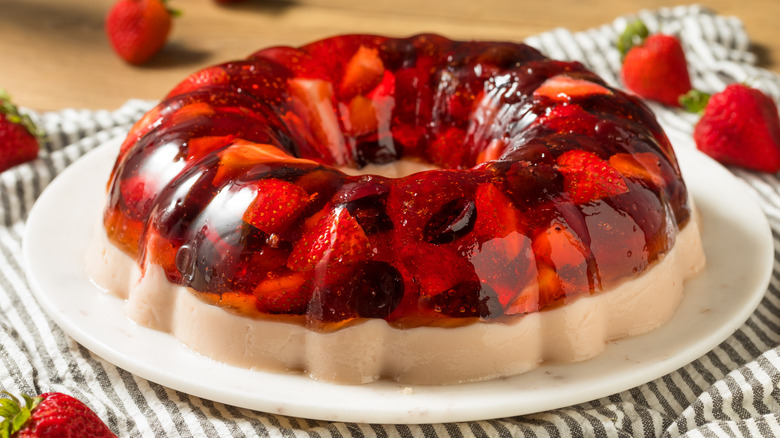
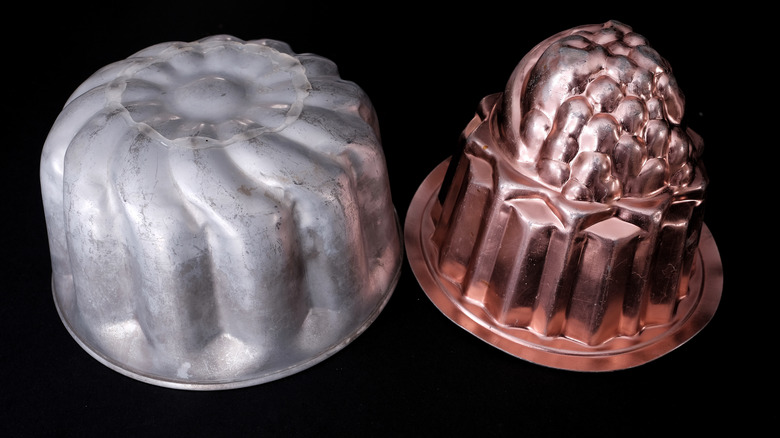
Shiny, bouncy, clear-as-crystal Jell-O is a joy to eat, but unmolding a flawless gelatin dessert doesn't always come so easily. Jell-O tends to stick and cling to its mold, so it's best to be prepared beforehand. The best technique is to dip the chilled mold into a pan or bowl of warm water after it's finished setting, right before it's served. This gently melts a thin layer of the solid Jell-O, releasing the rest from the mold without any sticking. Whether you've made a simple pan of the treat that you'll cut into squares or a towering Jell-O salad creation in a vintage, copper mold, it should turn out picture-perfect with this simple method.
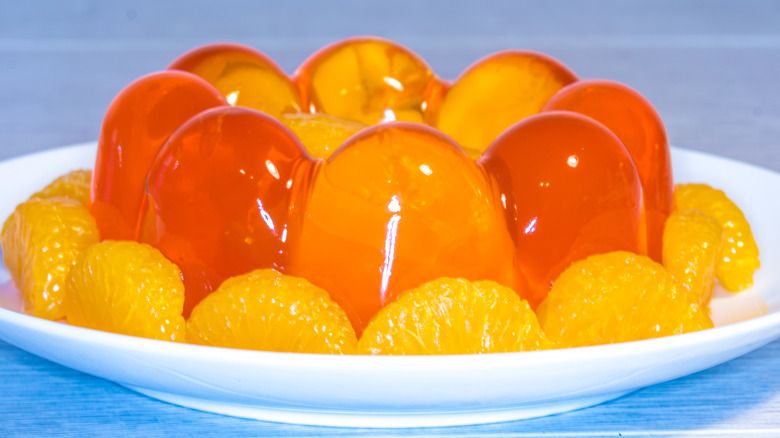
If you're serving your Jell-O in individual cups or containers, you won't have to worry about unmolding since the treat will likely be scooped out by the spoonful and eaten, but for things like holiday Jell-O centerpieces, 3D jelly cakes, or anything else you want to be a show-stopper, perfection is what you're going for, and it is definitely attainable.
A little warm water goes a long way
The worst thing about Jell-O is arguably the fact that you have to wait to eat it. Unless you buy the premade stuff, you will have to wait for it to set. This is particularly important if you're making a molded Jell-O that you want to look perfect. It must set completely and that means plenty of time in the refrigerator. Timing can depend on whether or not your Jell-O mold is layered or if there are solid ingredients mixed throughout, like fruit or vegetables for savory molds.
Have a pan ready that is large enough to dip your mold into and fill it with warm water. Dip the mold in the water without getting any water on the actual Jell-O for about 10 seconds. You may need to leave it for more or less time depending on how thick or large your mold is. Place a plate or platter on top of the mold and carefully flip it over before slowly lifting the mold from the Jell-O. If it doesn't release, dip it again in warm water. You can also gently use your fingertips to pry any stubborn edges from the pan if necessary. Your Jell-O should now be stunningly perfect, ready for serving or decorating.
Un-stick your Jell-O every time
Many Jell-O mold enthusiasts will also tell you that spraying your mold before you pour in the liquid Jell-O mixture is necessary in making a non-stick gelatin dessert. This certainly helps, but it can also leave an unpleasant taste and oily texture on the surface. If this doesn't bother you, spray away, and maybe consider a spray made with coconut oil or any other kind that might play well with the flavors in your dessert. If you're using a square or rectangular pan, you can also run a sharp knife around the sides to help release the Jell-O, but this won't work well for intricate molds with lots of grooves and curves.
Silicone Jell-O molds are becoming increasingly popular because they release food with ease and can be pushed, poked, and manipulated, all of which can help get stubborn Jell-O out. The warm water dip method also works with silicone molds just as well as it does with metal or plastic molds.
With the recent hip rebrand of Jell-O, it's the perfect time to take another look at this timeless treat, if you haven't already joined the jiggly Jell-O party. With these unmolding tips, the only thing you'll have to worry about is which flavors you want to play with.